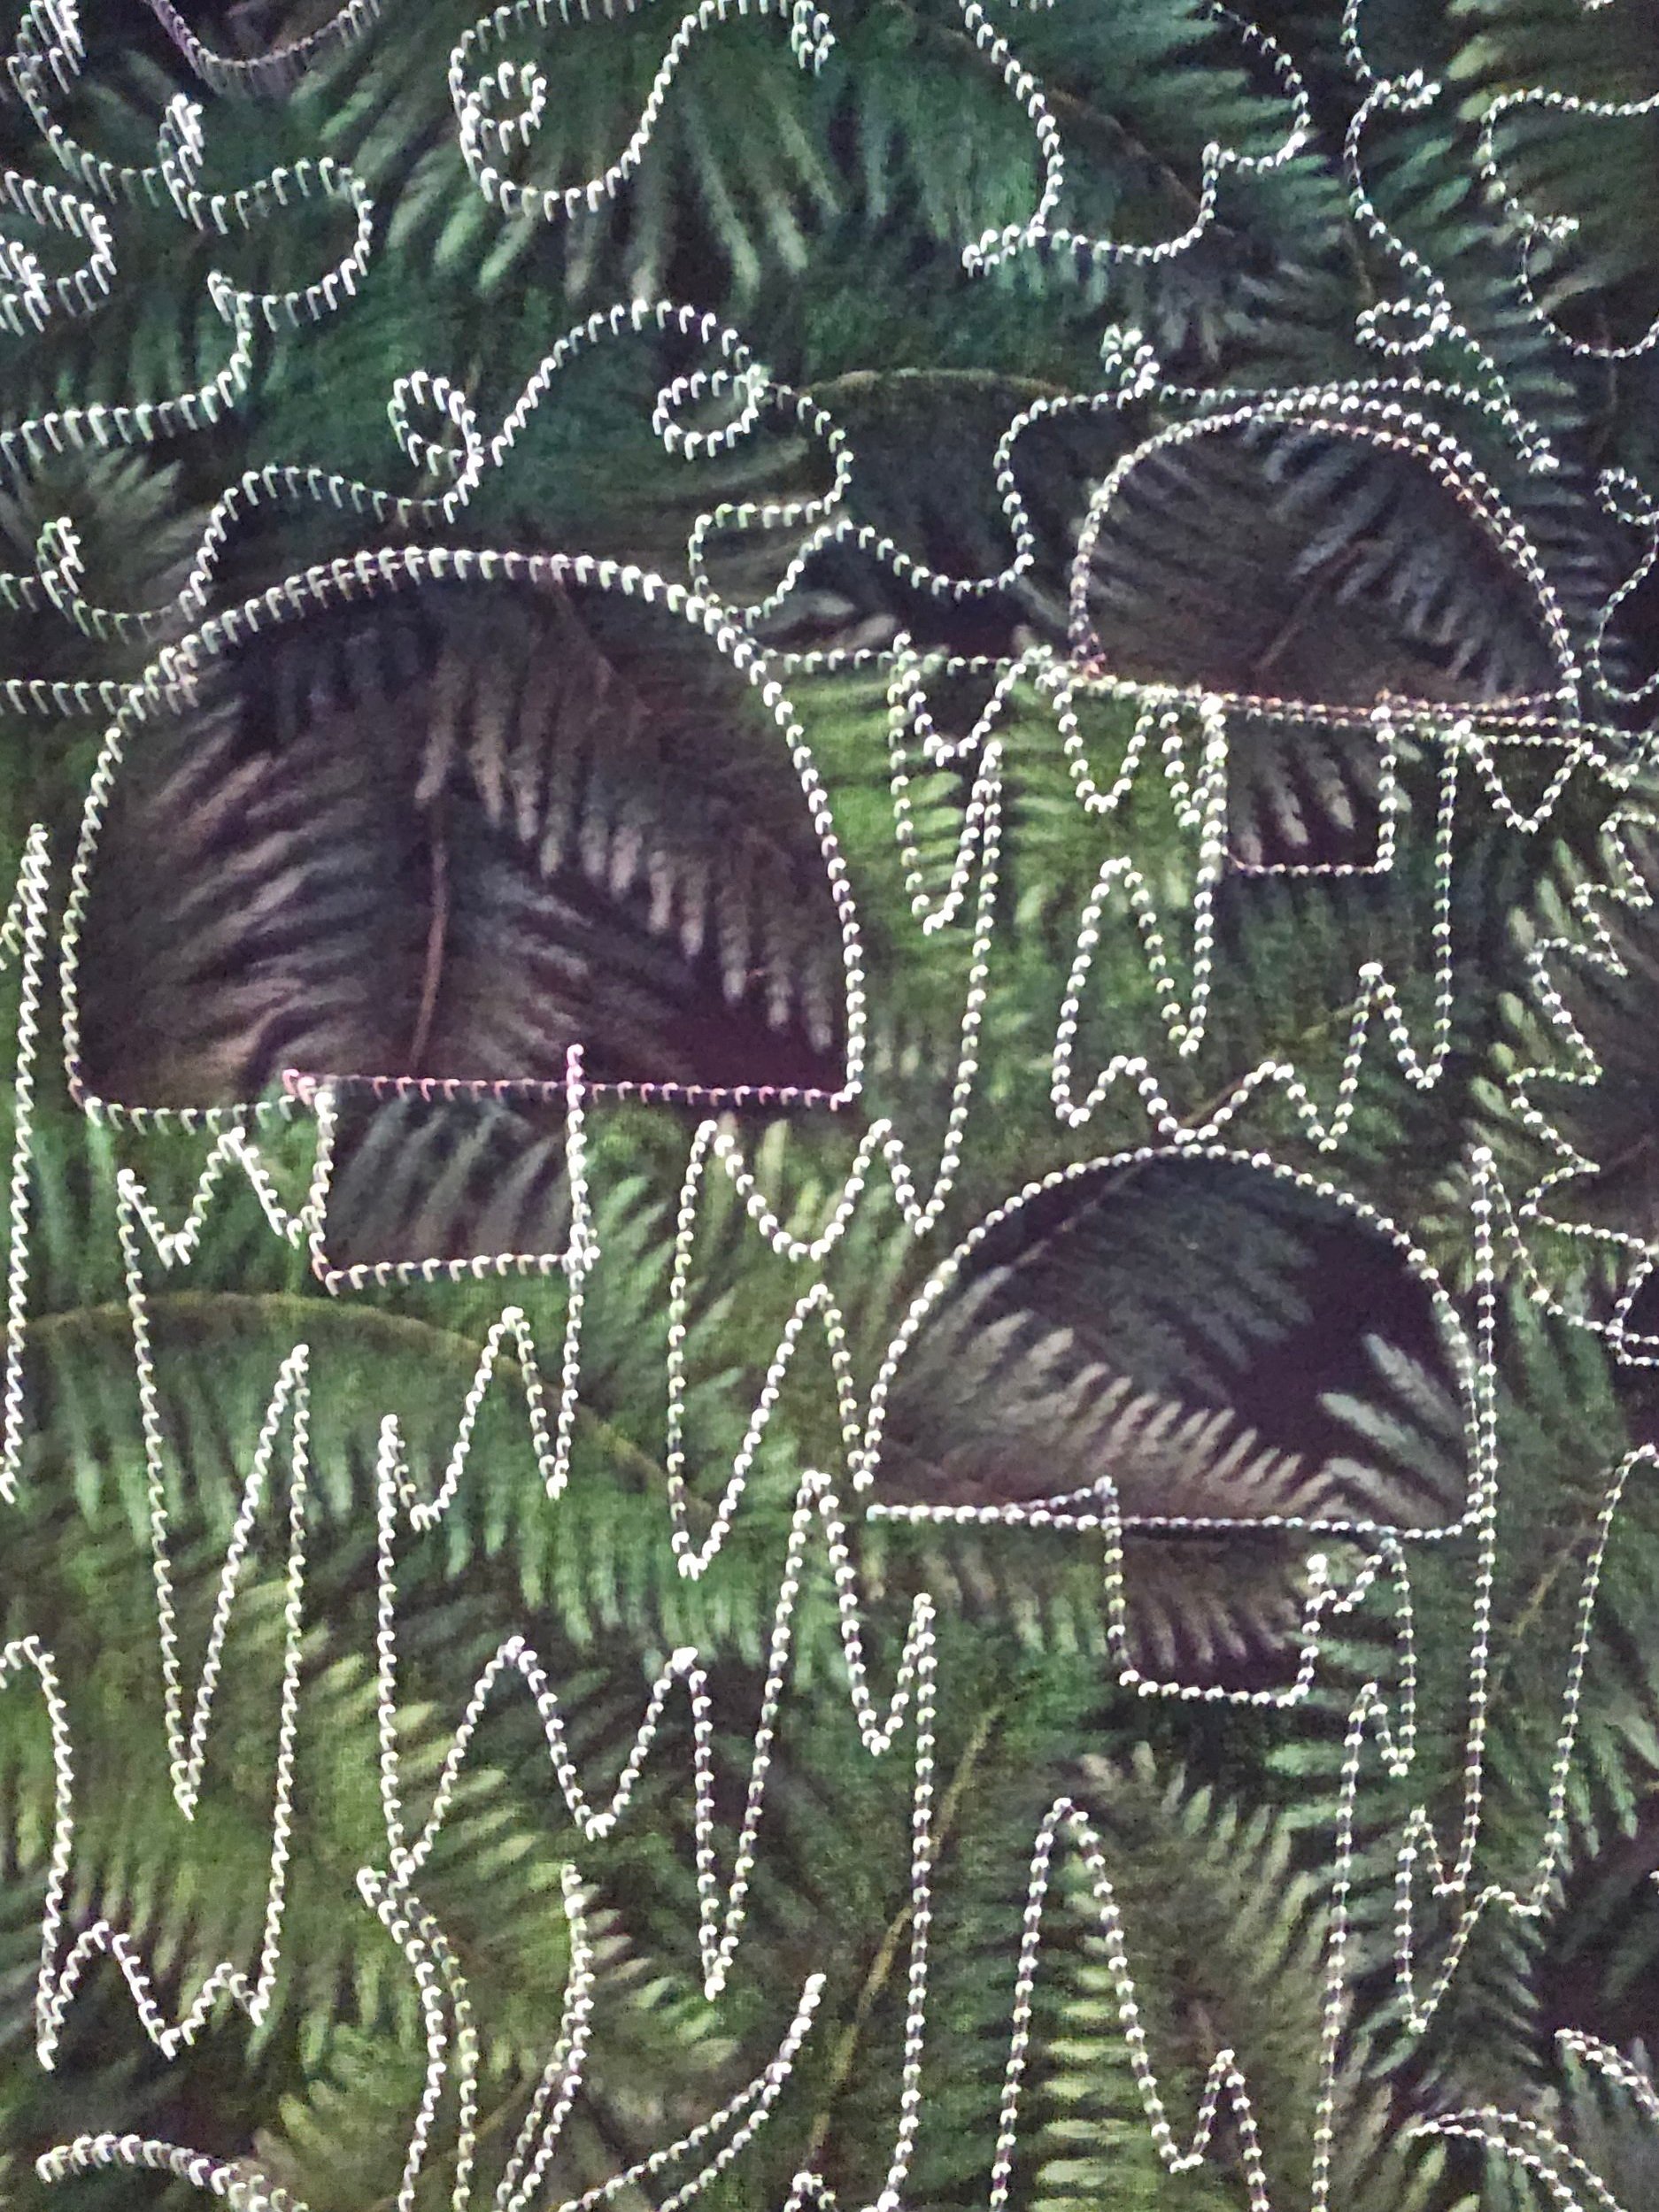
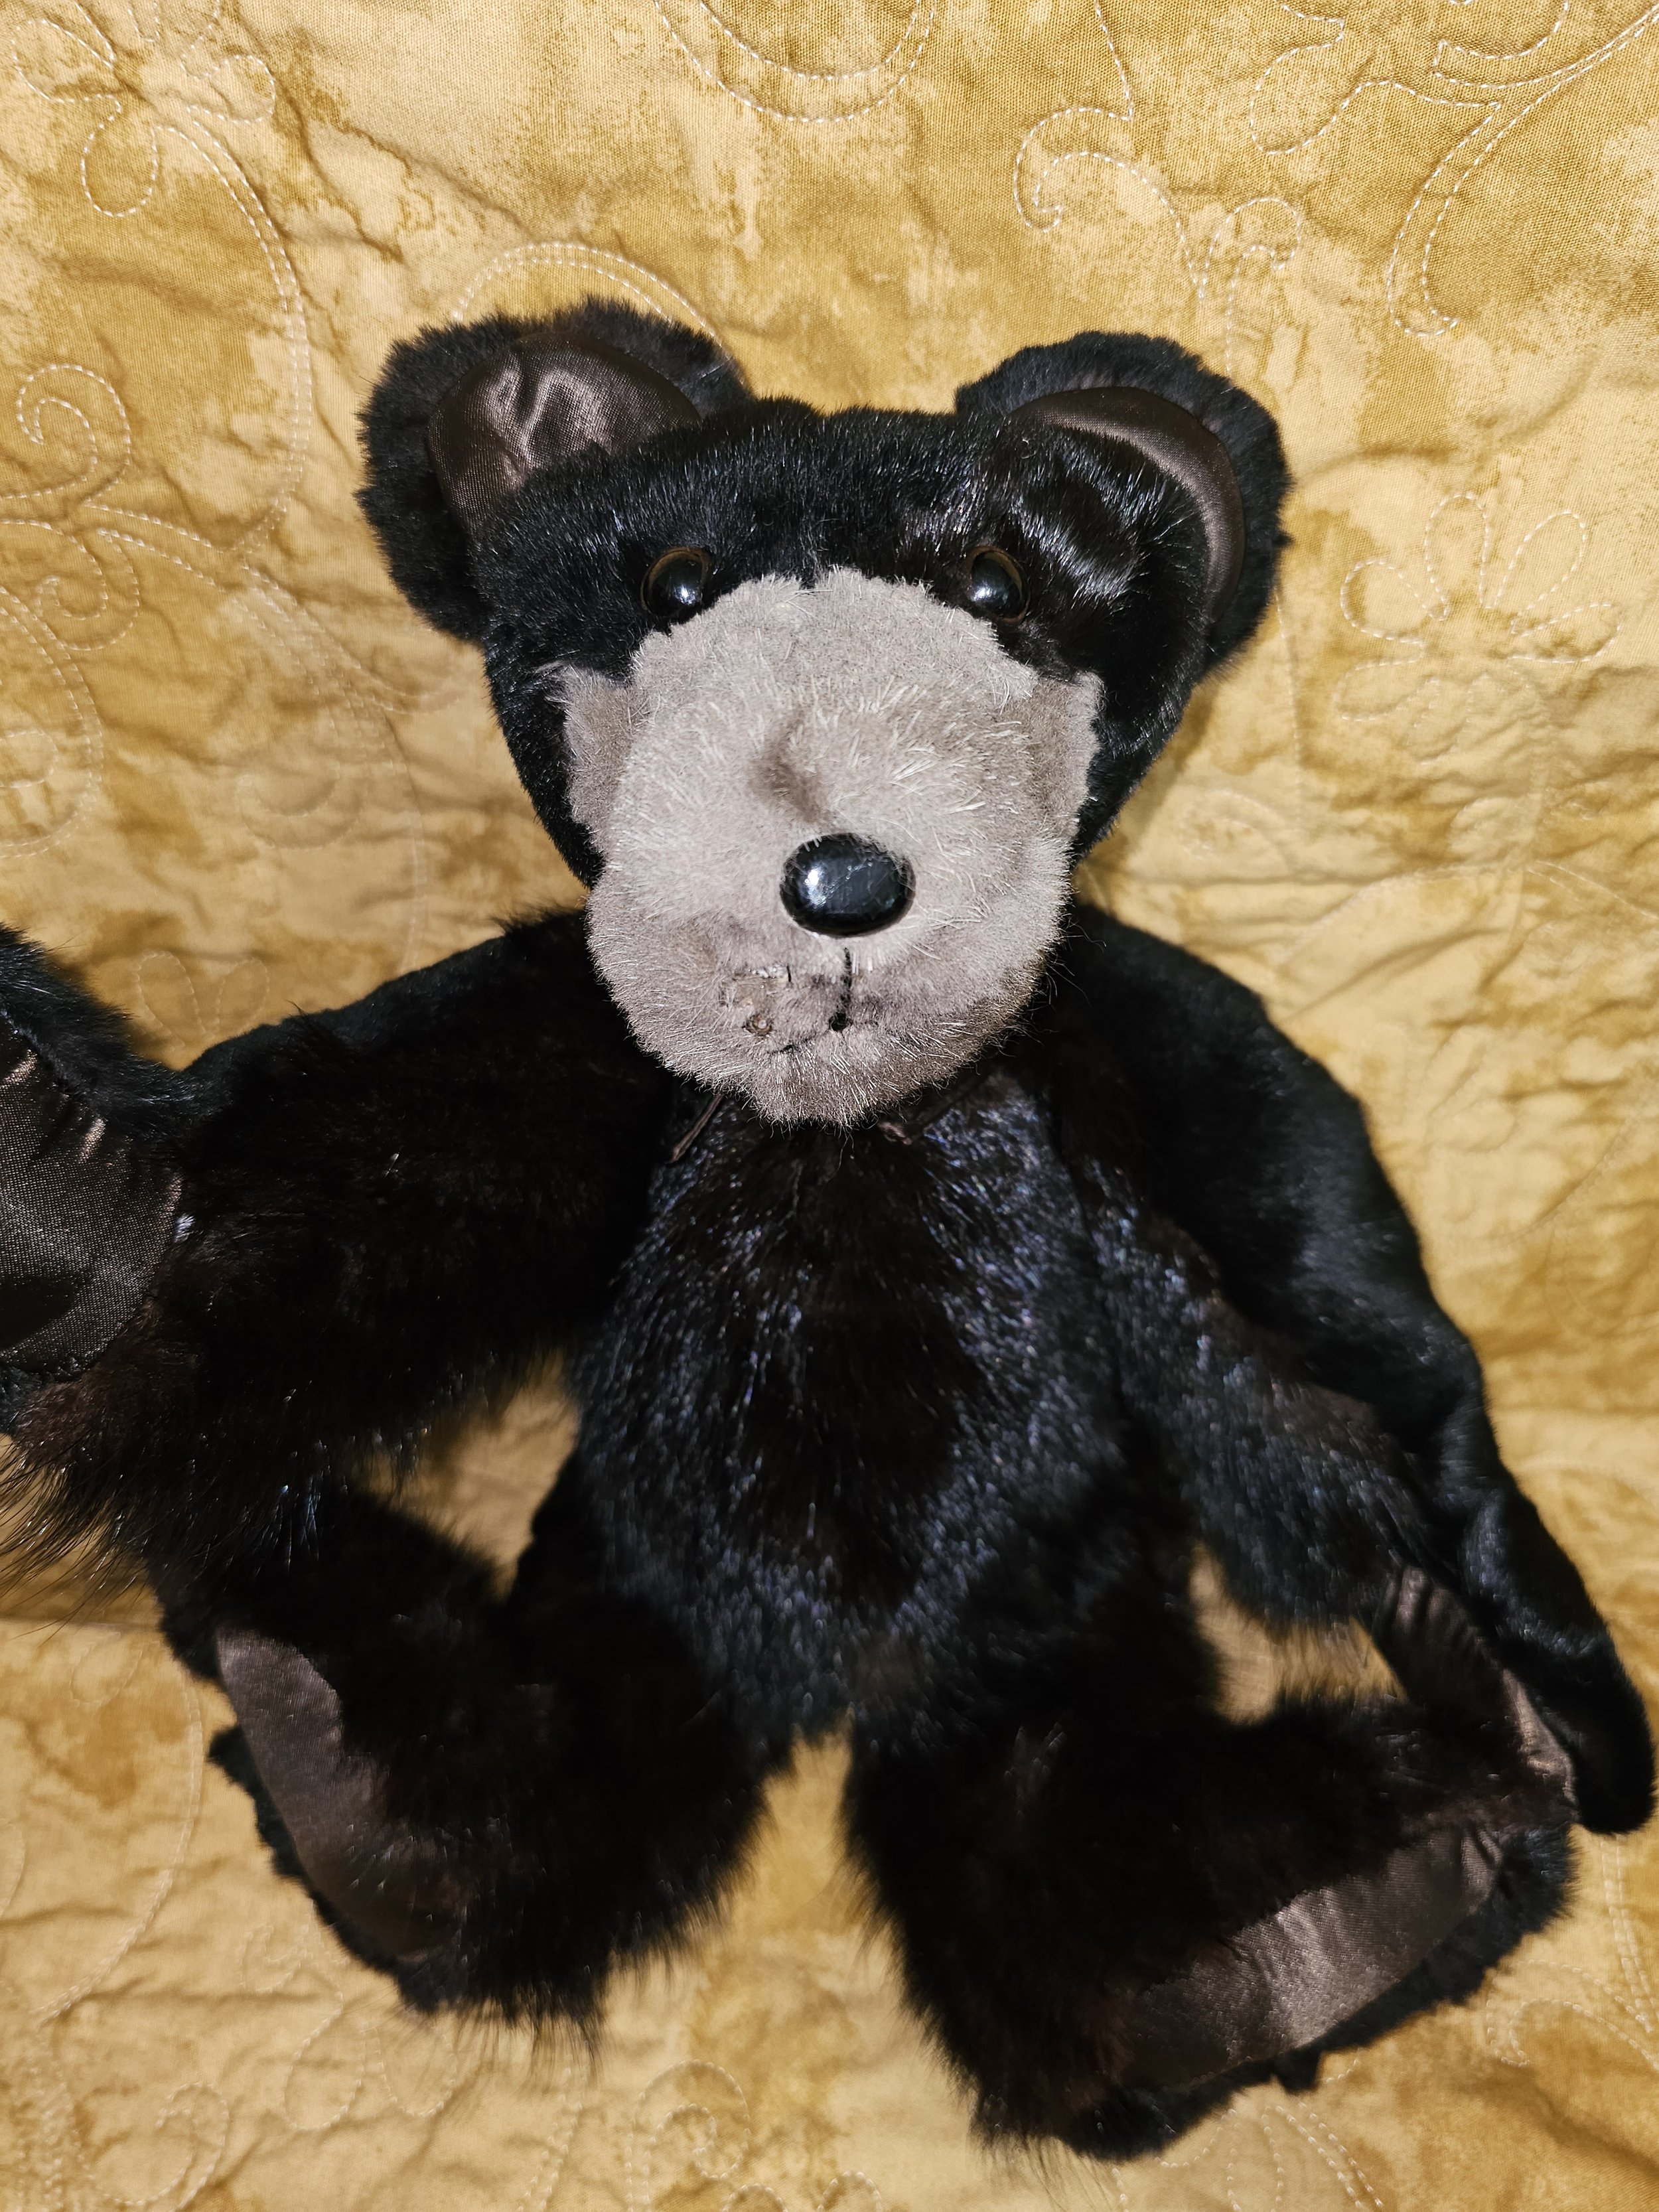
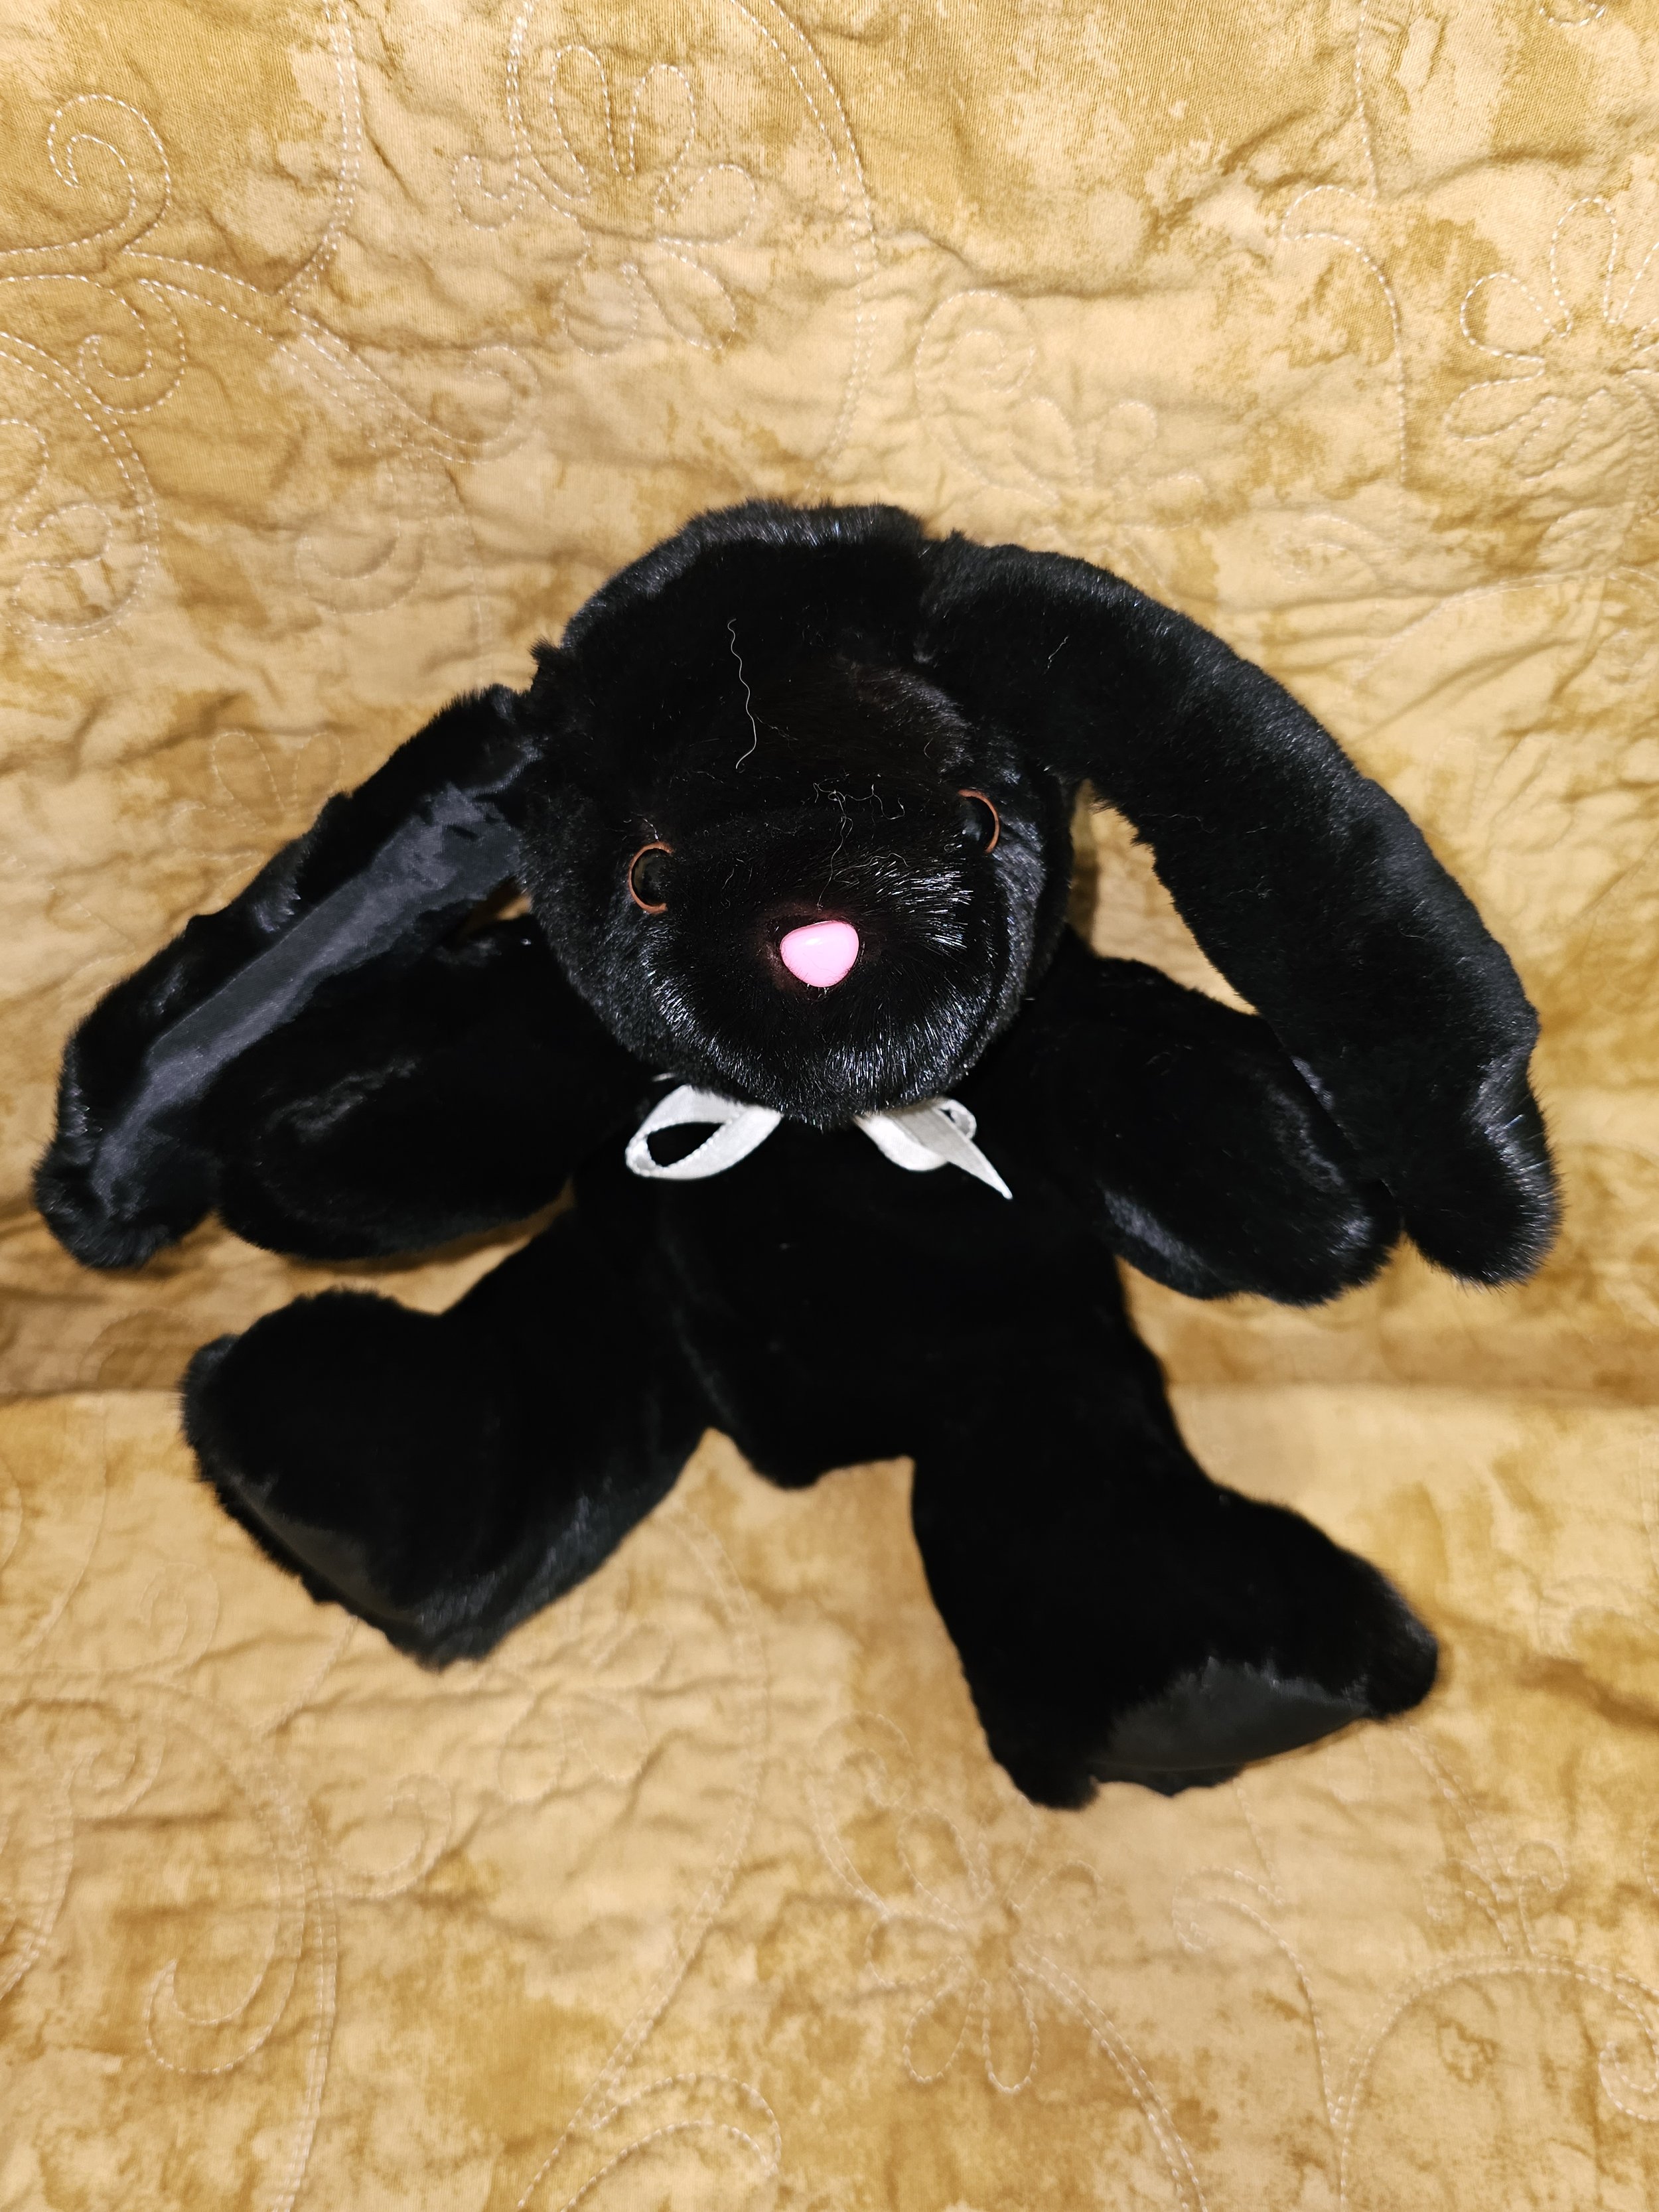
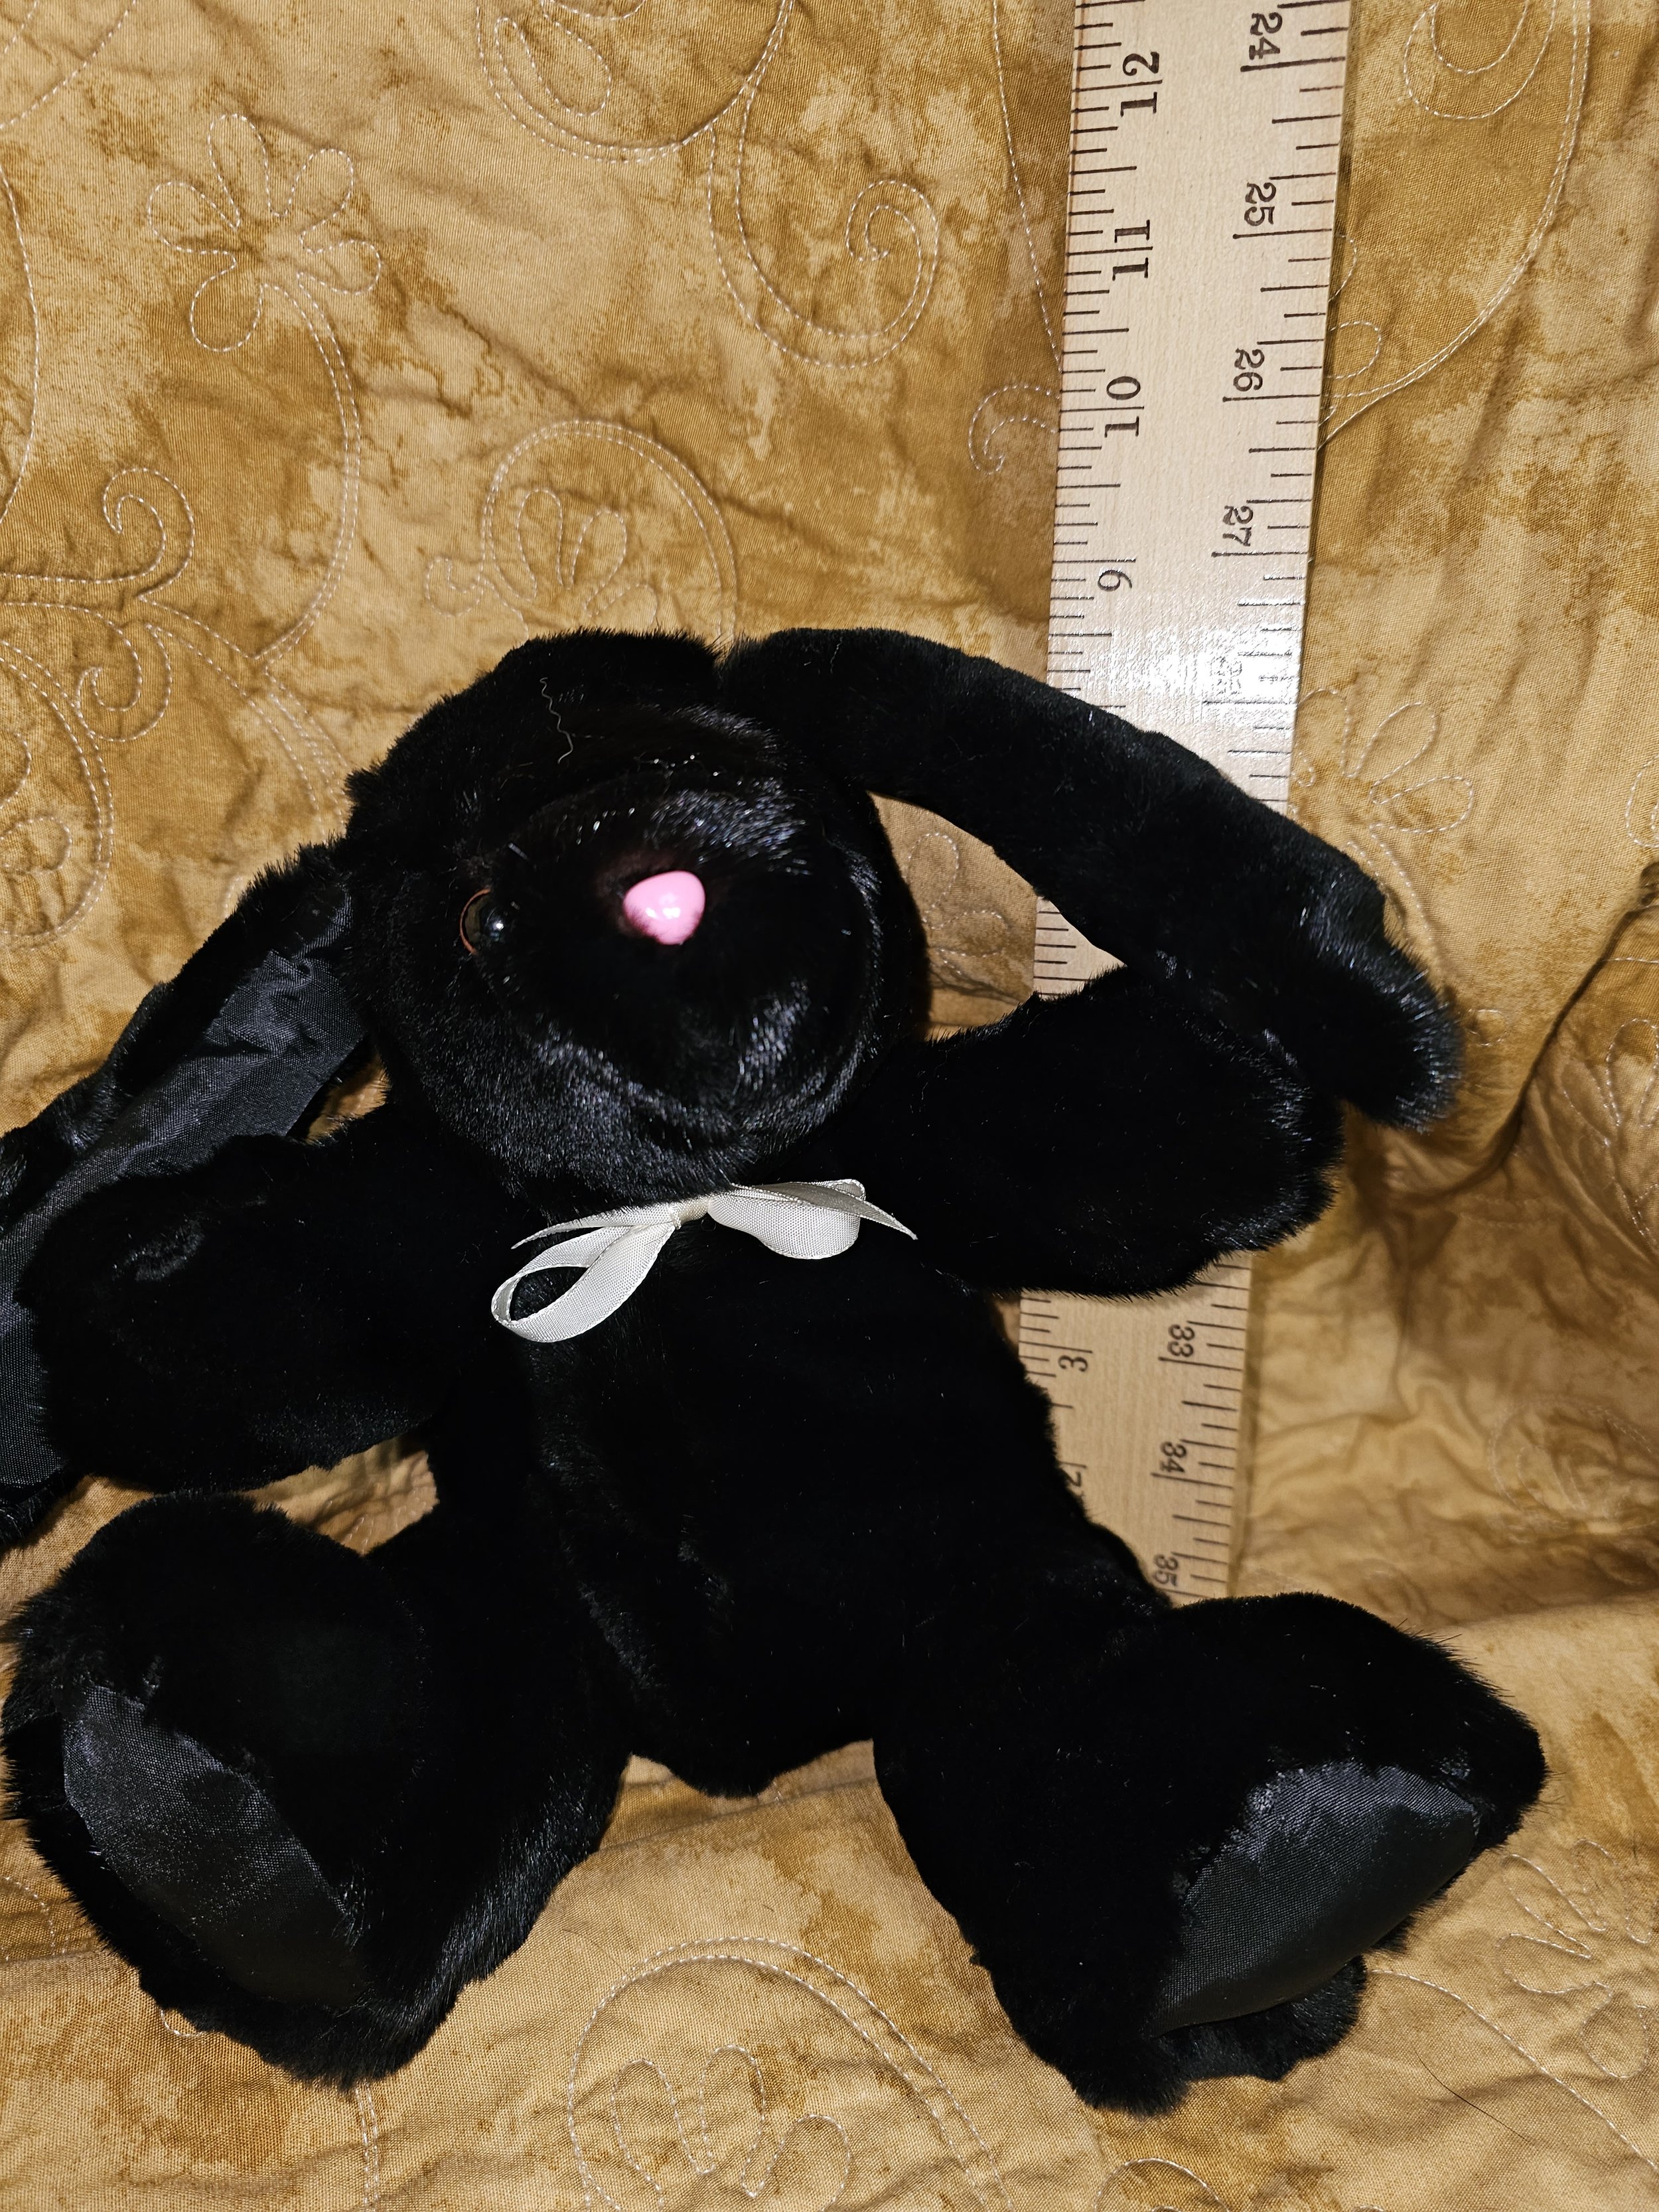
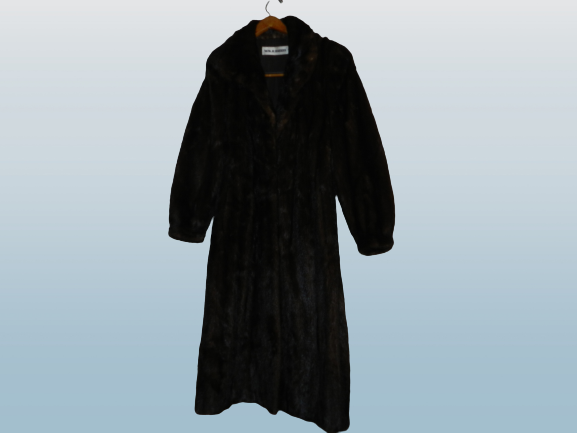
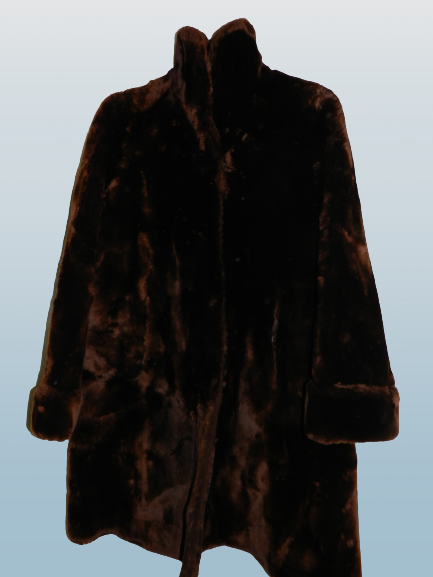
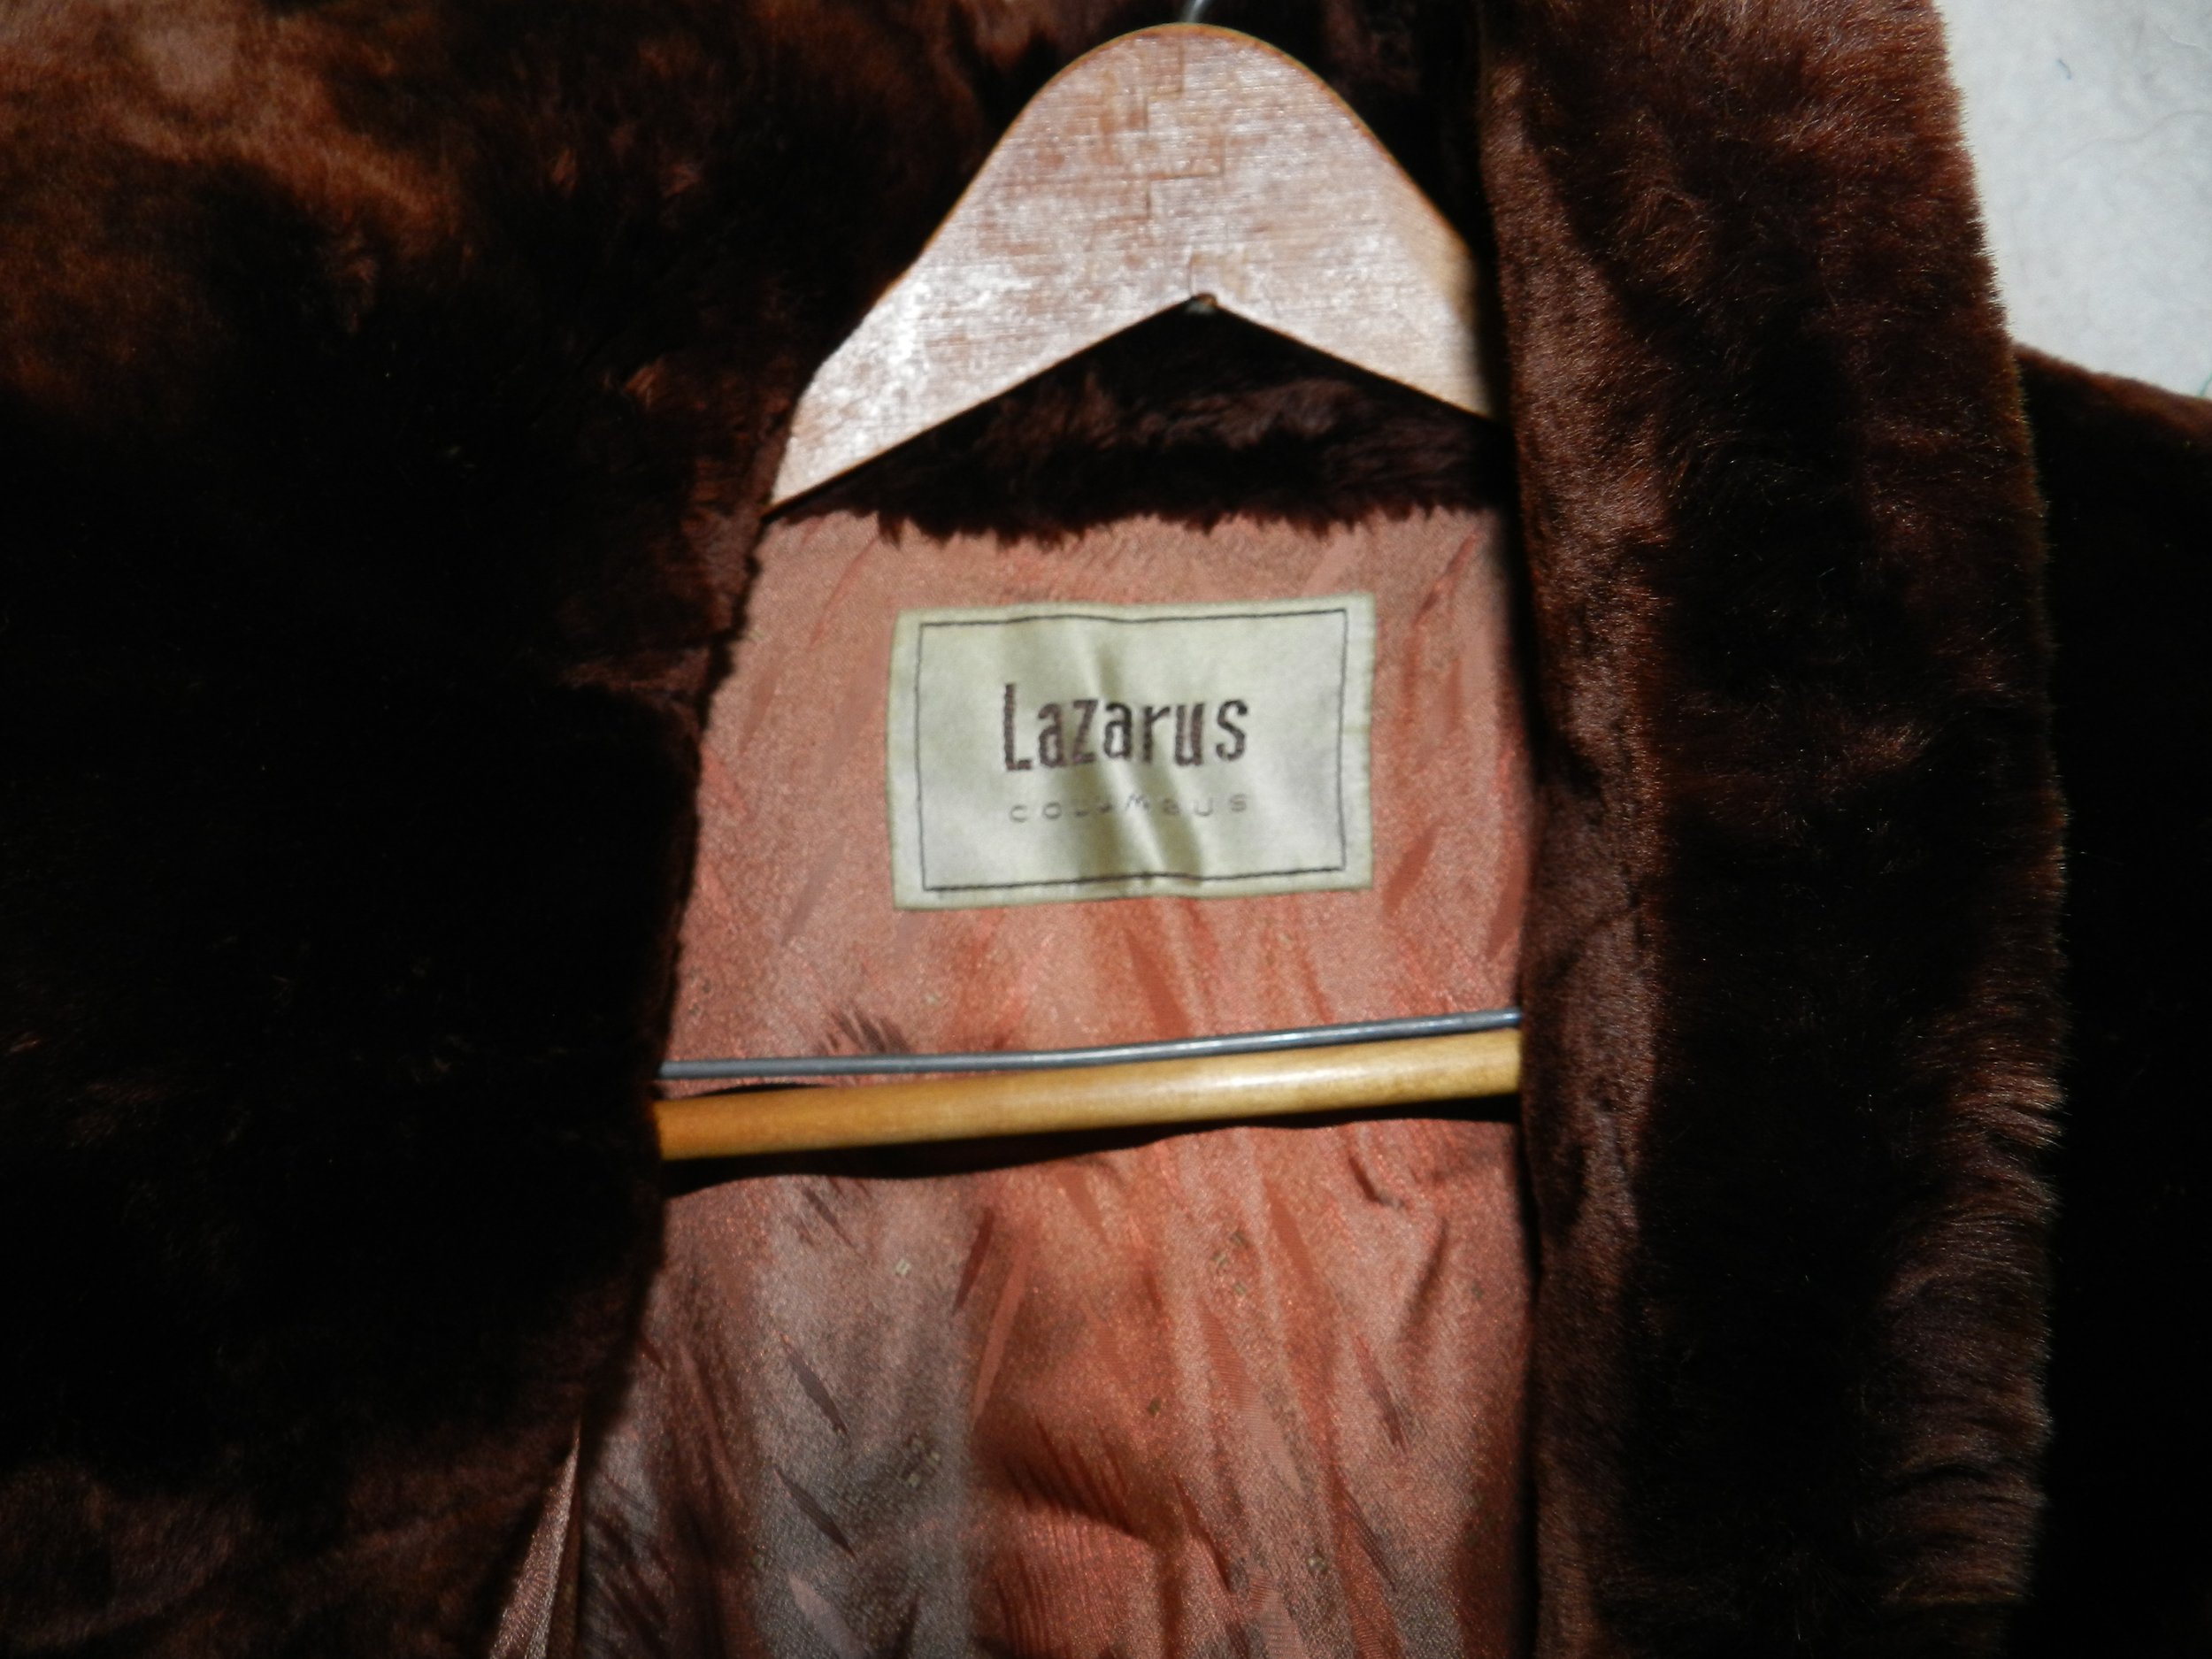
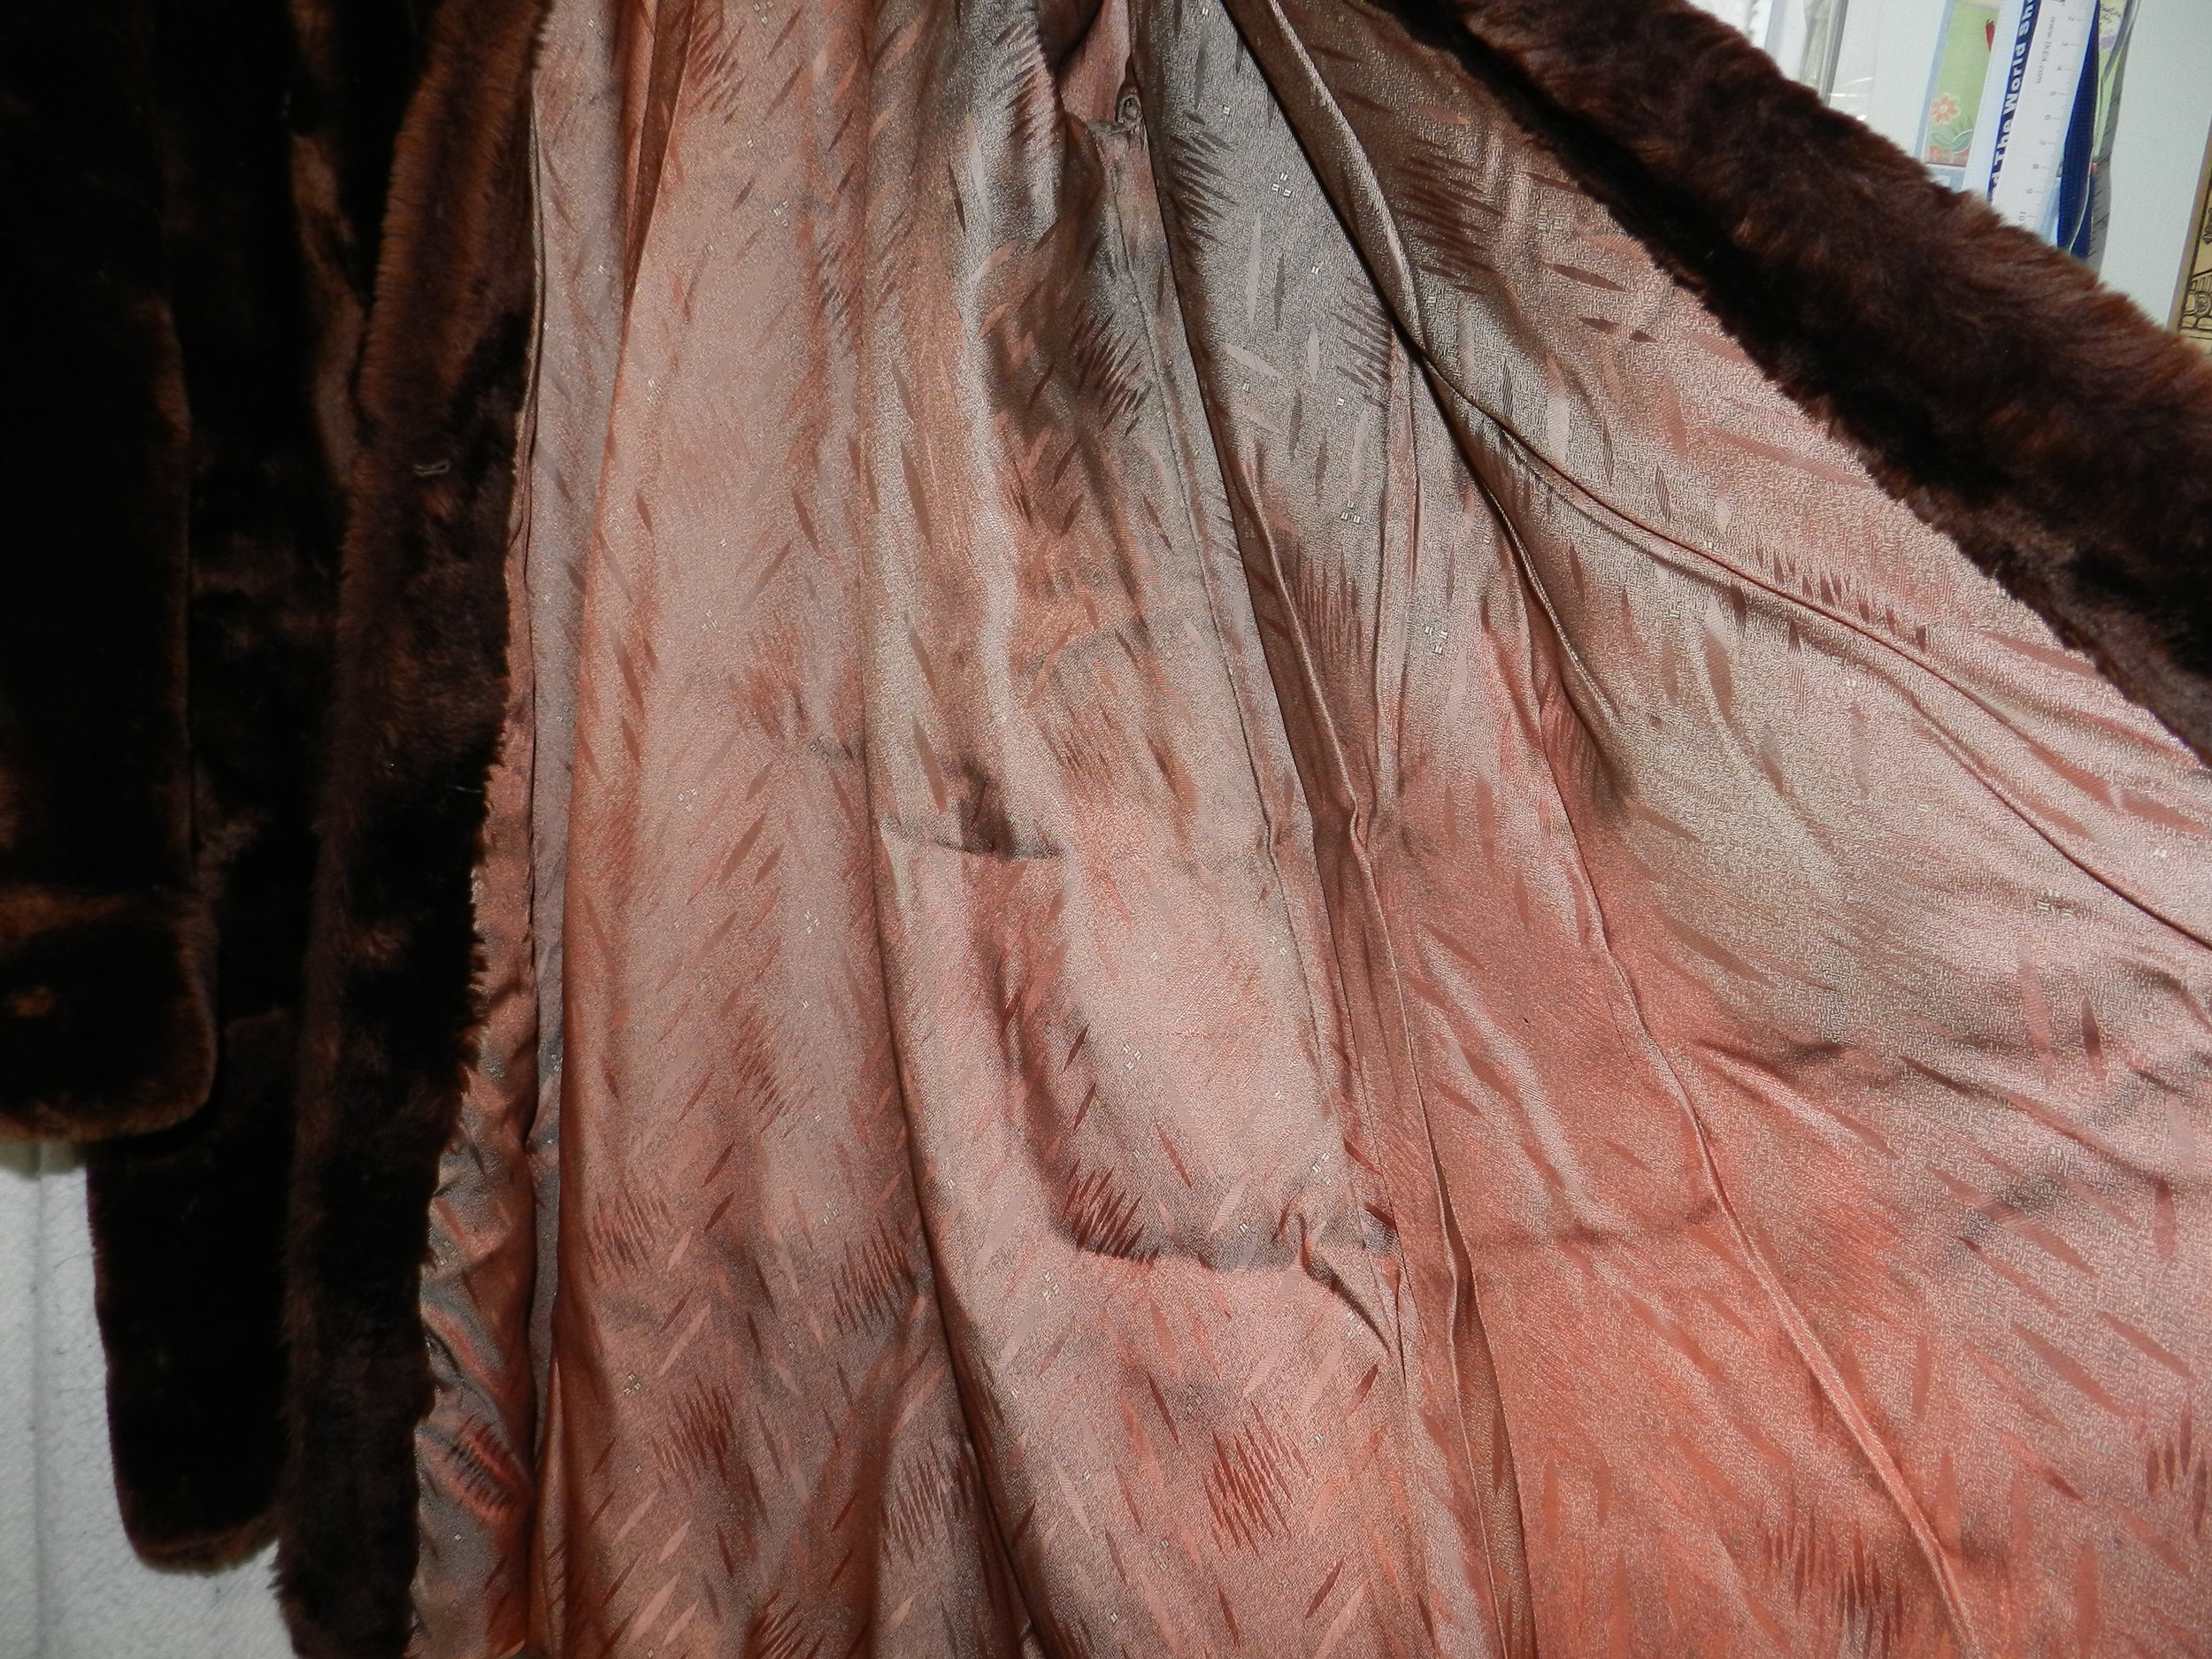
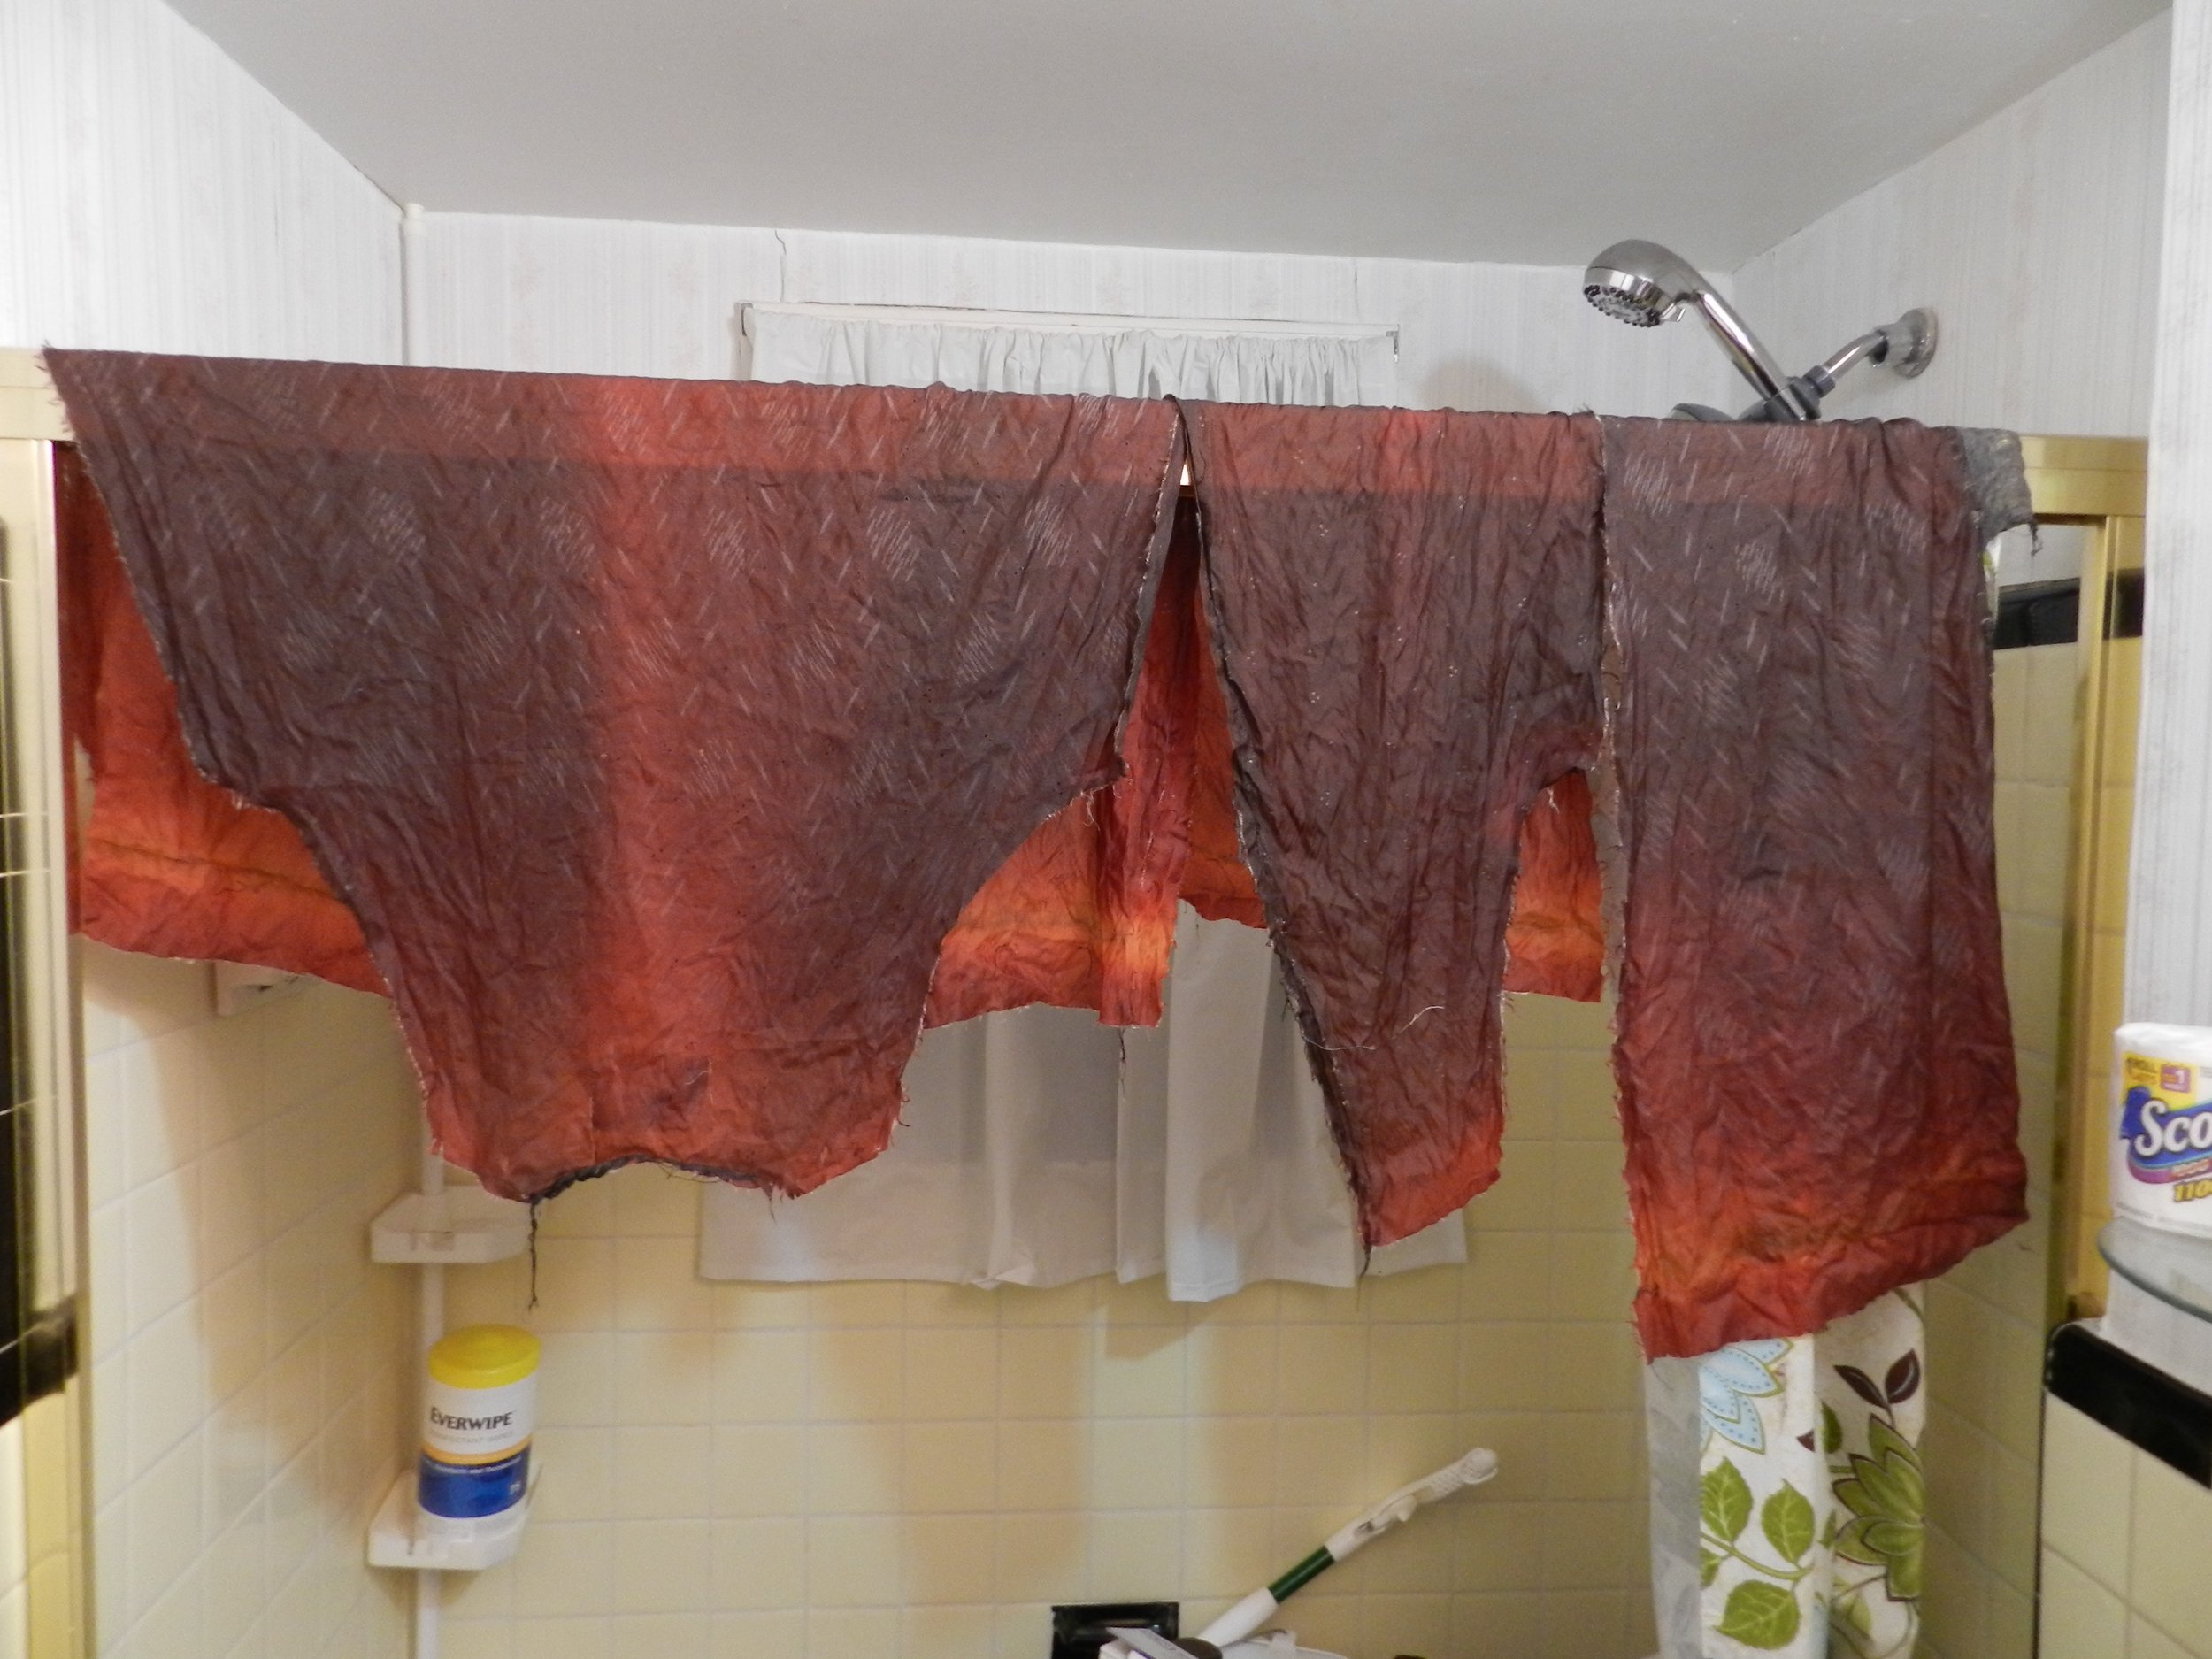
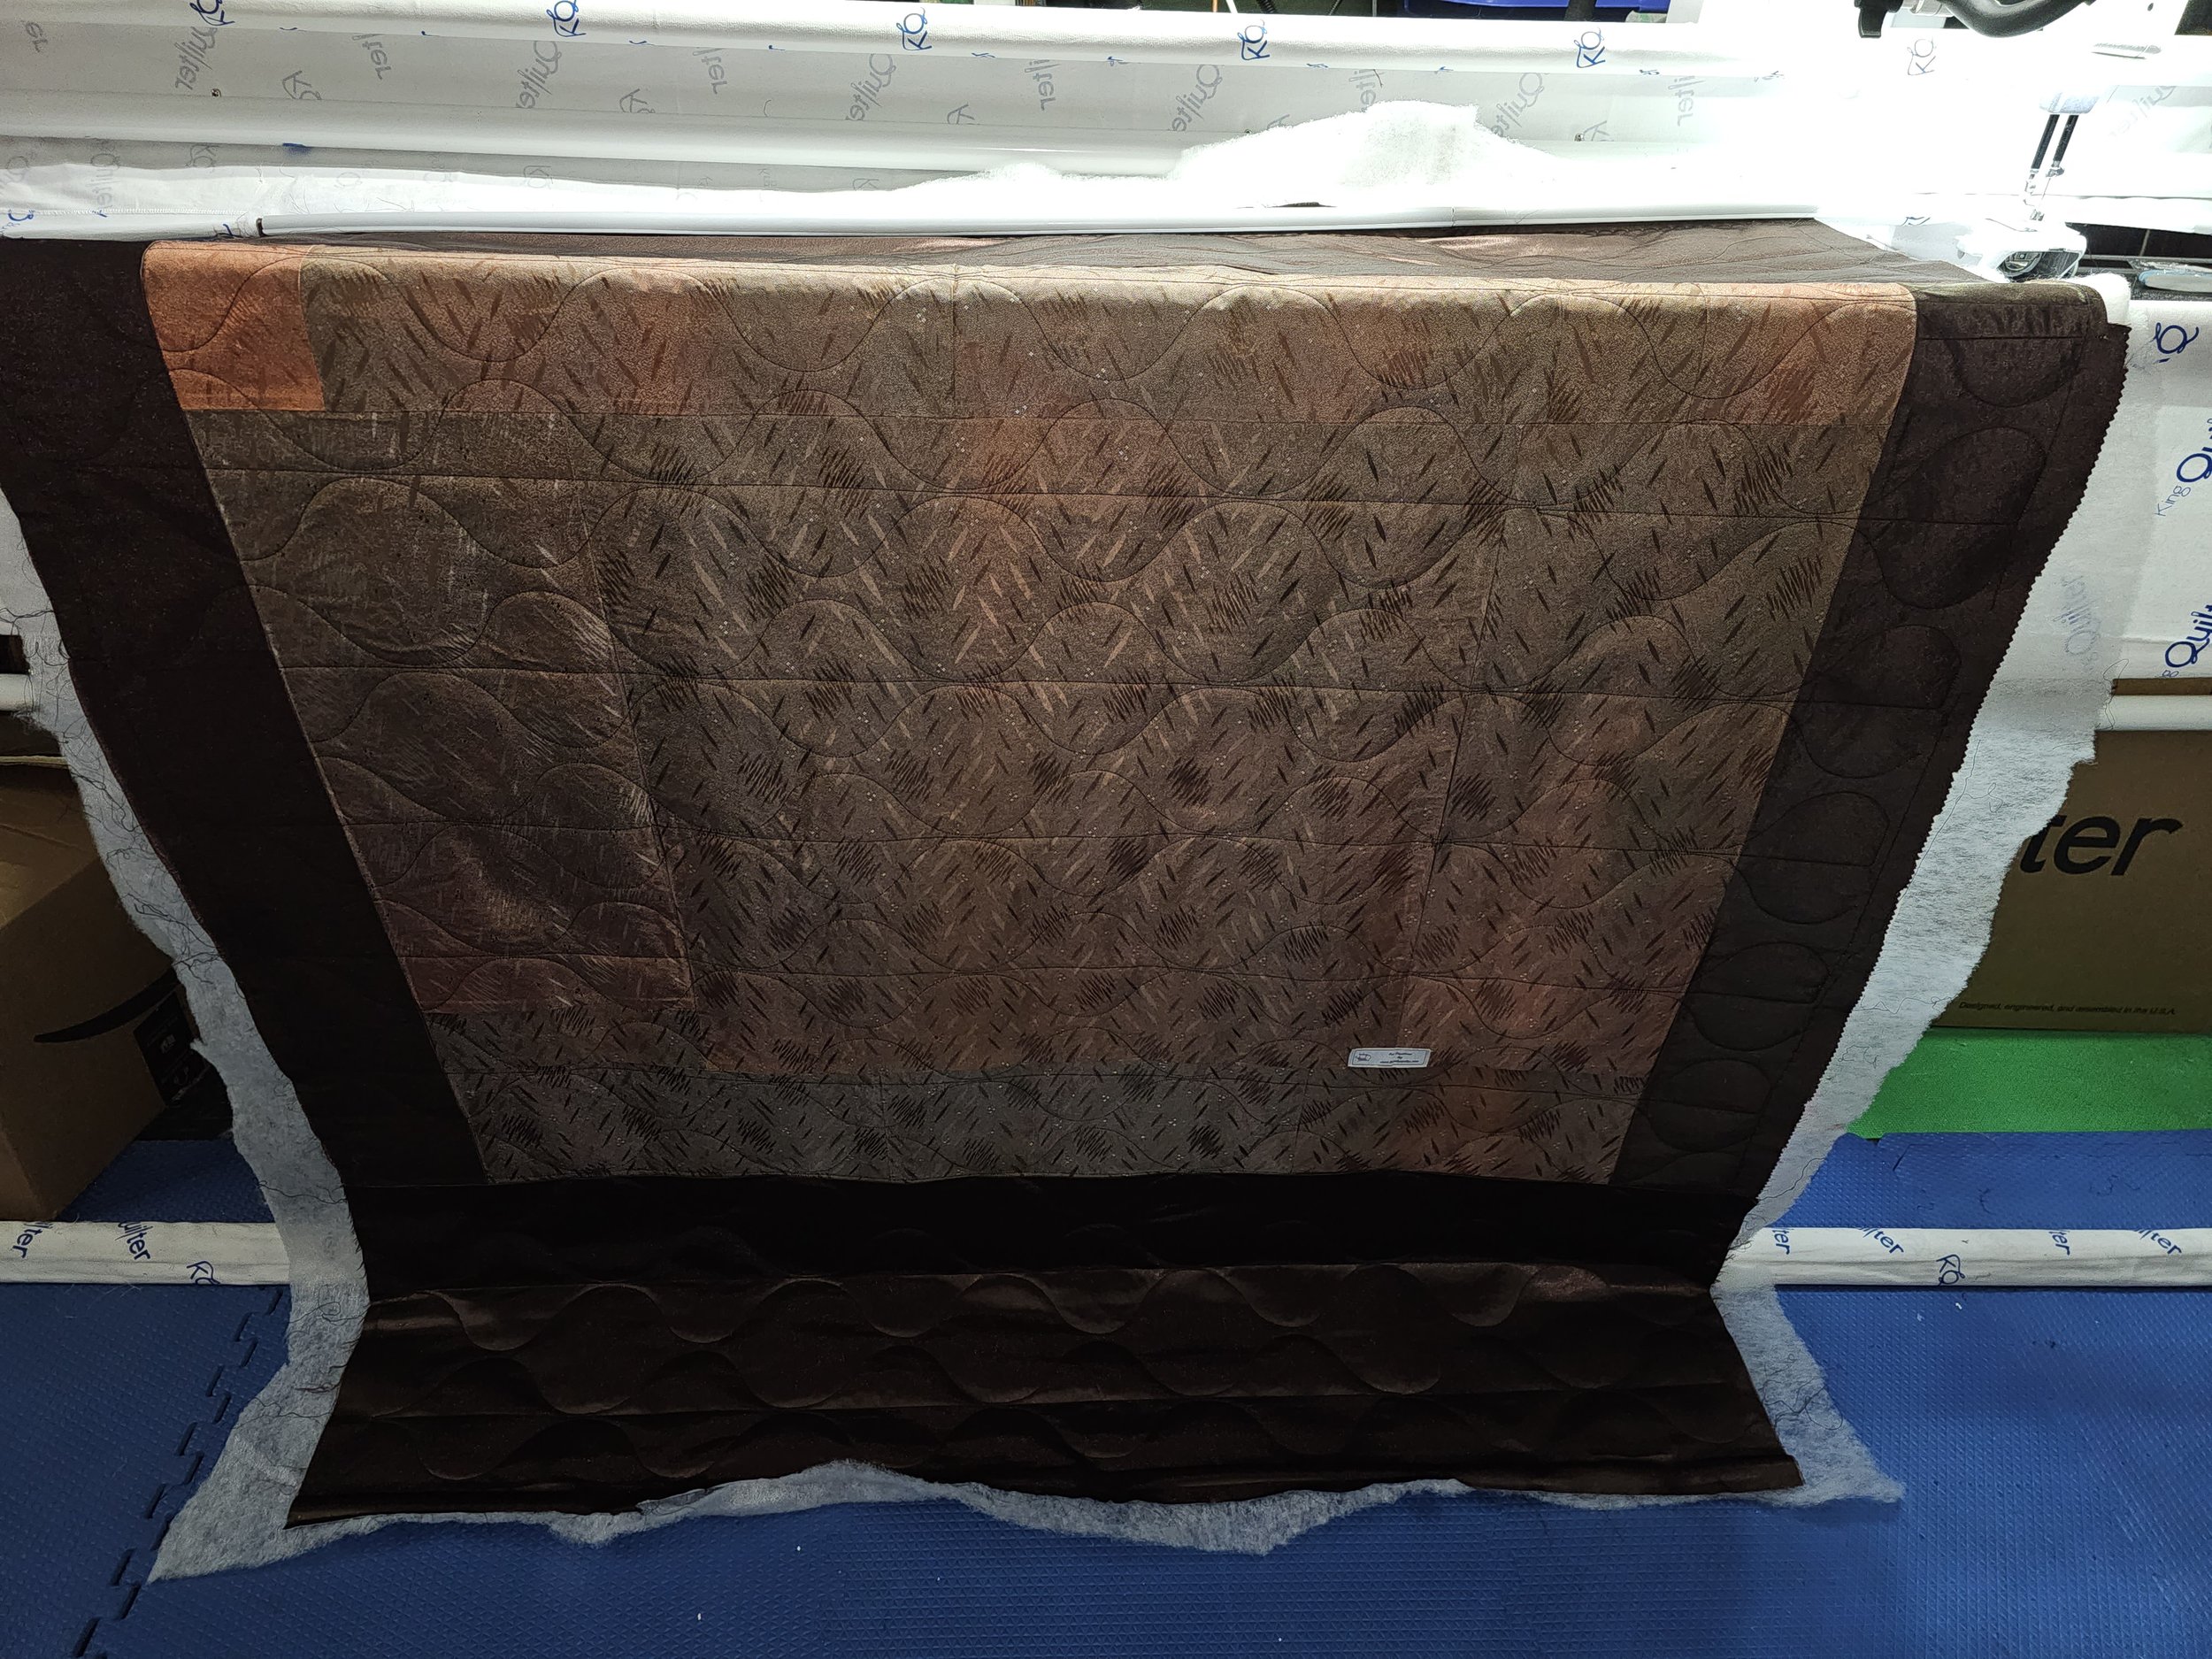
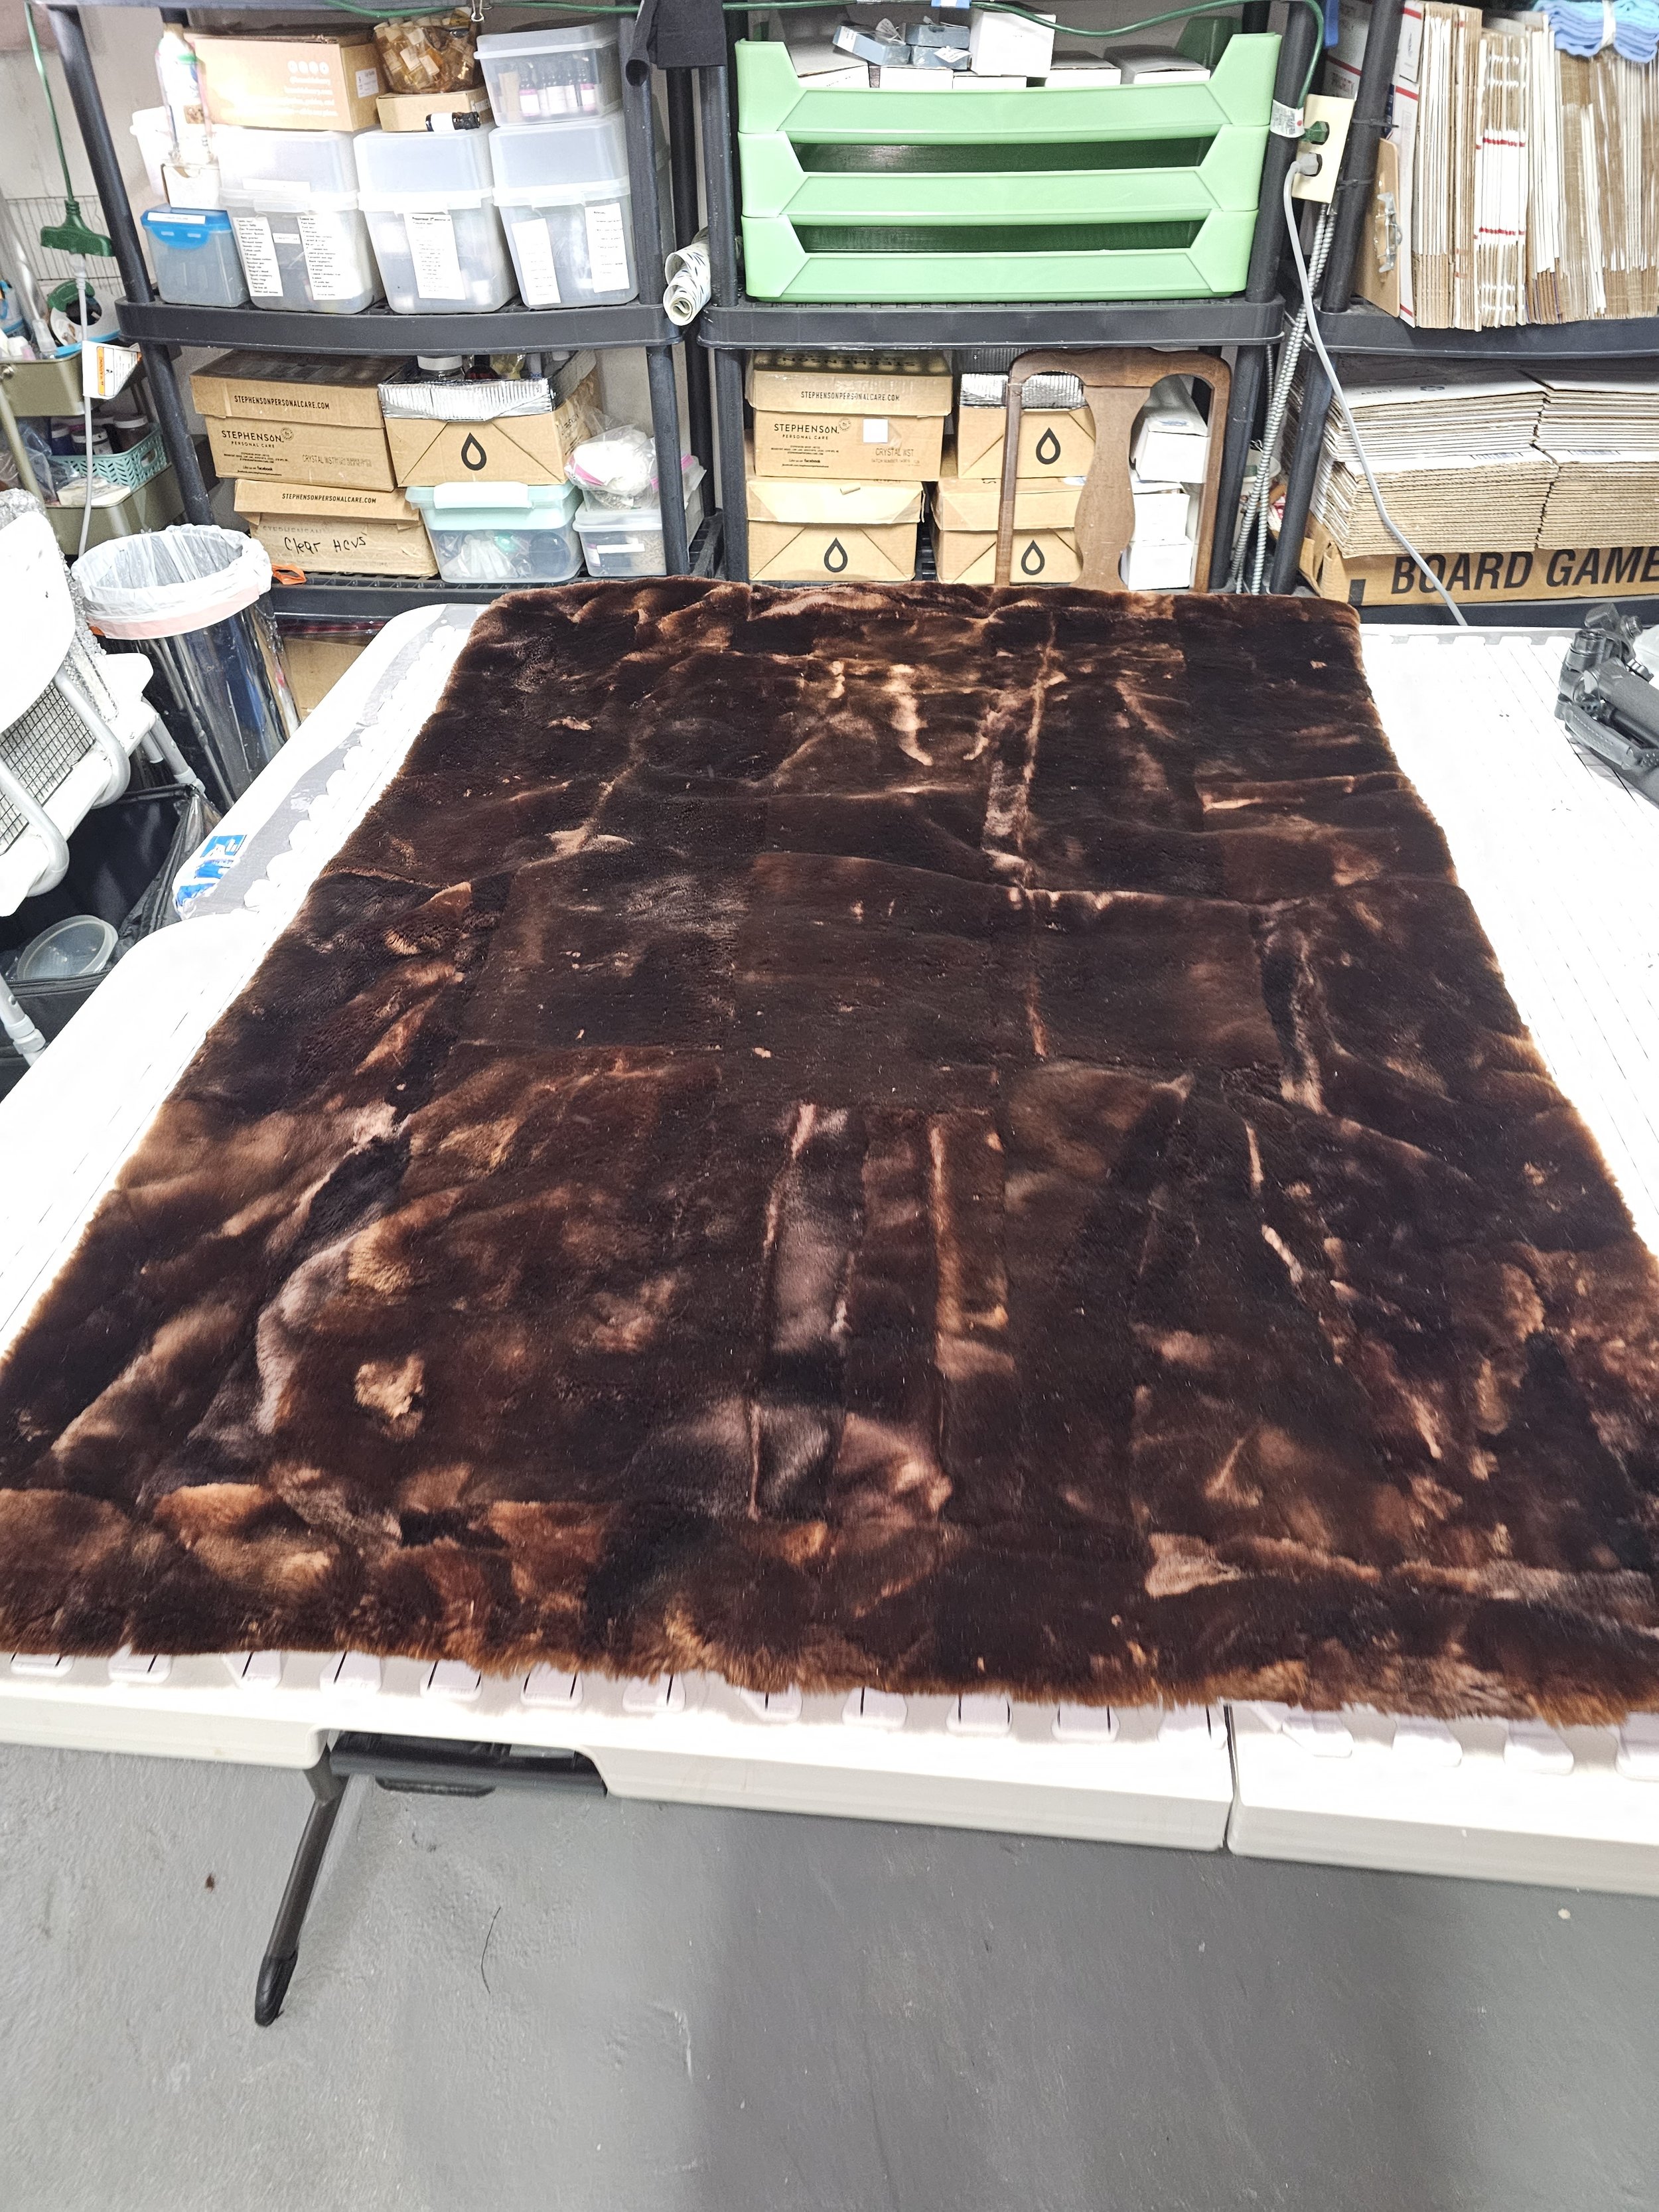
Cheryl had a short waisted coat that she wanted to repurpose into a throw. The throw's final measurement was 35 by 48. Much bigger than I thought it would be. Cheryl used her own lining. What a lovely fur to work on. Come visit us at: www.dinahsquilts.com
Watch the Video here: How To Made a Wedding Clutch from a Wedding Dress
The Mother of the Bride wanted to give her daughter a wonderful gift! A wedding clutch made from her own wedding dress. I wasn’t able to get it done in time for the shower. She went with someone else. You will see a very poorly made wedding clutch made by another seamstress. When the customer received her item she was shocked! You will be too. Raw seams, Velcro everywhere & the bag would not close. She used a premade bag, glue and Velcro!
Watch the process of me preparing the pattern, cutting the dress and embellishing the bag just the way her daughter wanted. .Now the Bride will have a beautiful bag that she can cherish and be proud to wear on her wedding day!
Watch the Video here: Cindy's Mink Stole Transformation
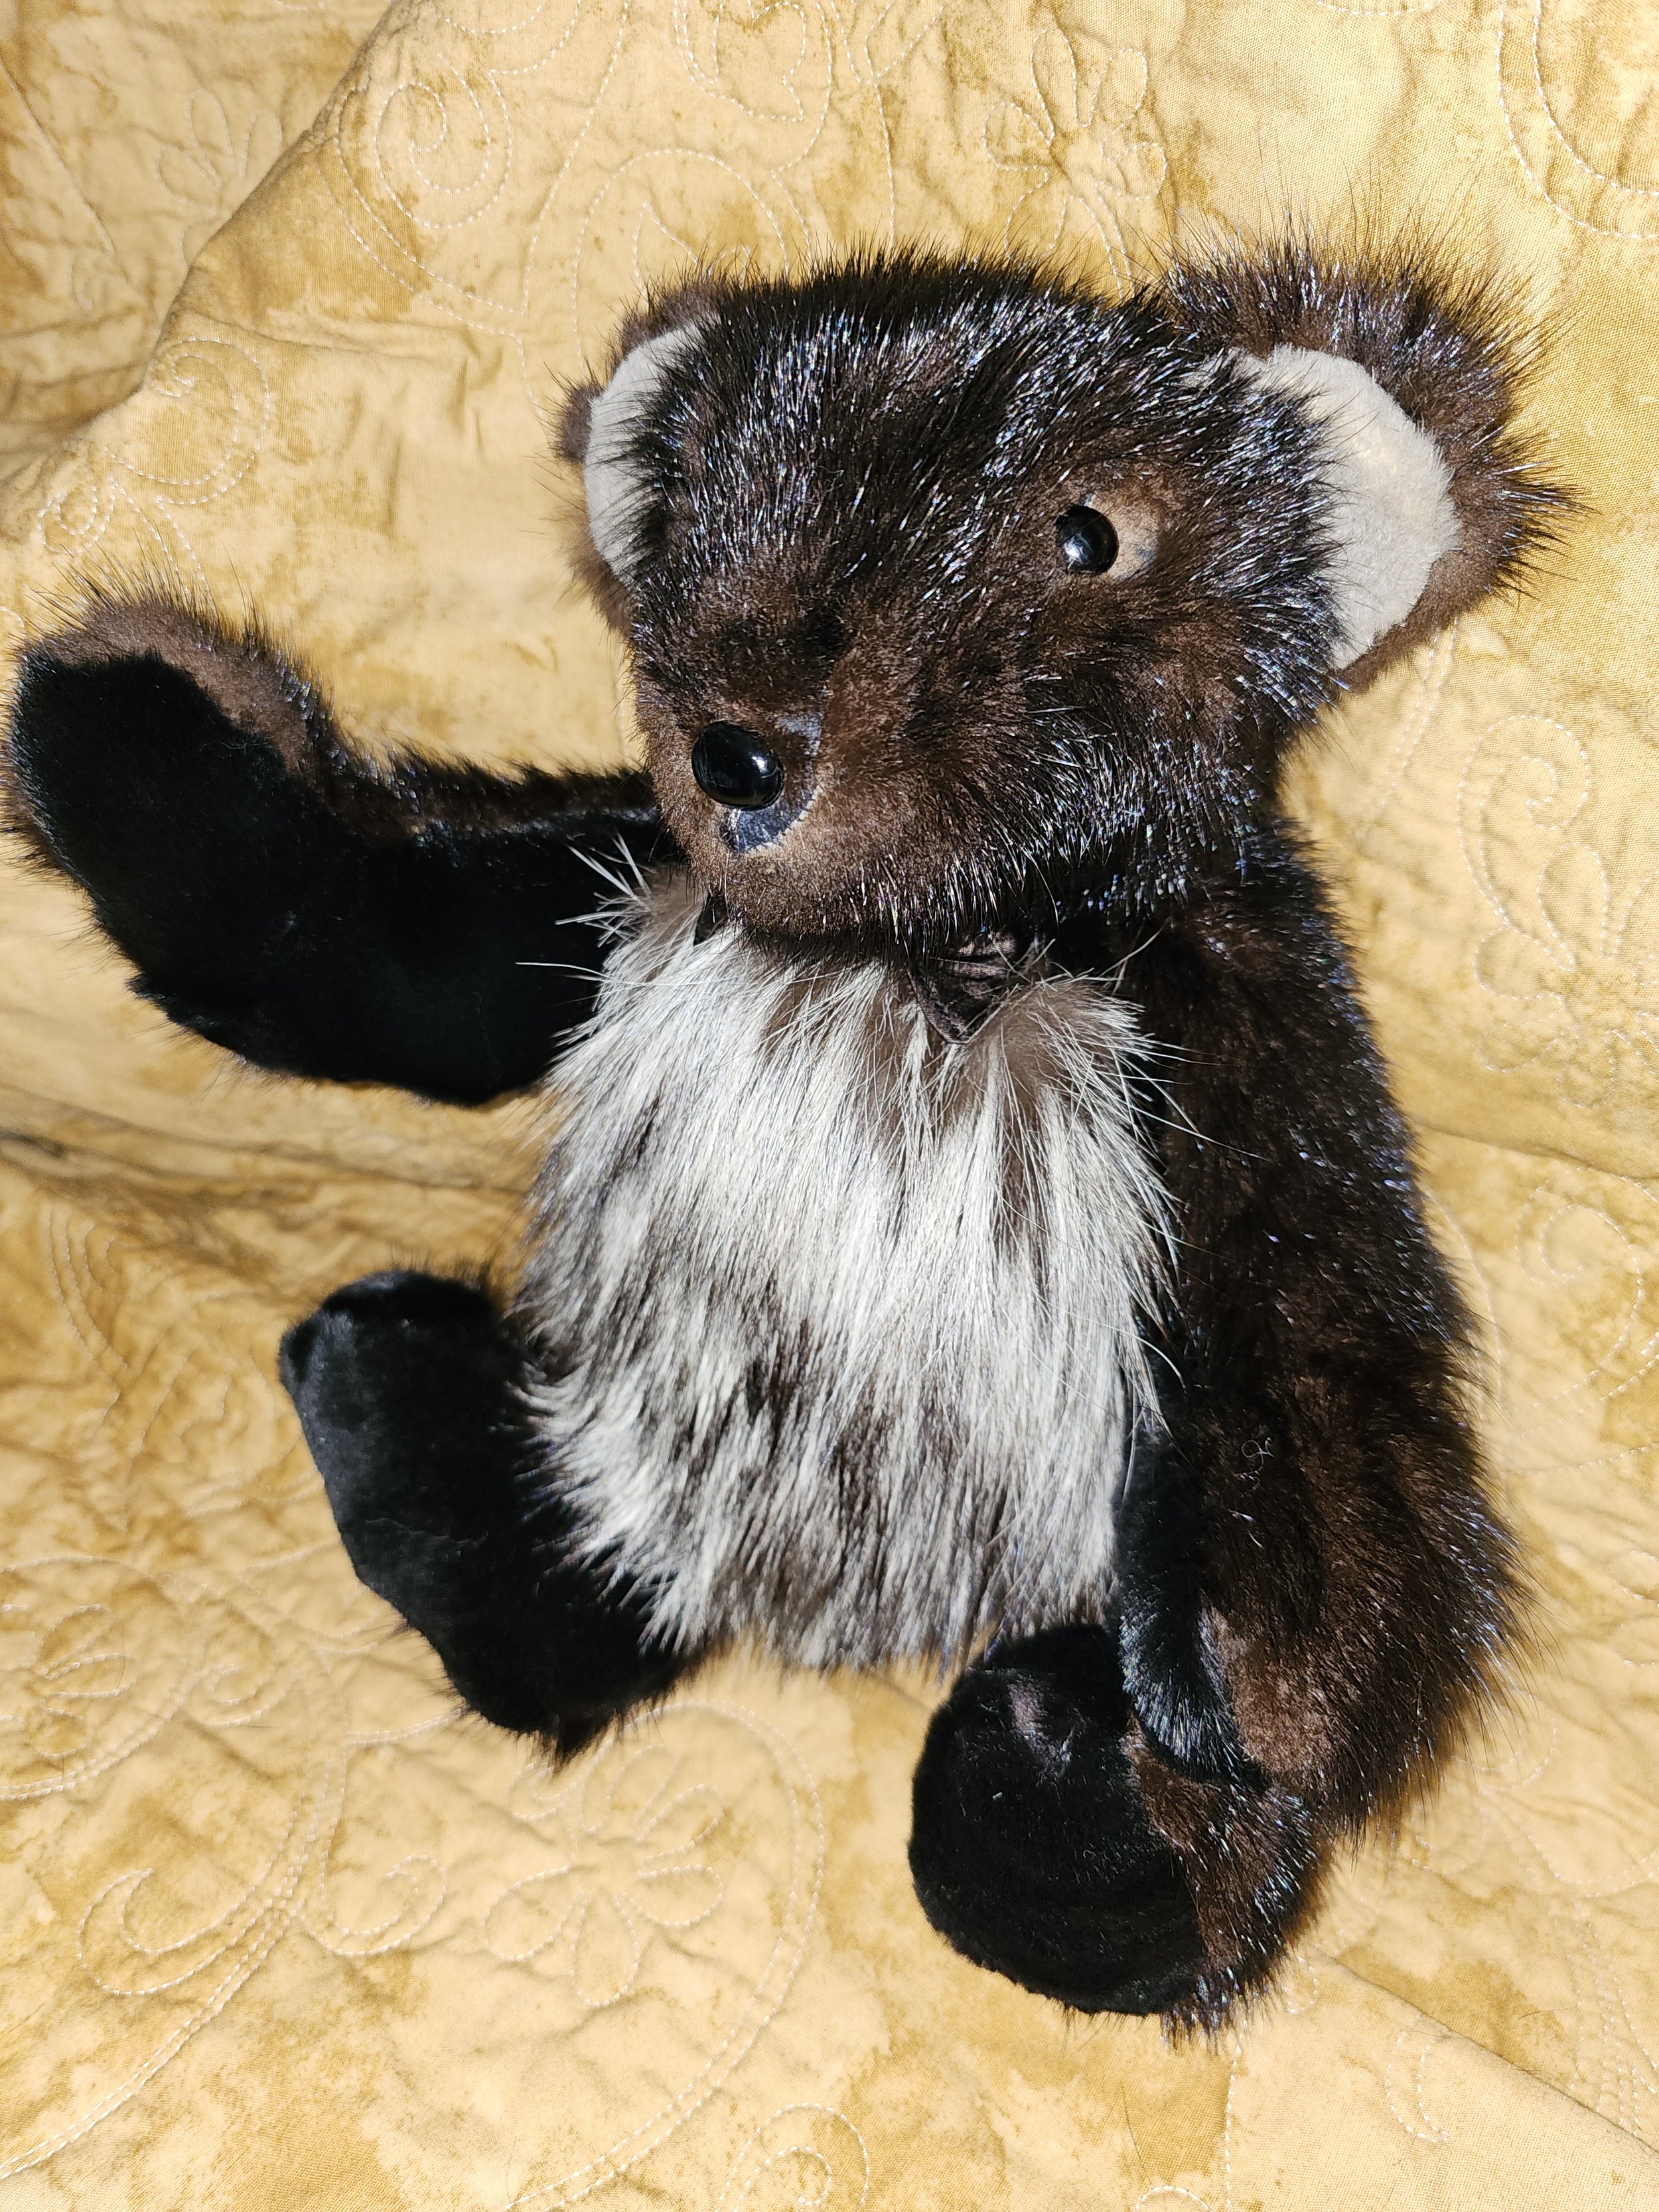
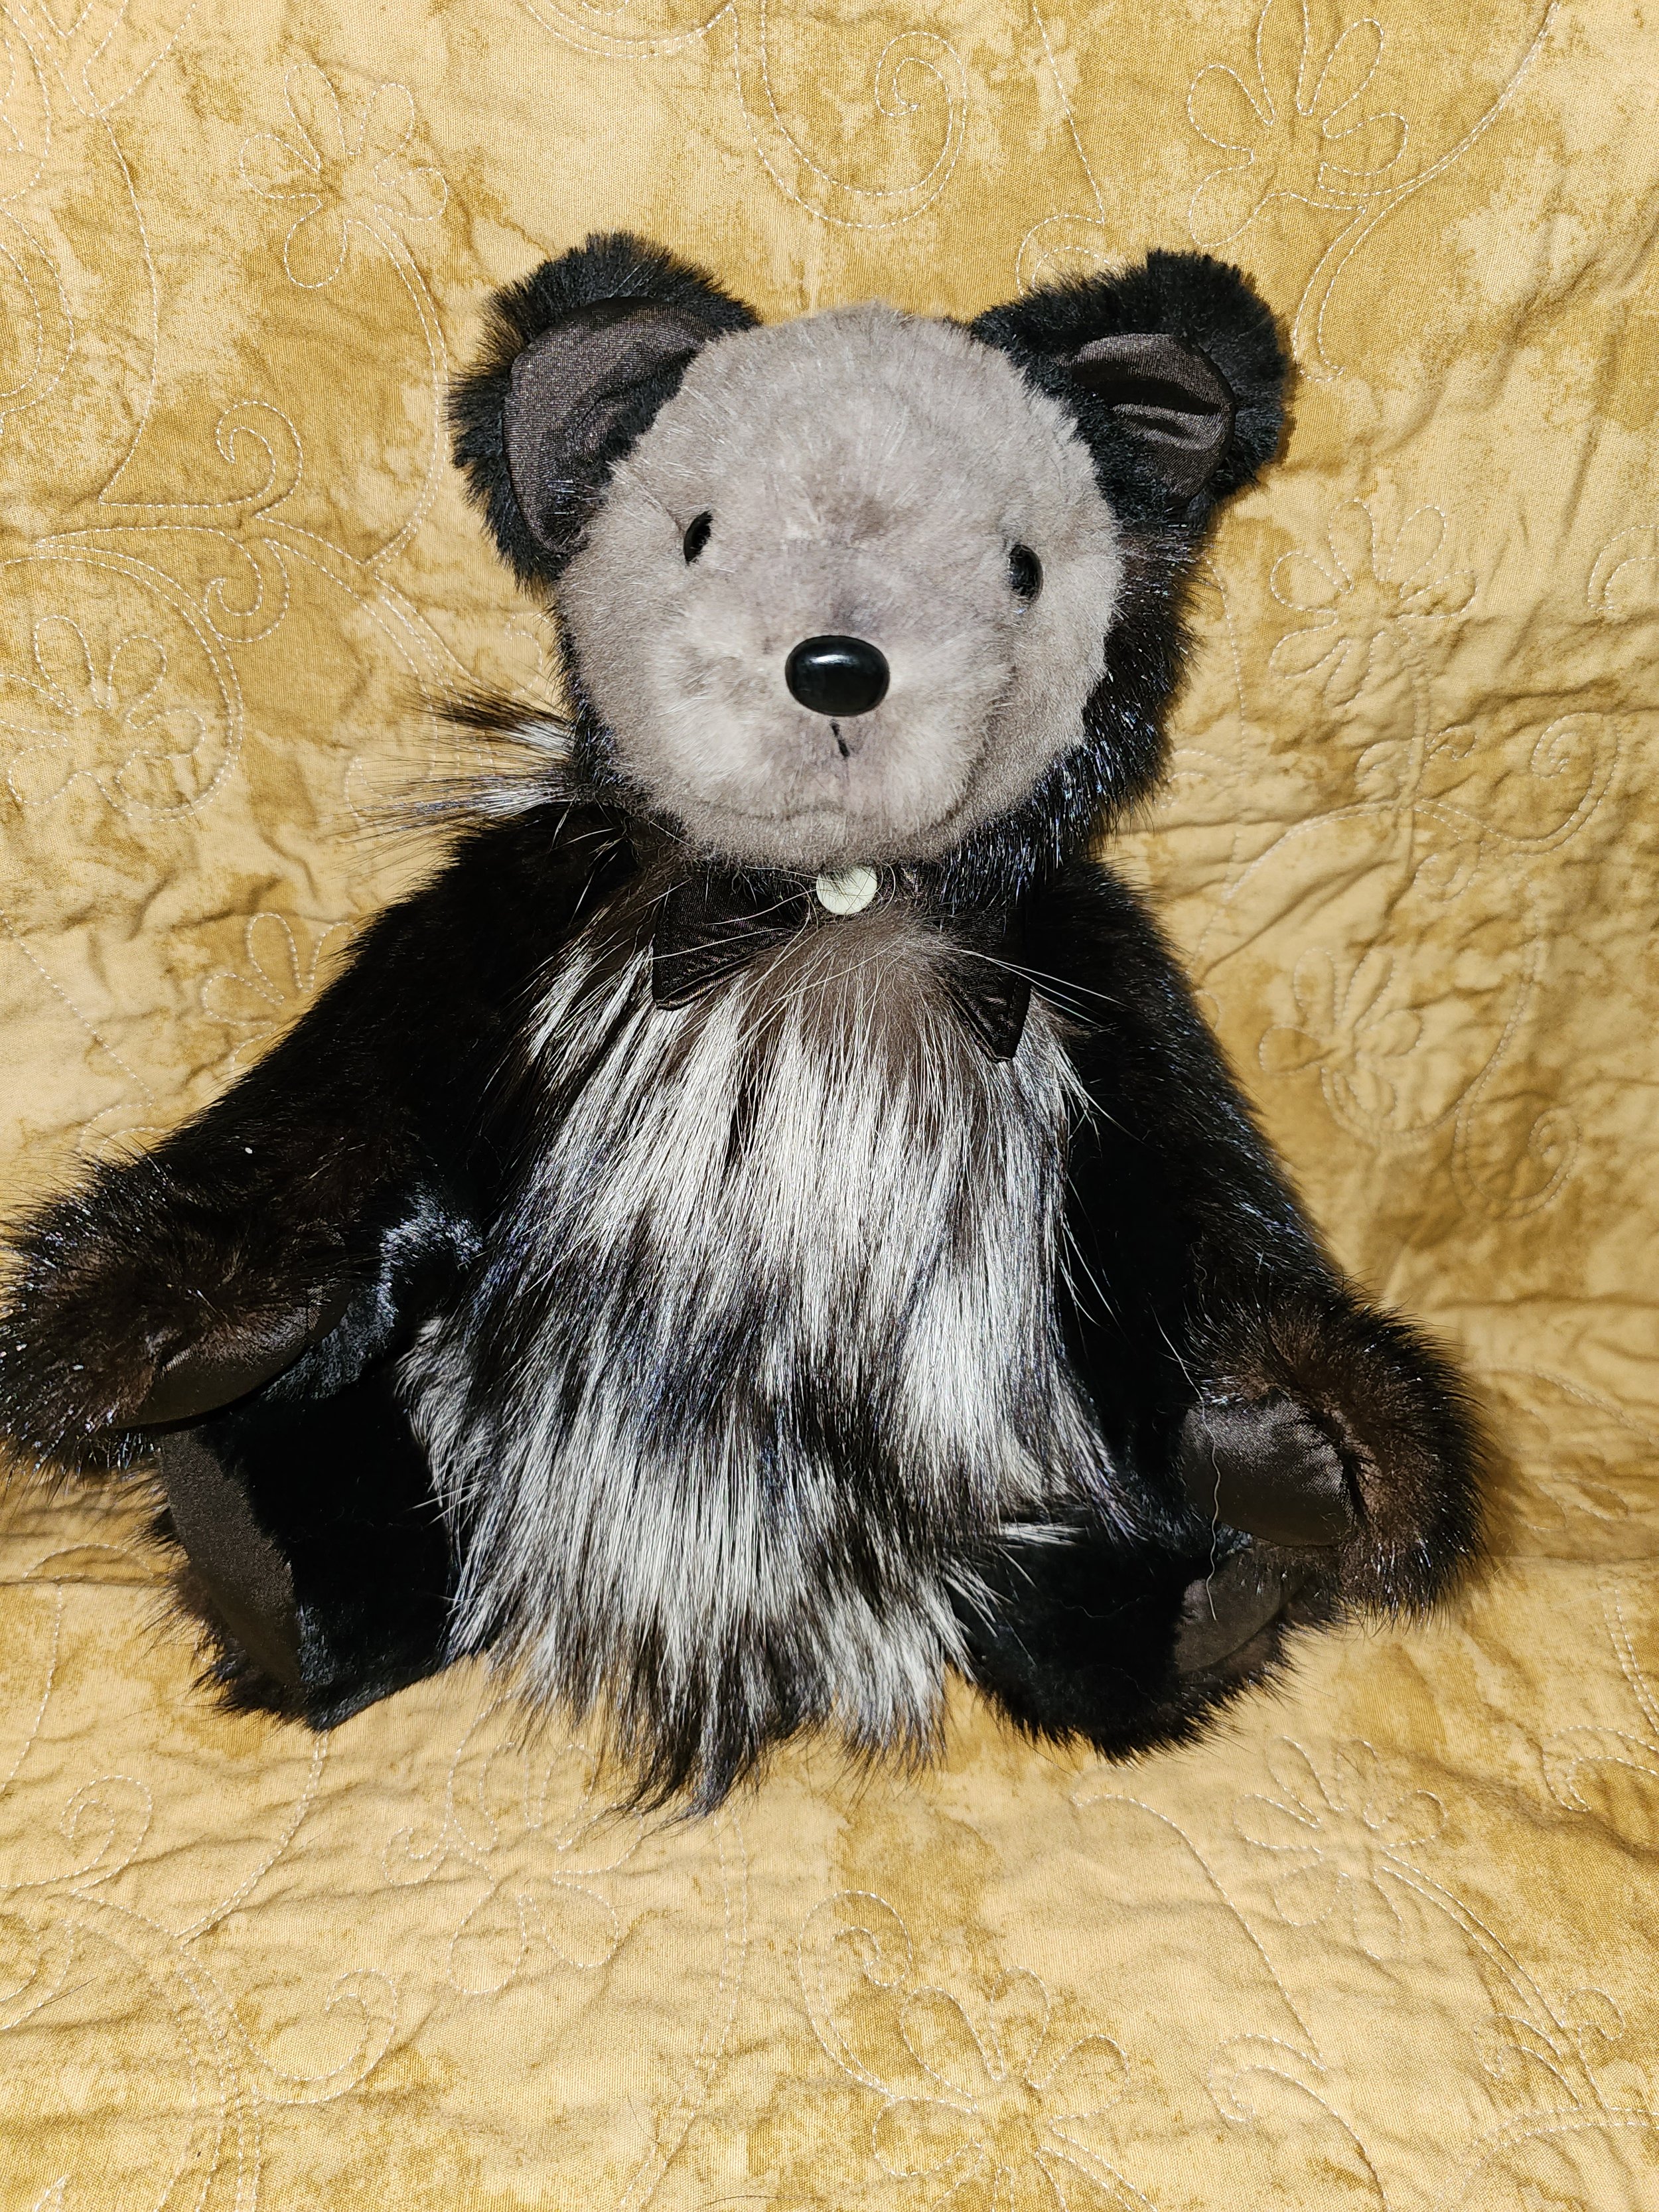
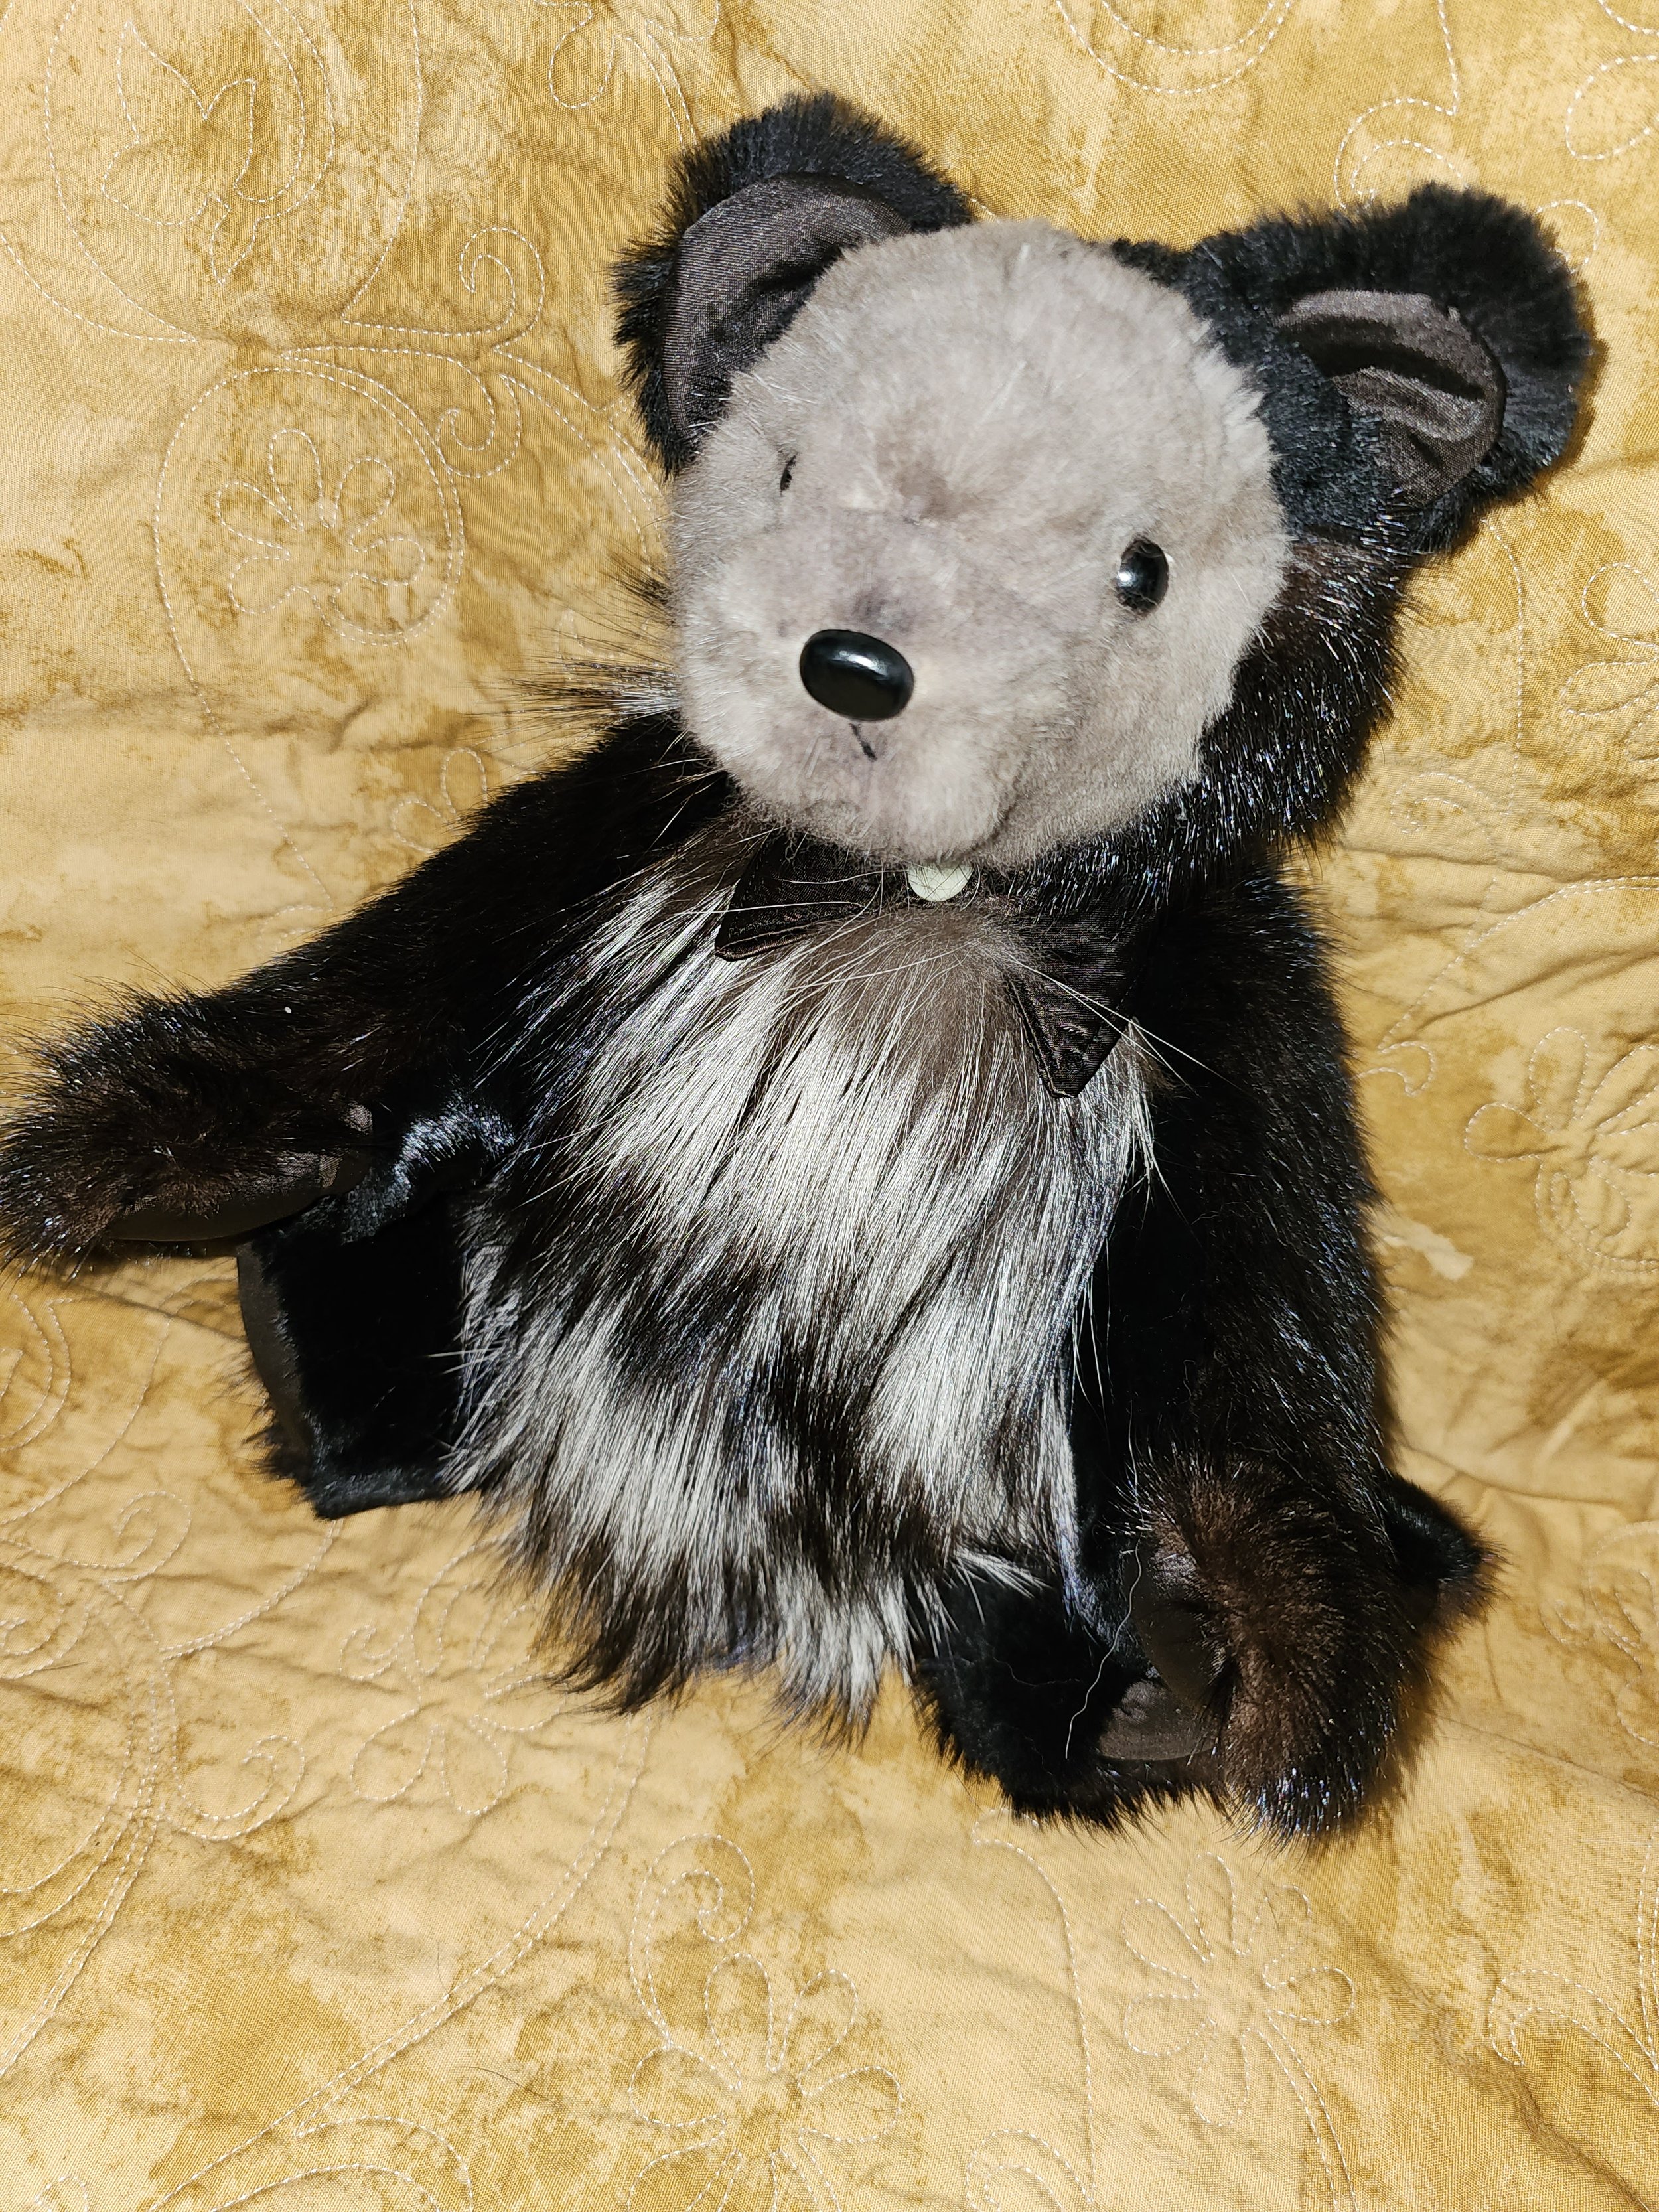
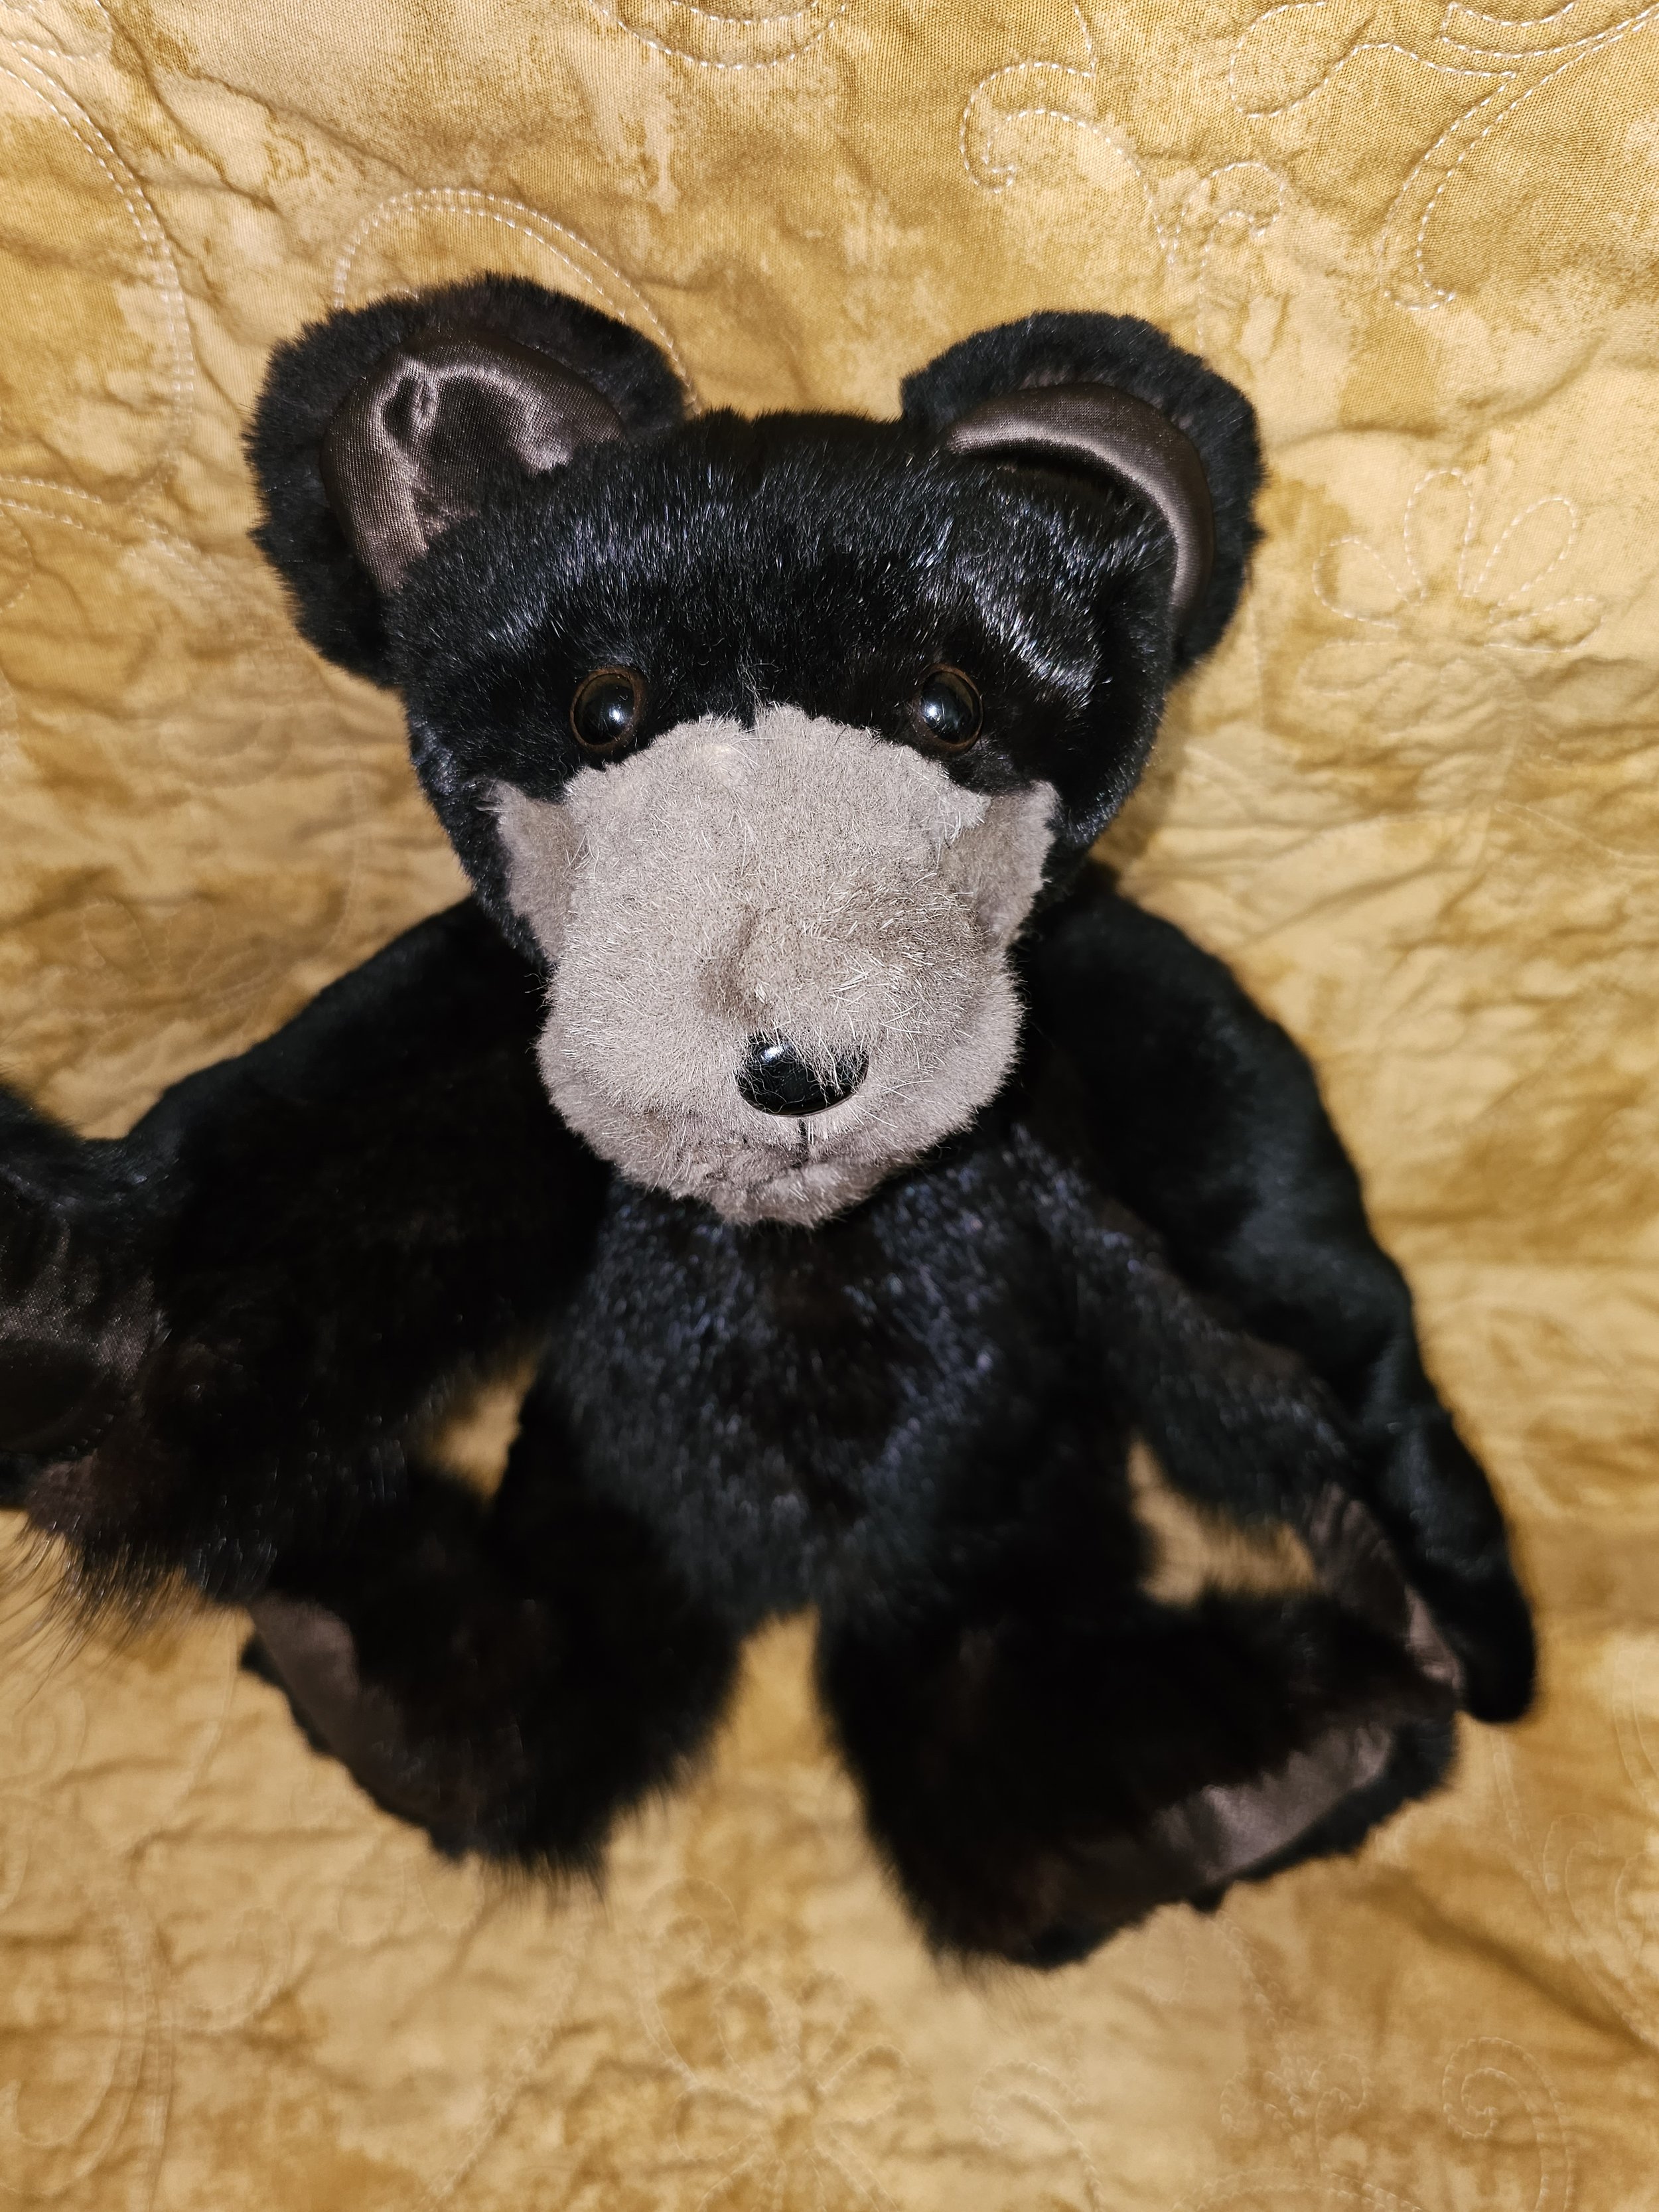
Cindy's Mink was repurposed into a Jointed Teddy Bear. The bear measure 14 inches high. Lining was used to make the collar, foot pads, paw pads and inner ears. There wasn't enough fur left over to make any additional items, but I did make a mini heart!!
Bear Pattern: Sebastian
My daughter made me a AI generated song about my website! You tell the program a few things about the topic and it writes a song!!! It was so good I had to make a video showing many of the custom orders I made over the years. Believe me this only scratches the surface. See if you can find your project amongst the rest. Let's make some more memories together!
See the video here: Allyson's Mink
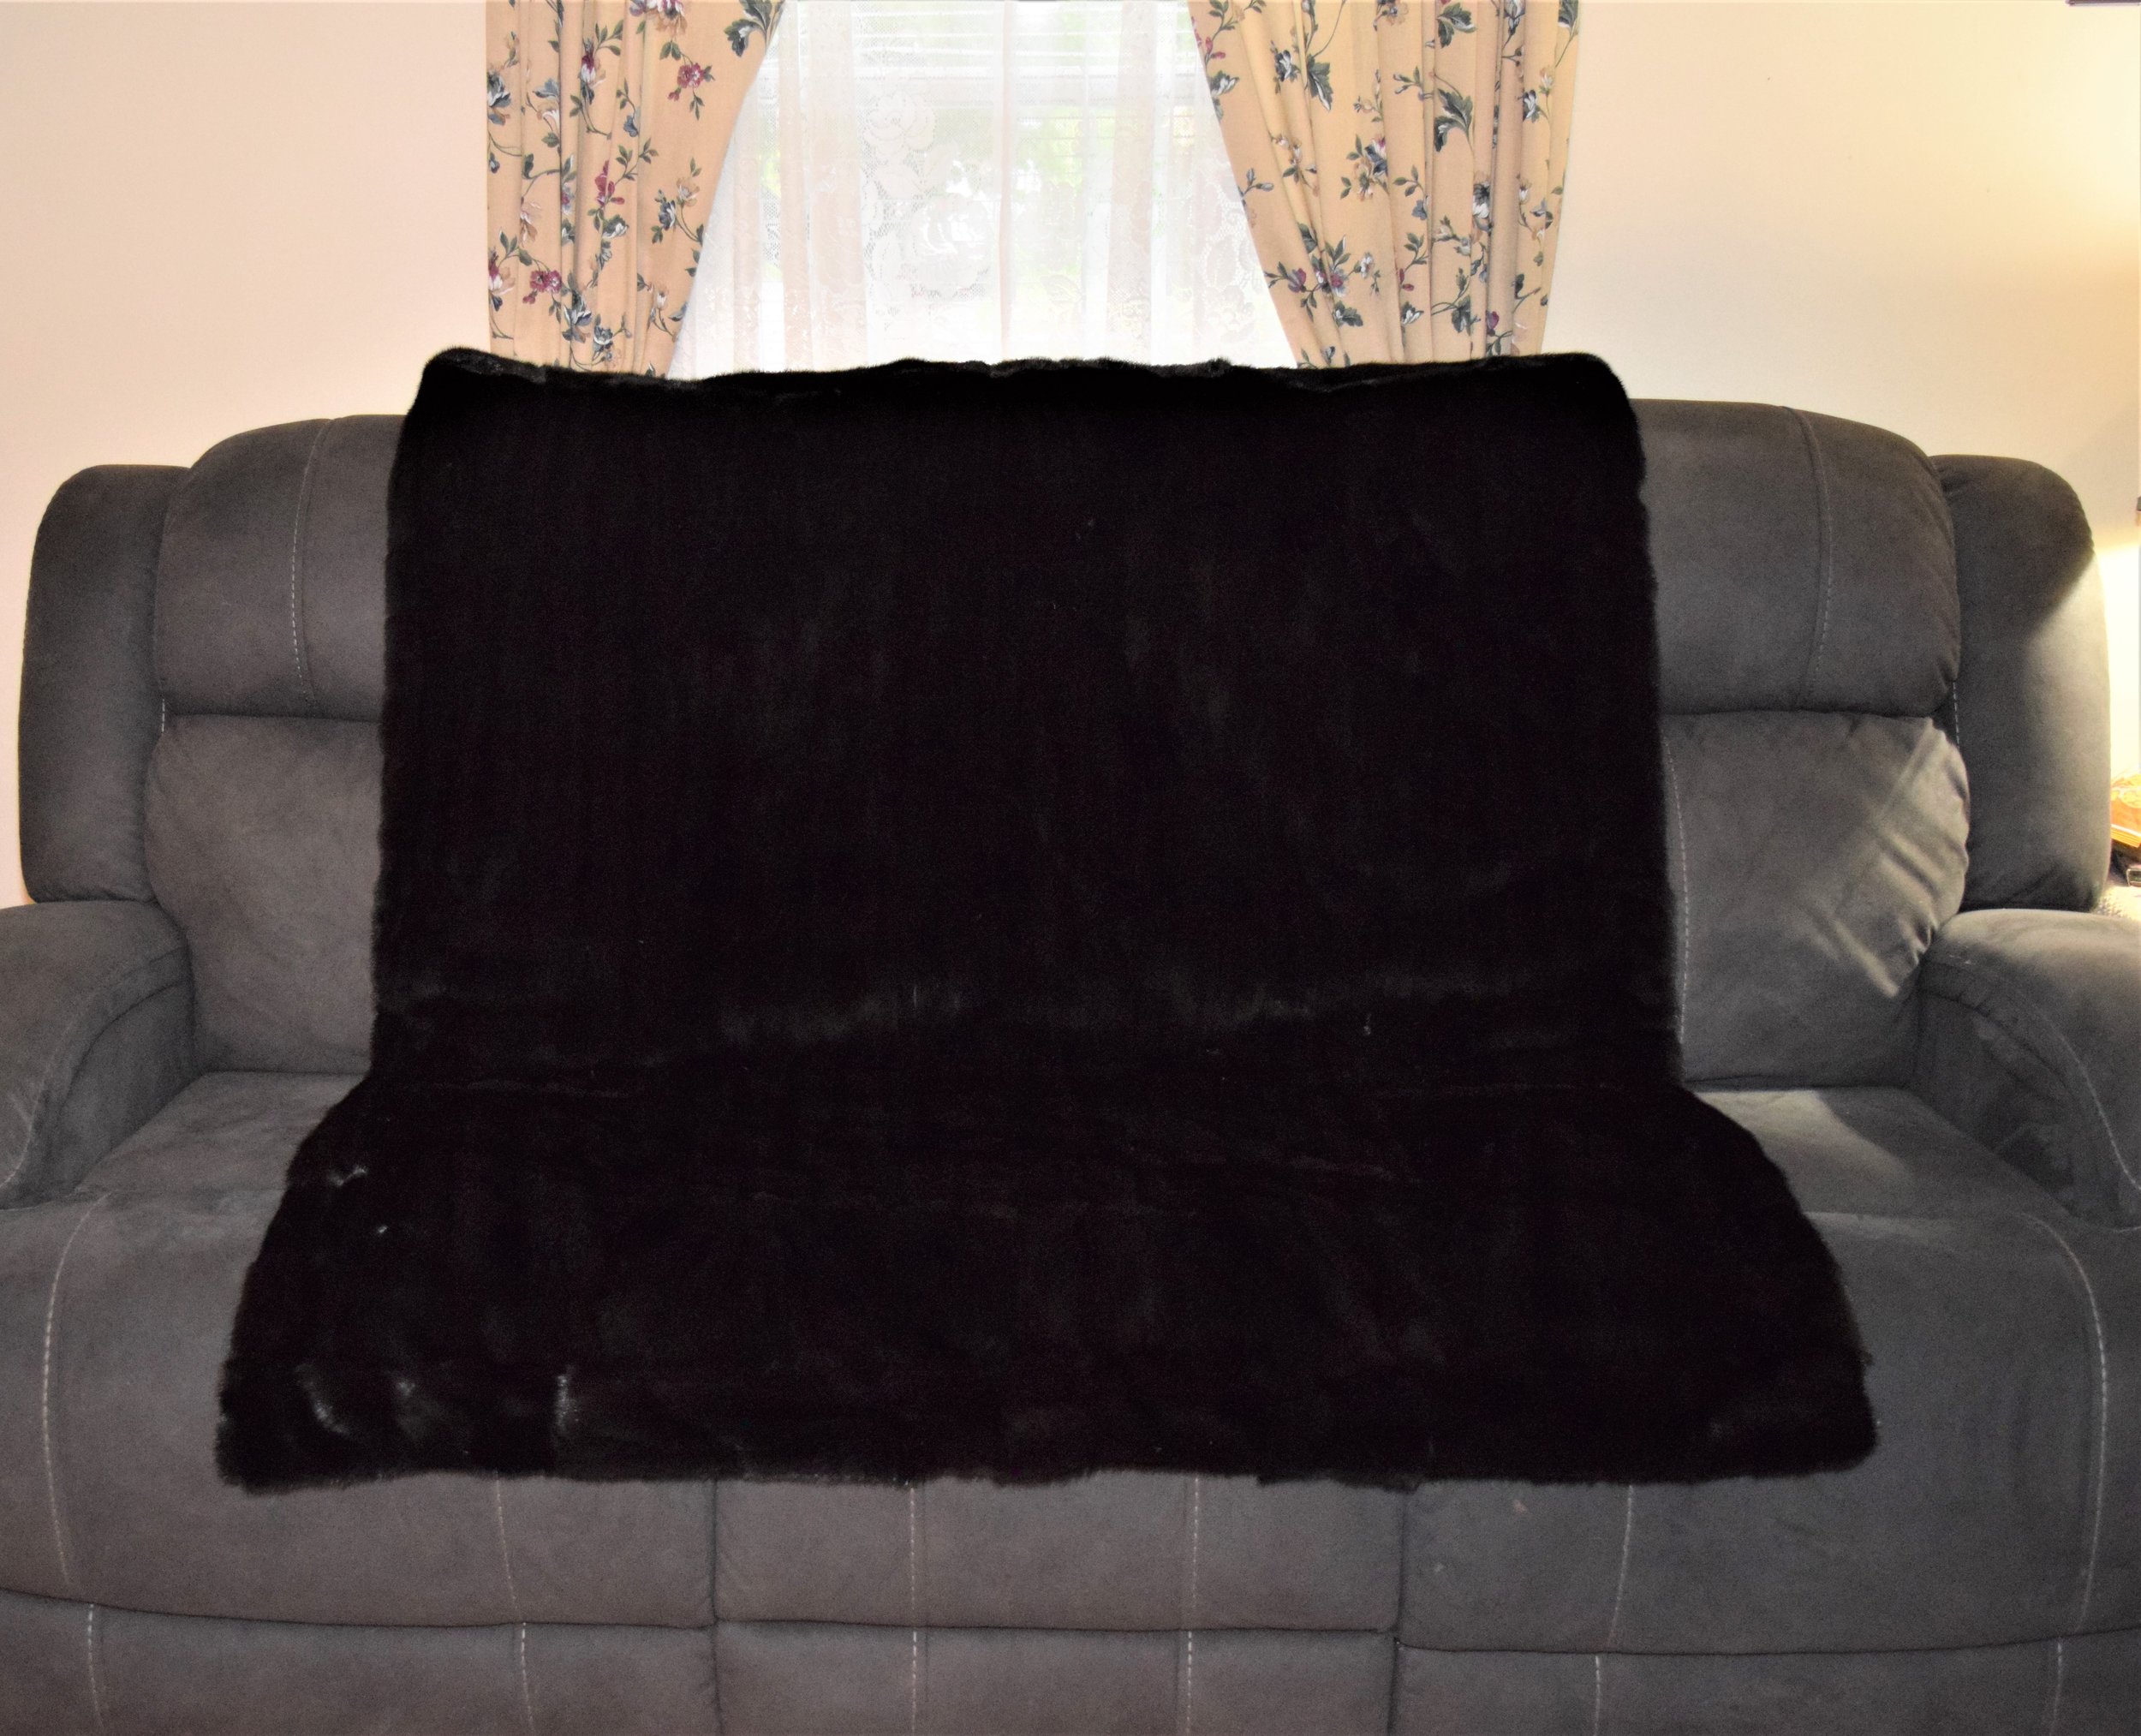
Allyson's wanted to transform her mother's coat into a throw. The fur was in wonderful condition. She used a beautiful black velvet backing with the wave quilting design as accent. The final measurements were: 50 by 60.
See the video here: June's Project
This transformation was a challenge. The amount of fur to work with was limiting, but I was able to do what the customer wanted. The throw was 45 by 46.5 inches with the Fox border on top and bottom. I was able to make one 18 inch pillow and one 12 by 14 inch pillow, also mirroring the design on the main throw. What a joy it is work on a well maintained fur! Boy was this fur coat filled with sawdust!!
See video here: Mary's Mink Transformation
Mary's Mink coat was in wonderful condition. She used her own lining for the backing and preserved the monogram. Final Size: Approx. 54 by 58
See video here: Mike's Aunt's Mink Transformation
What a great project. Mike's coat belonged to his Aunt. He wanted a new lining, but we used the old lining on the pillows and used the monogram on the throw. The monogram was placed in the upper right corner of the backing. This coat's hood was so large I was able to make the throw 54 by 70 inches and even had enough to make two 18 inch pillows!
See the video here: Beaver Coat Transformation
The colors of the throw are so beautiful! Original lining was used for the backing.
Final dimensions were: 53 by 53 inches.
Watch The Video Here: Baby Wilderness Quilt
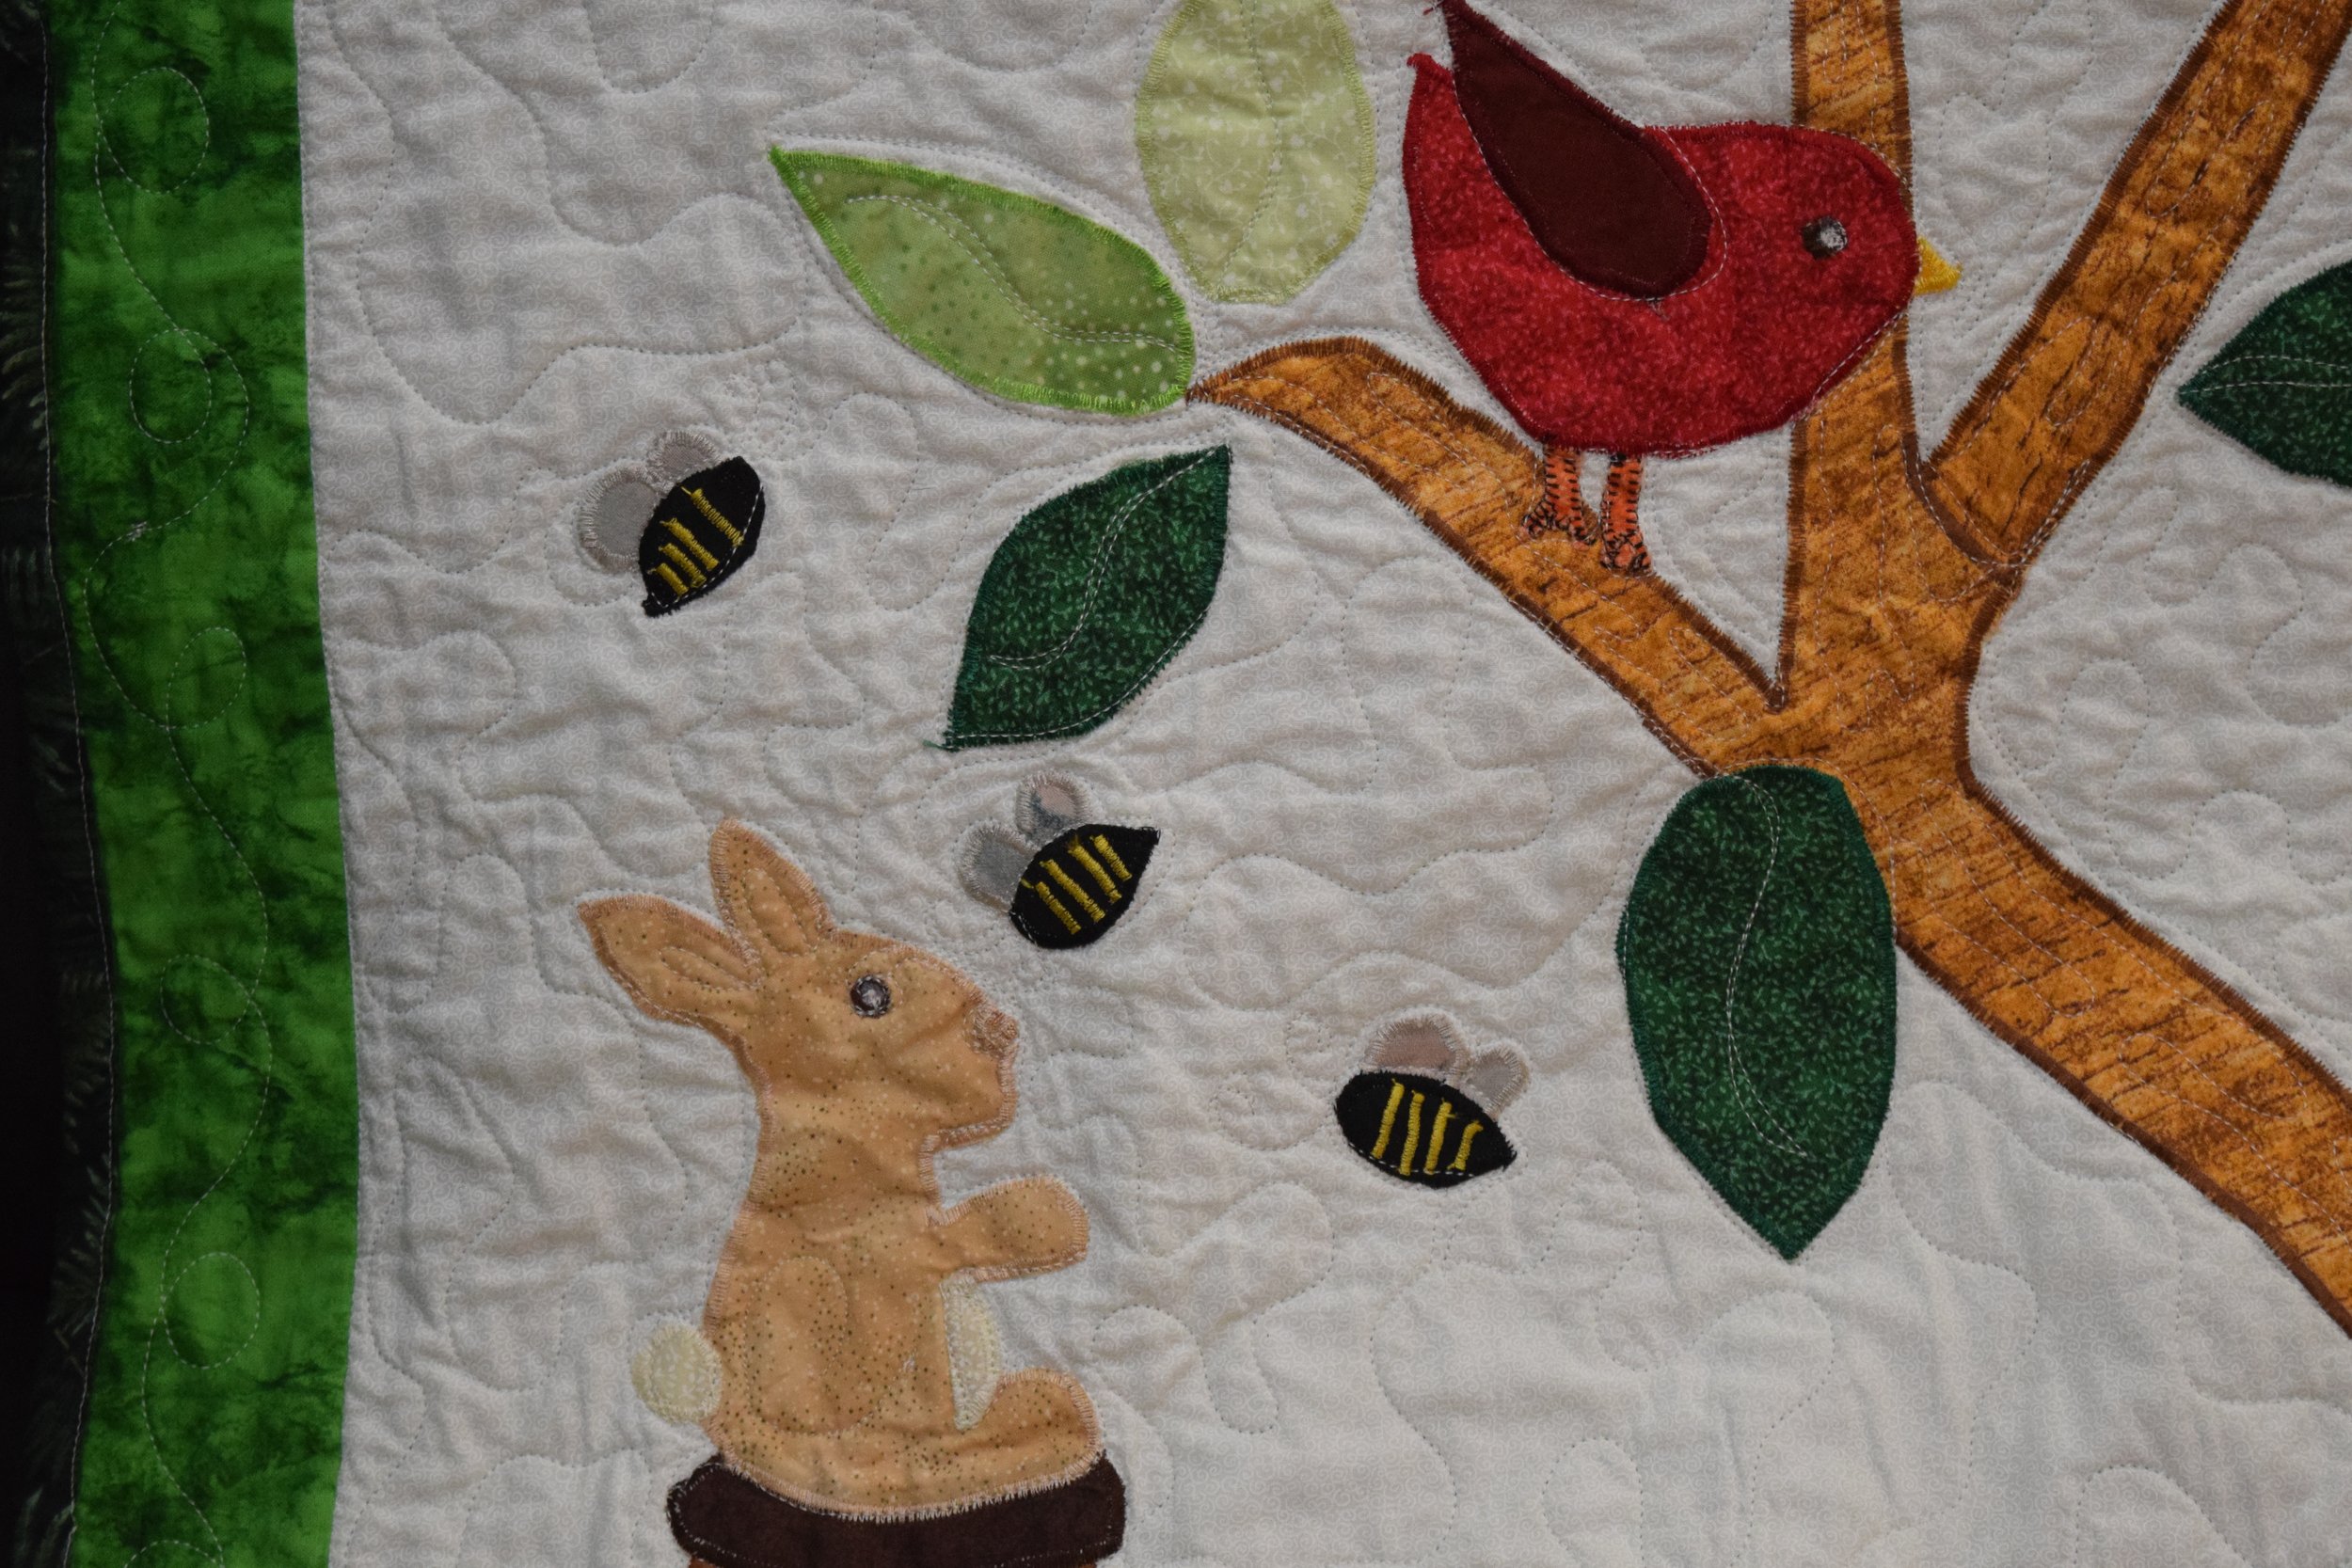
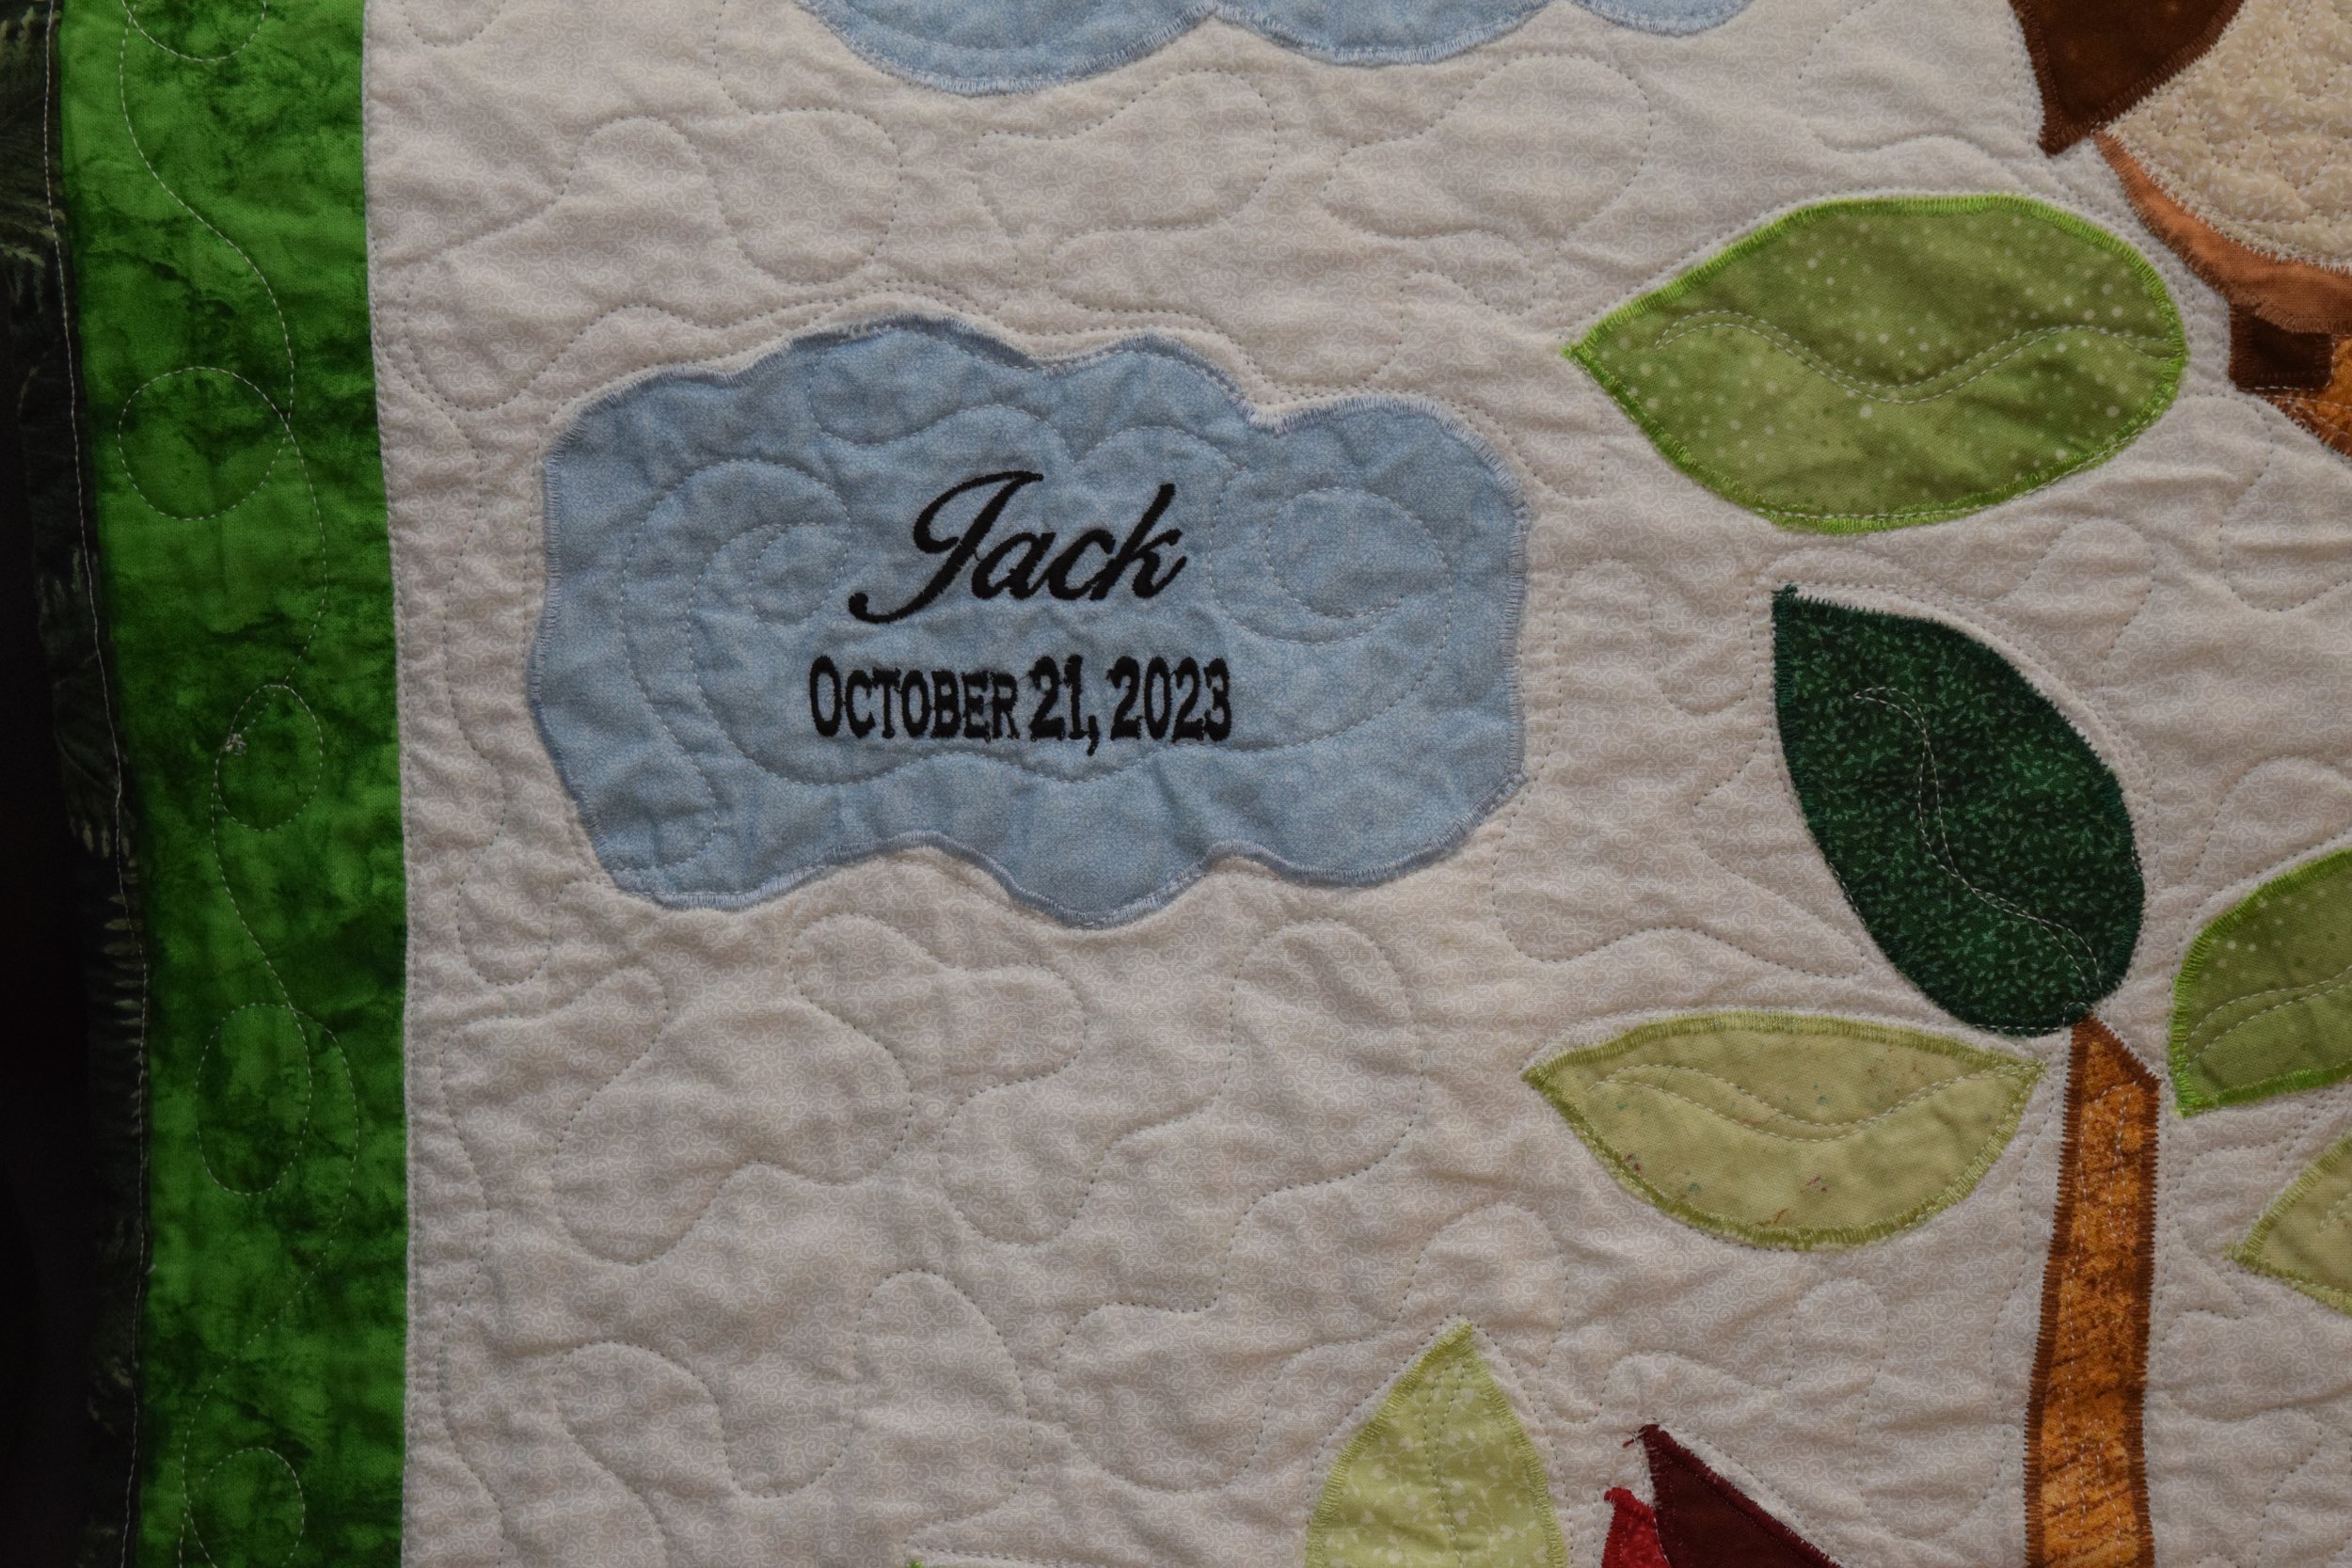
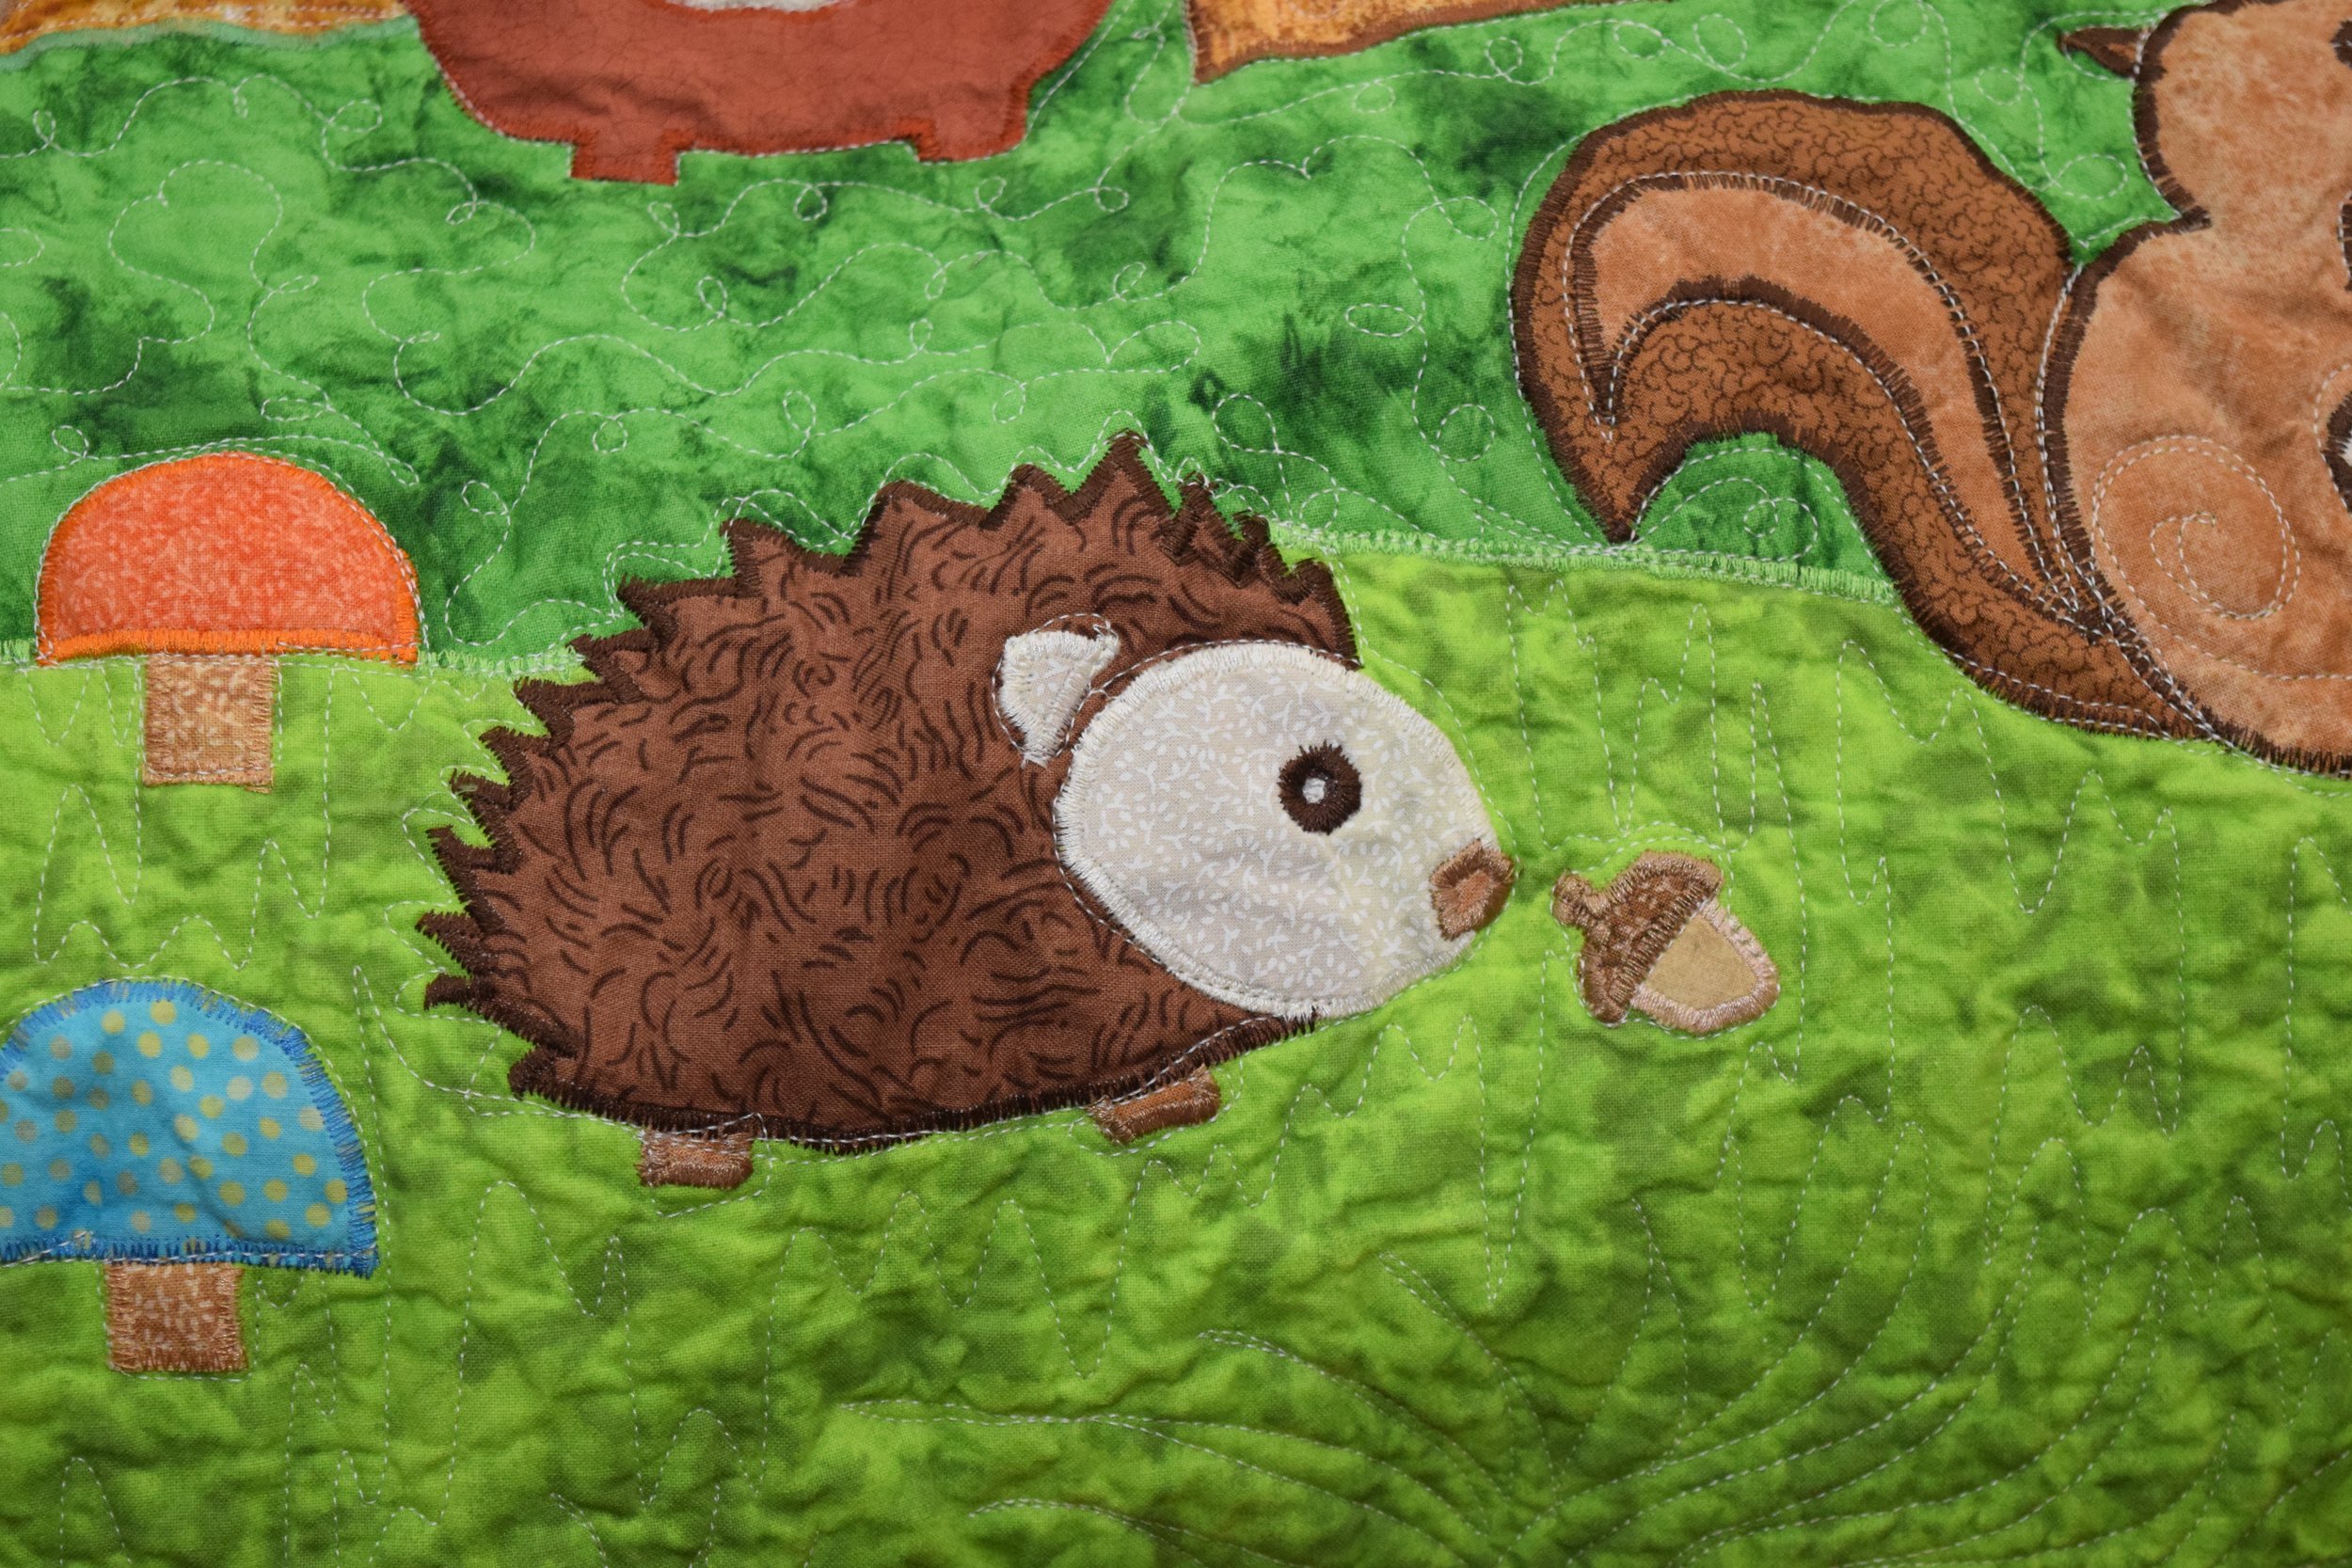
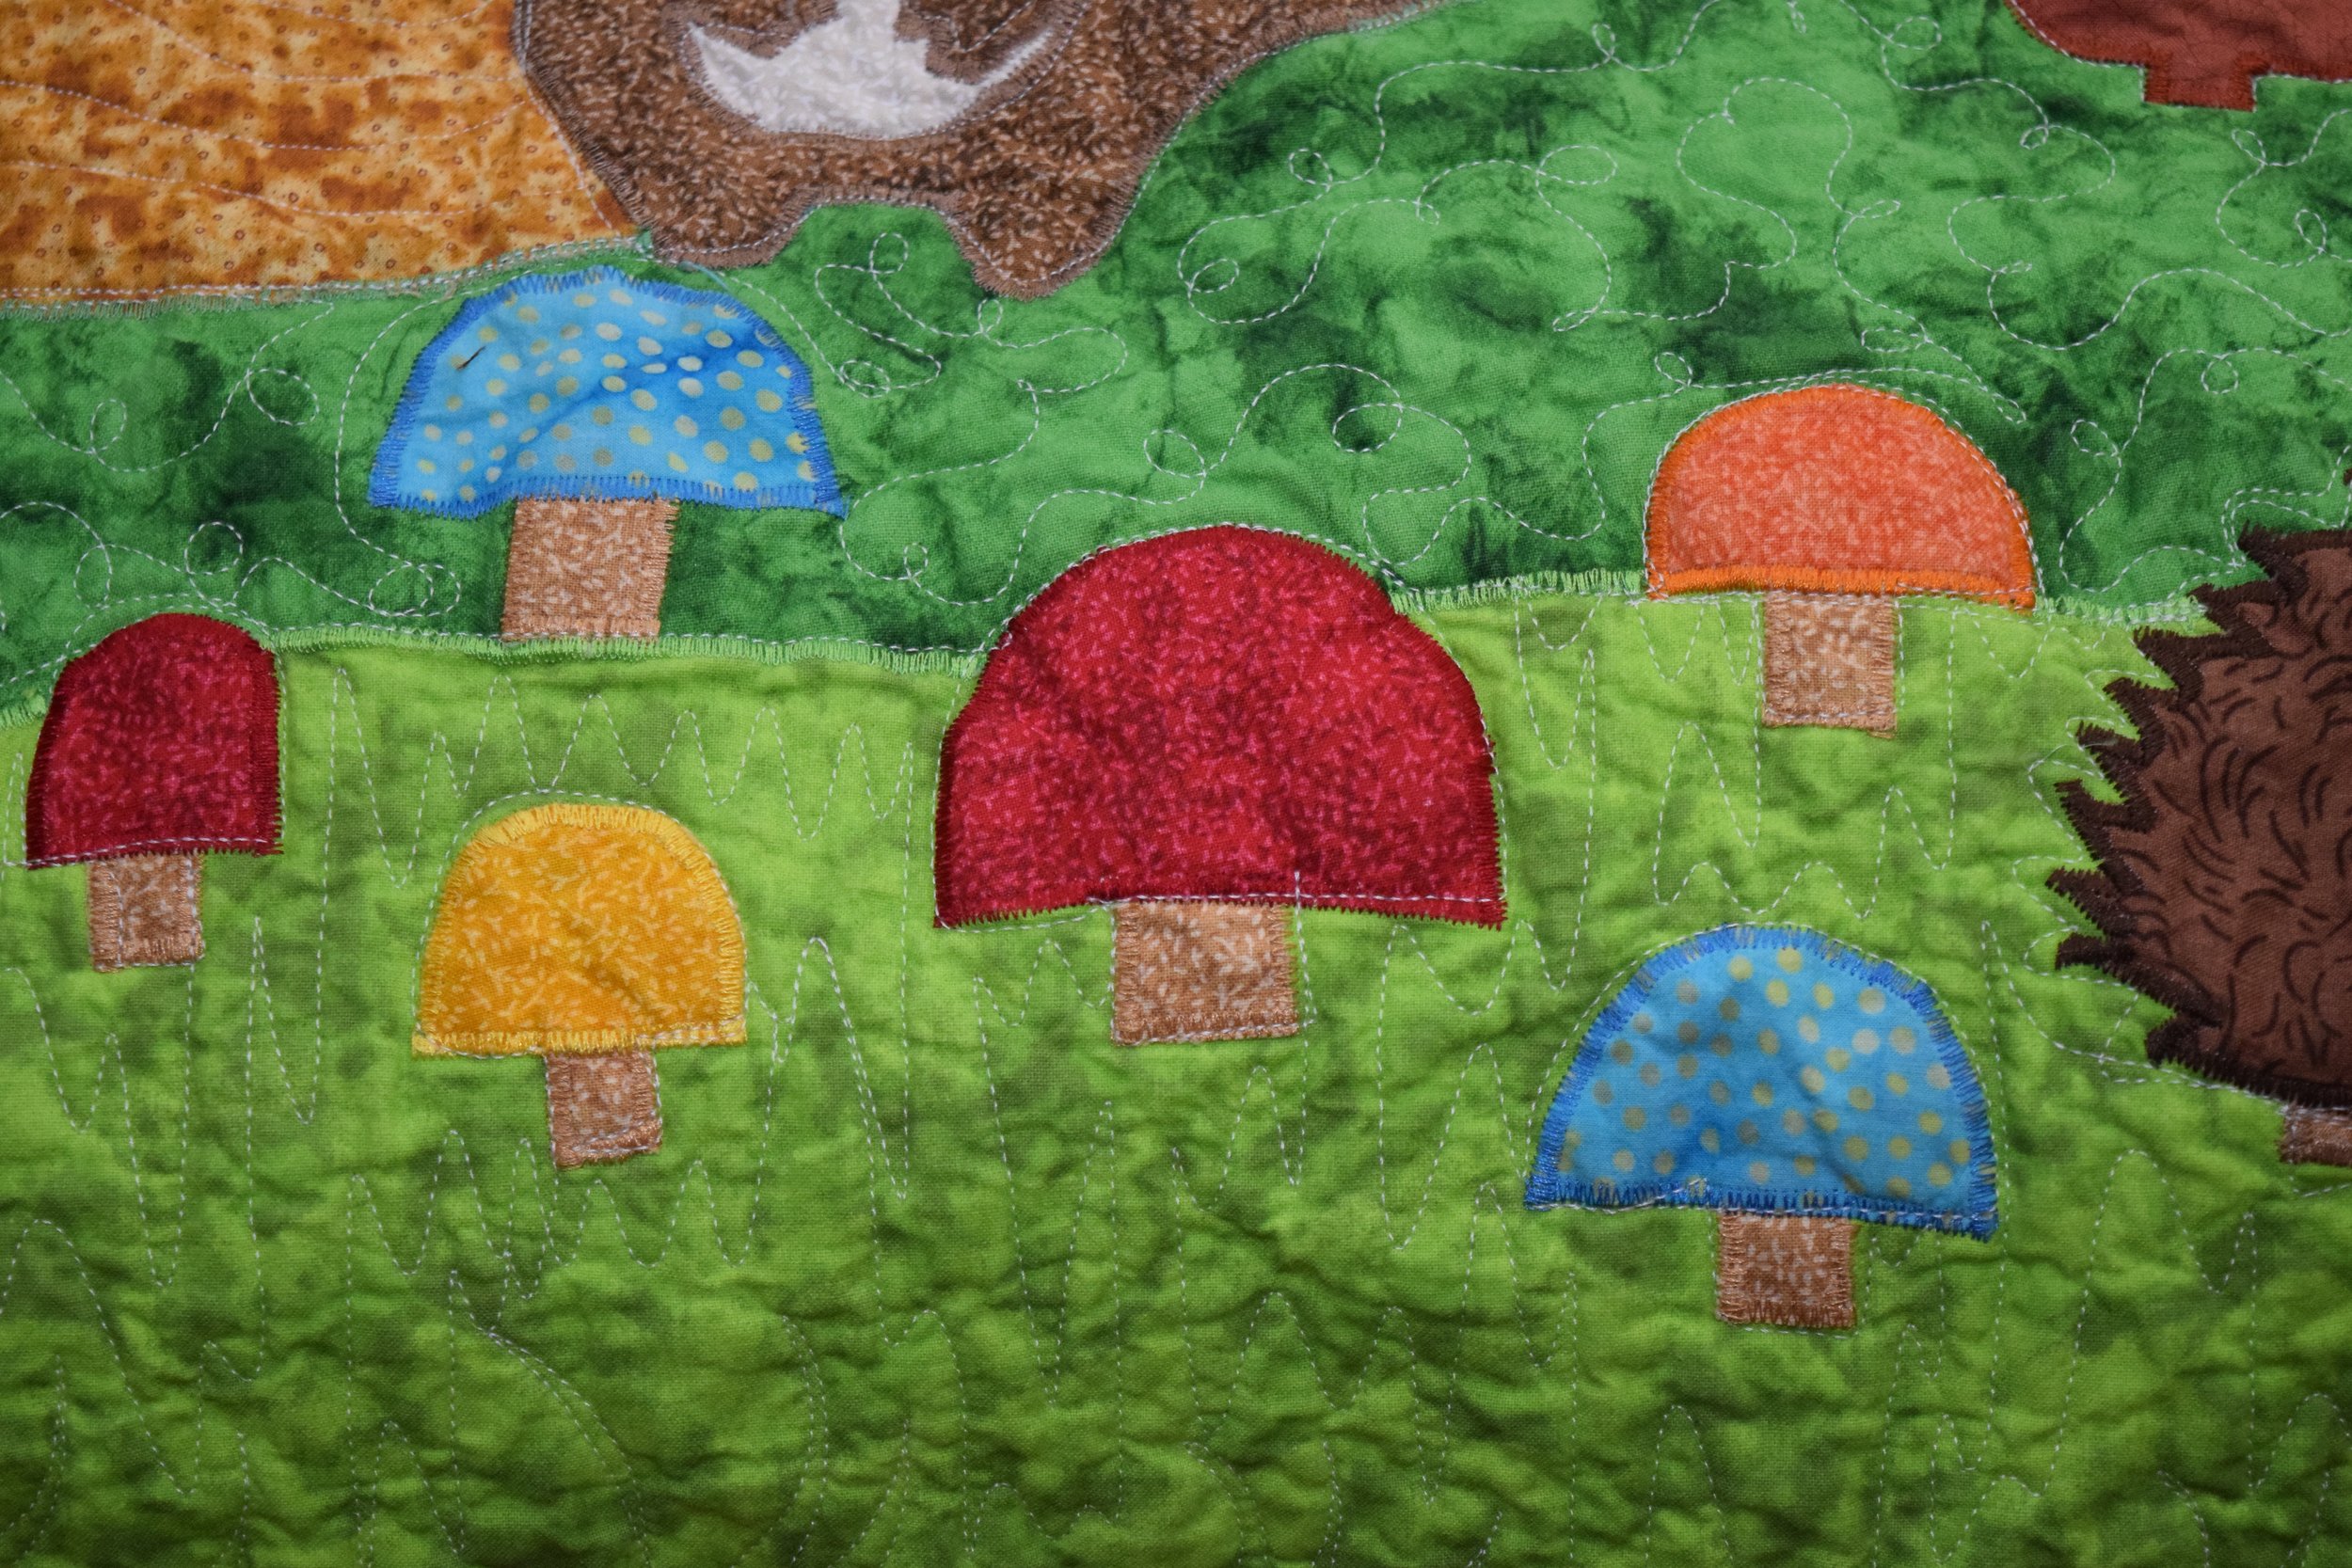
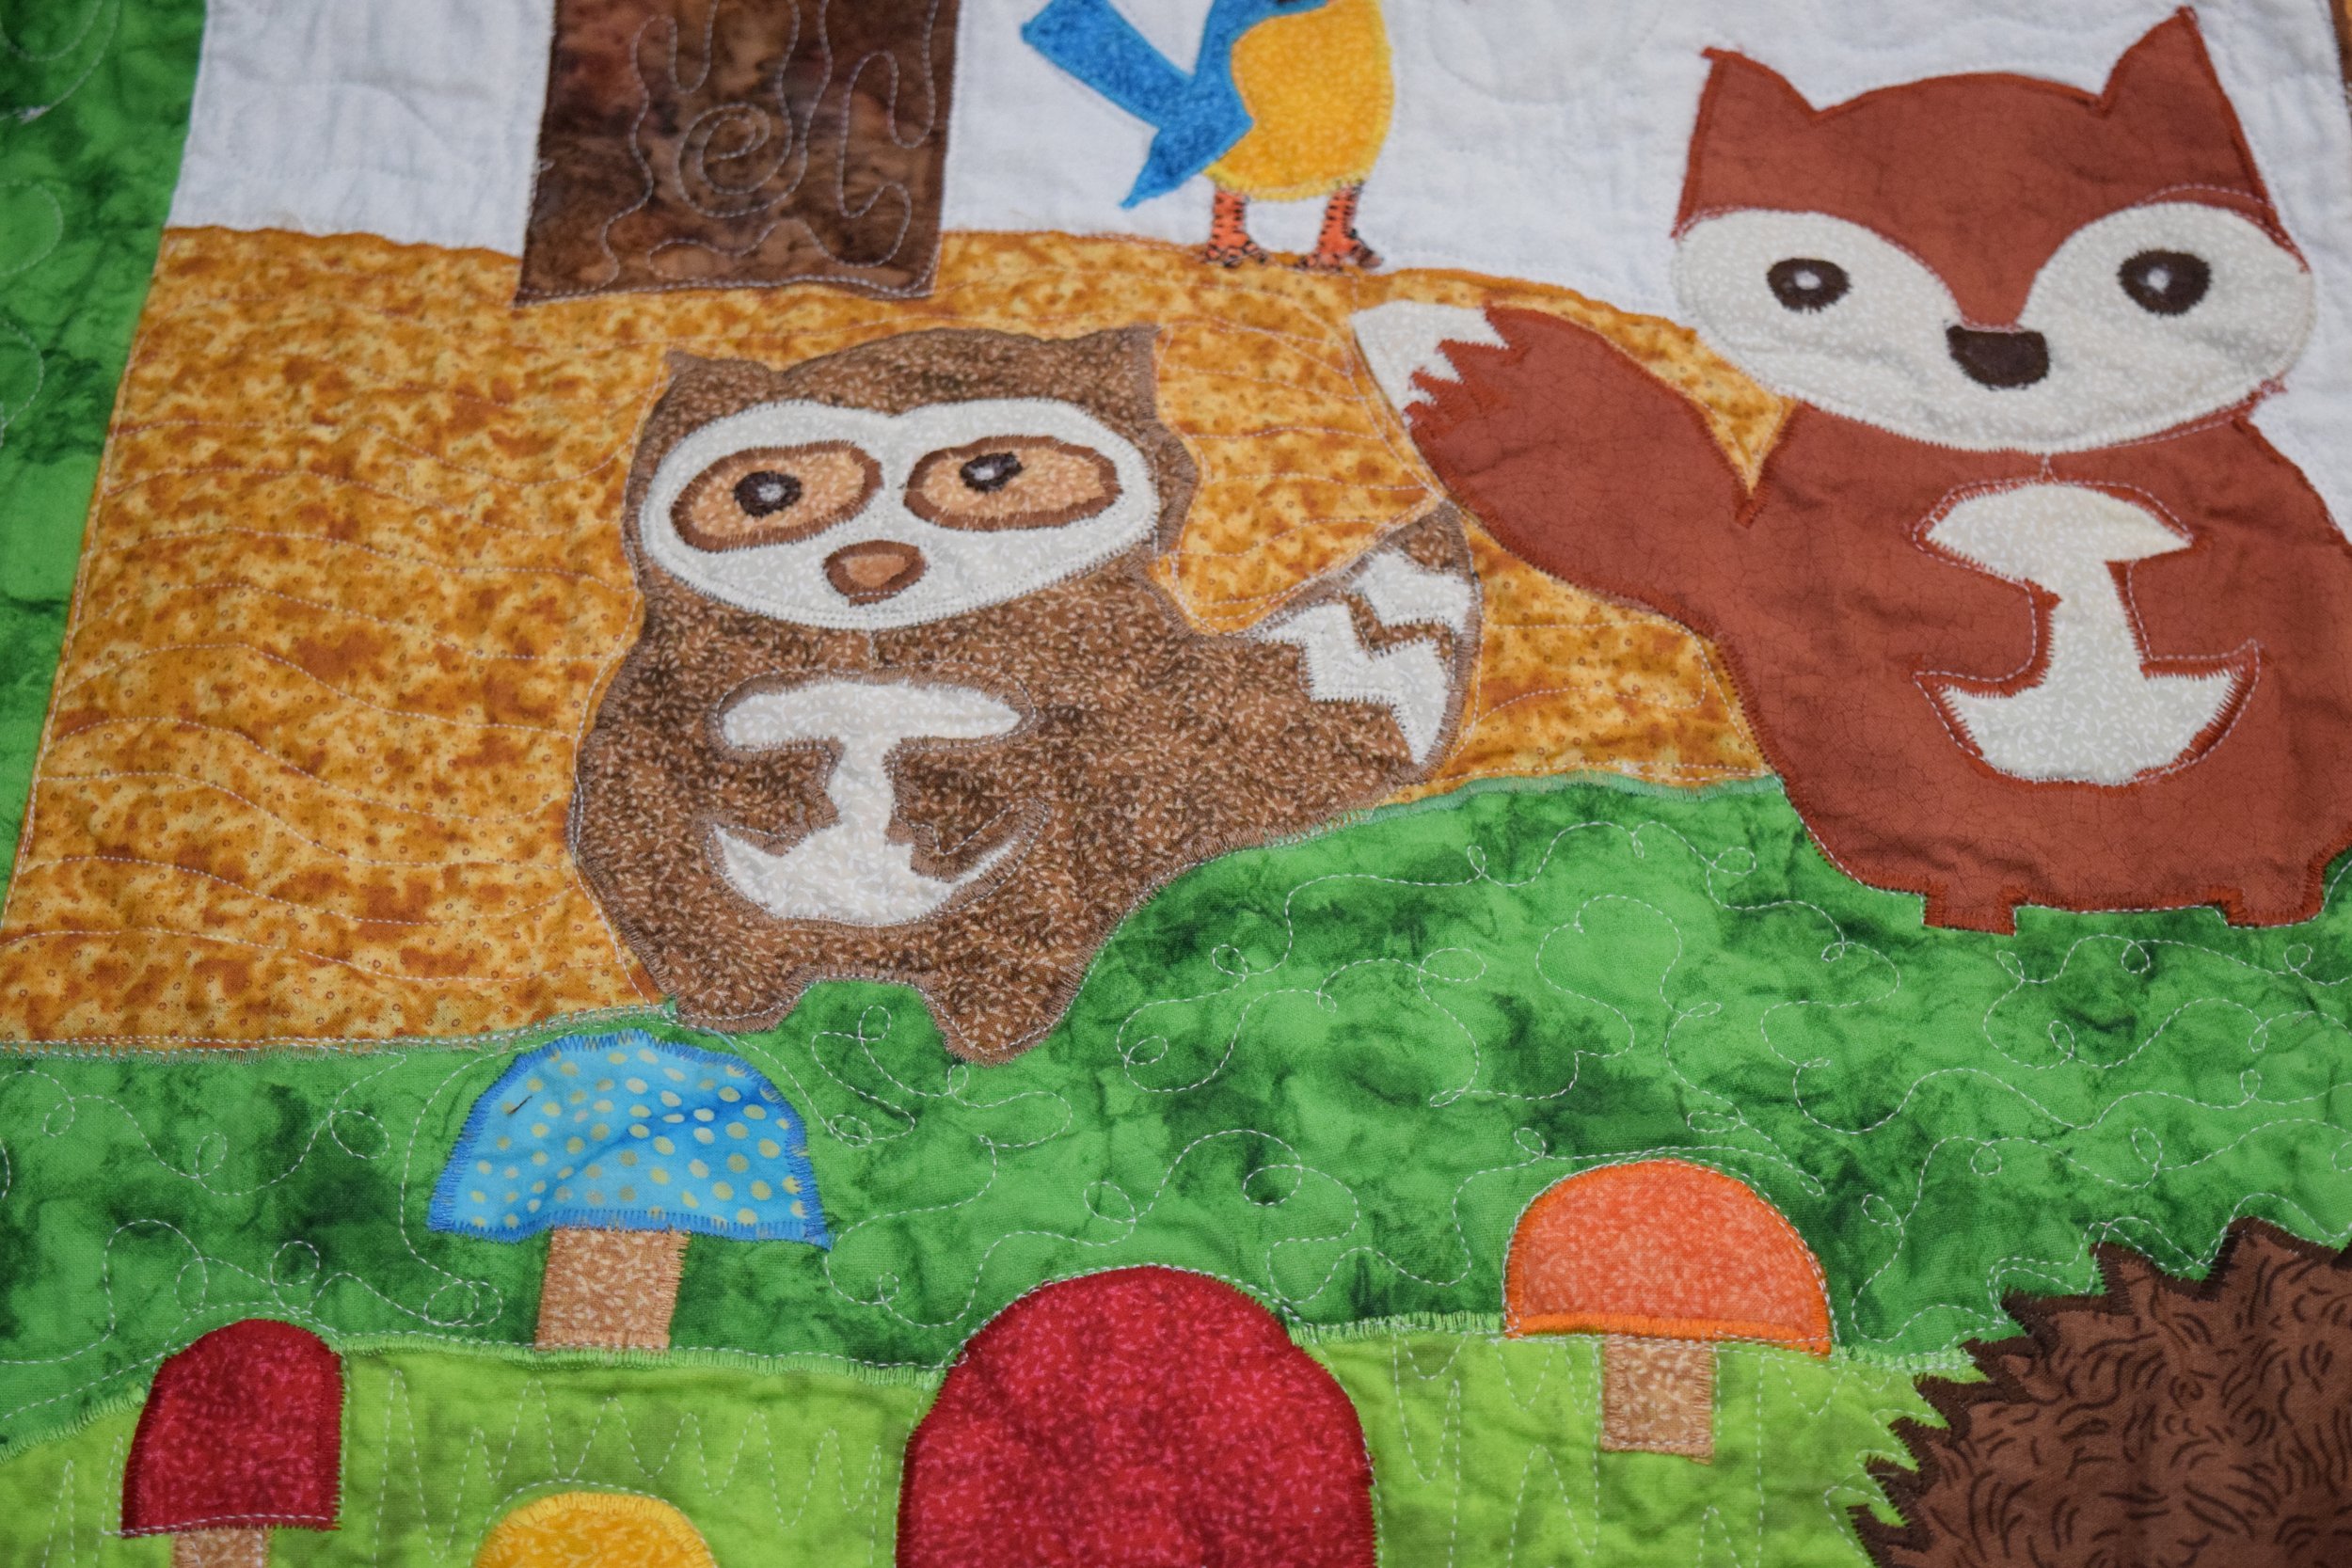
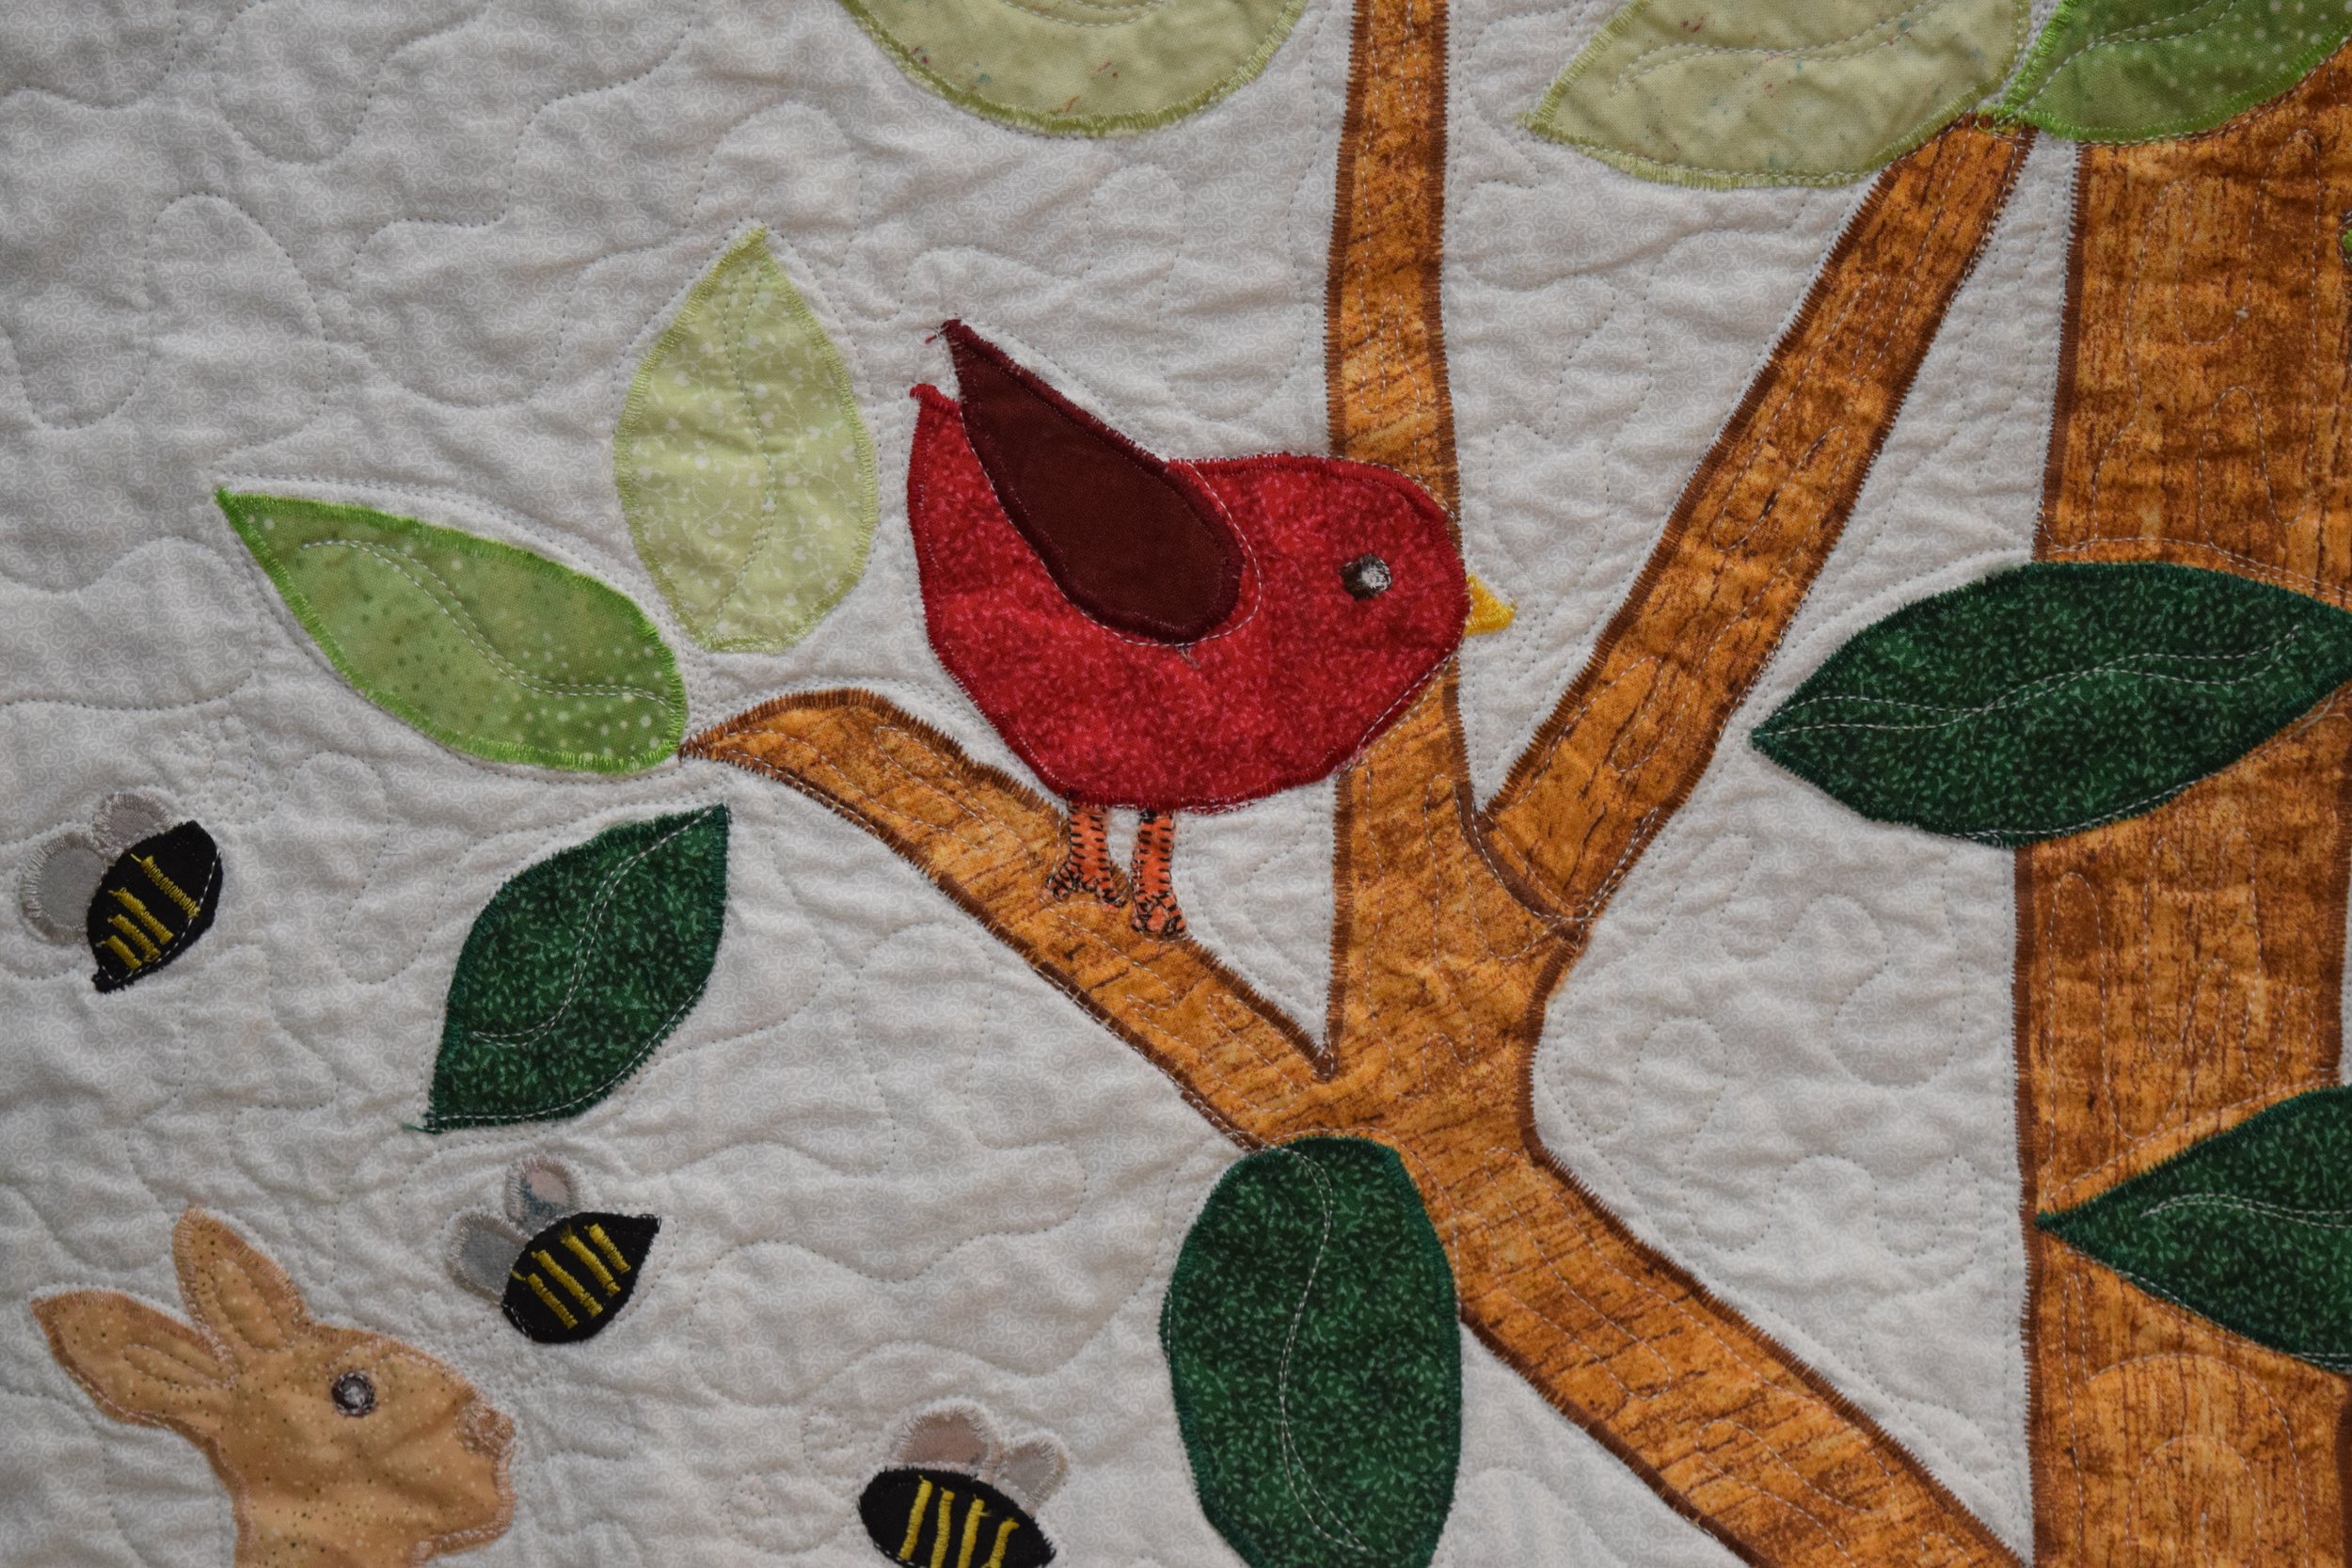
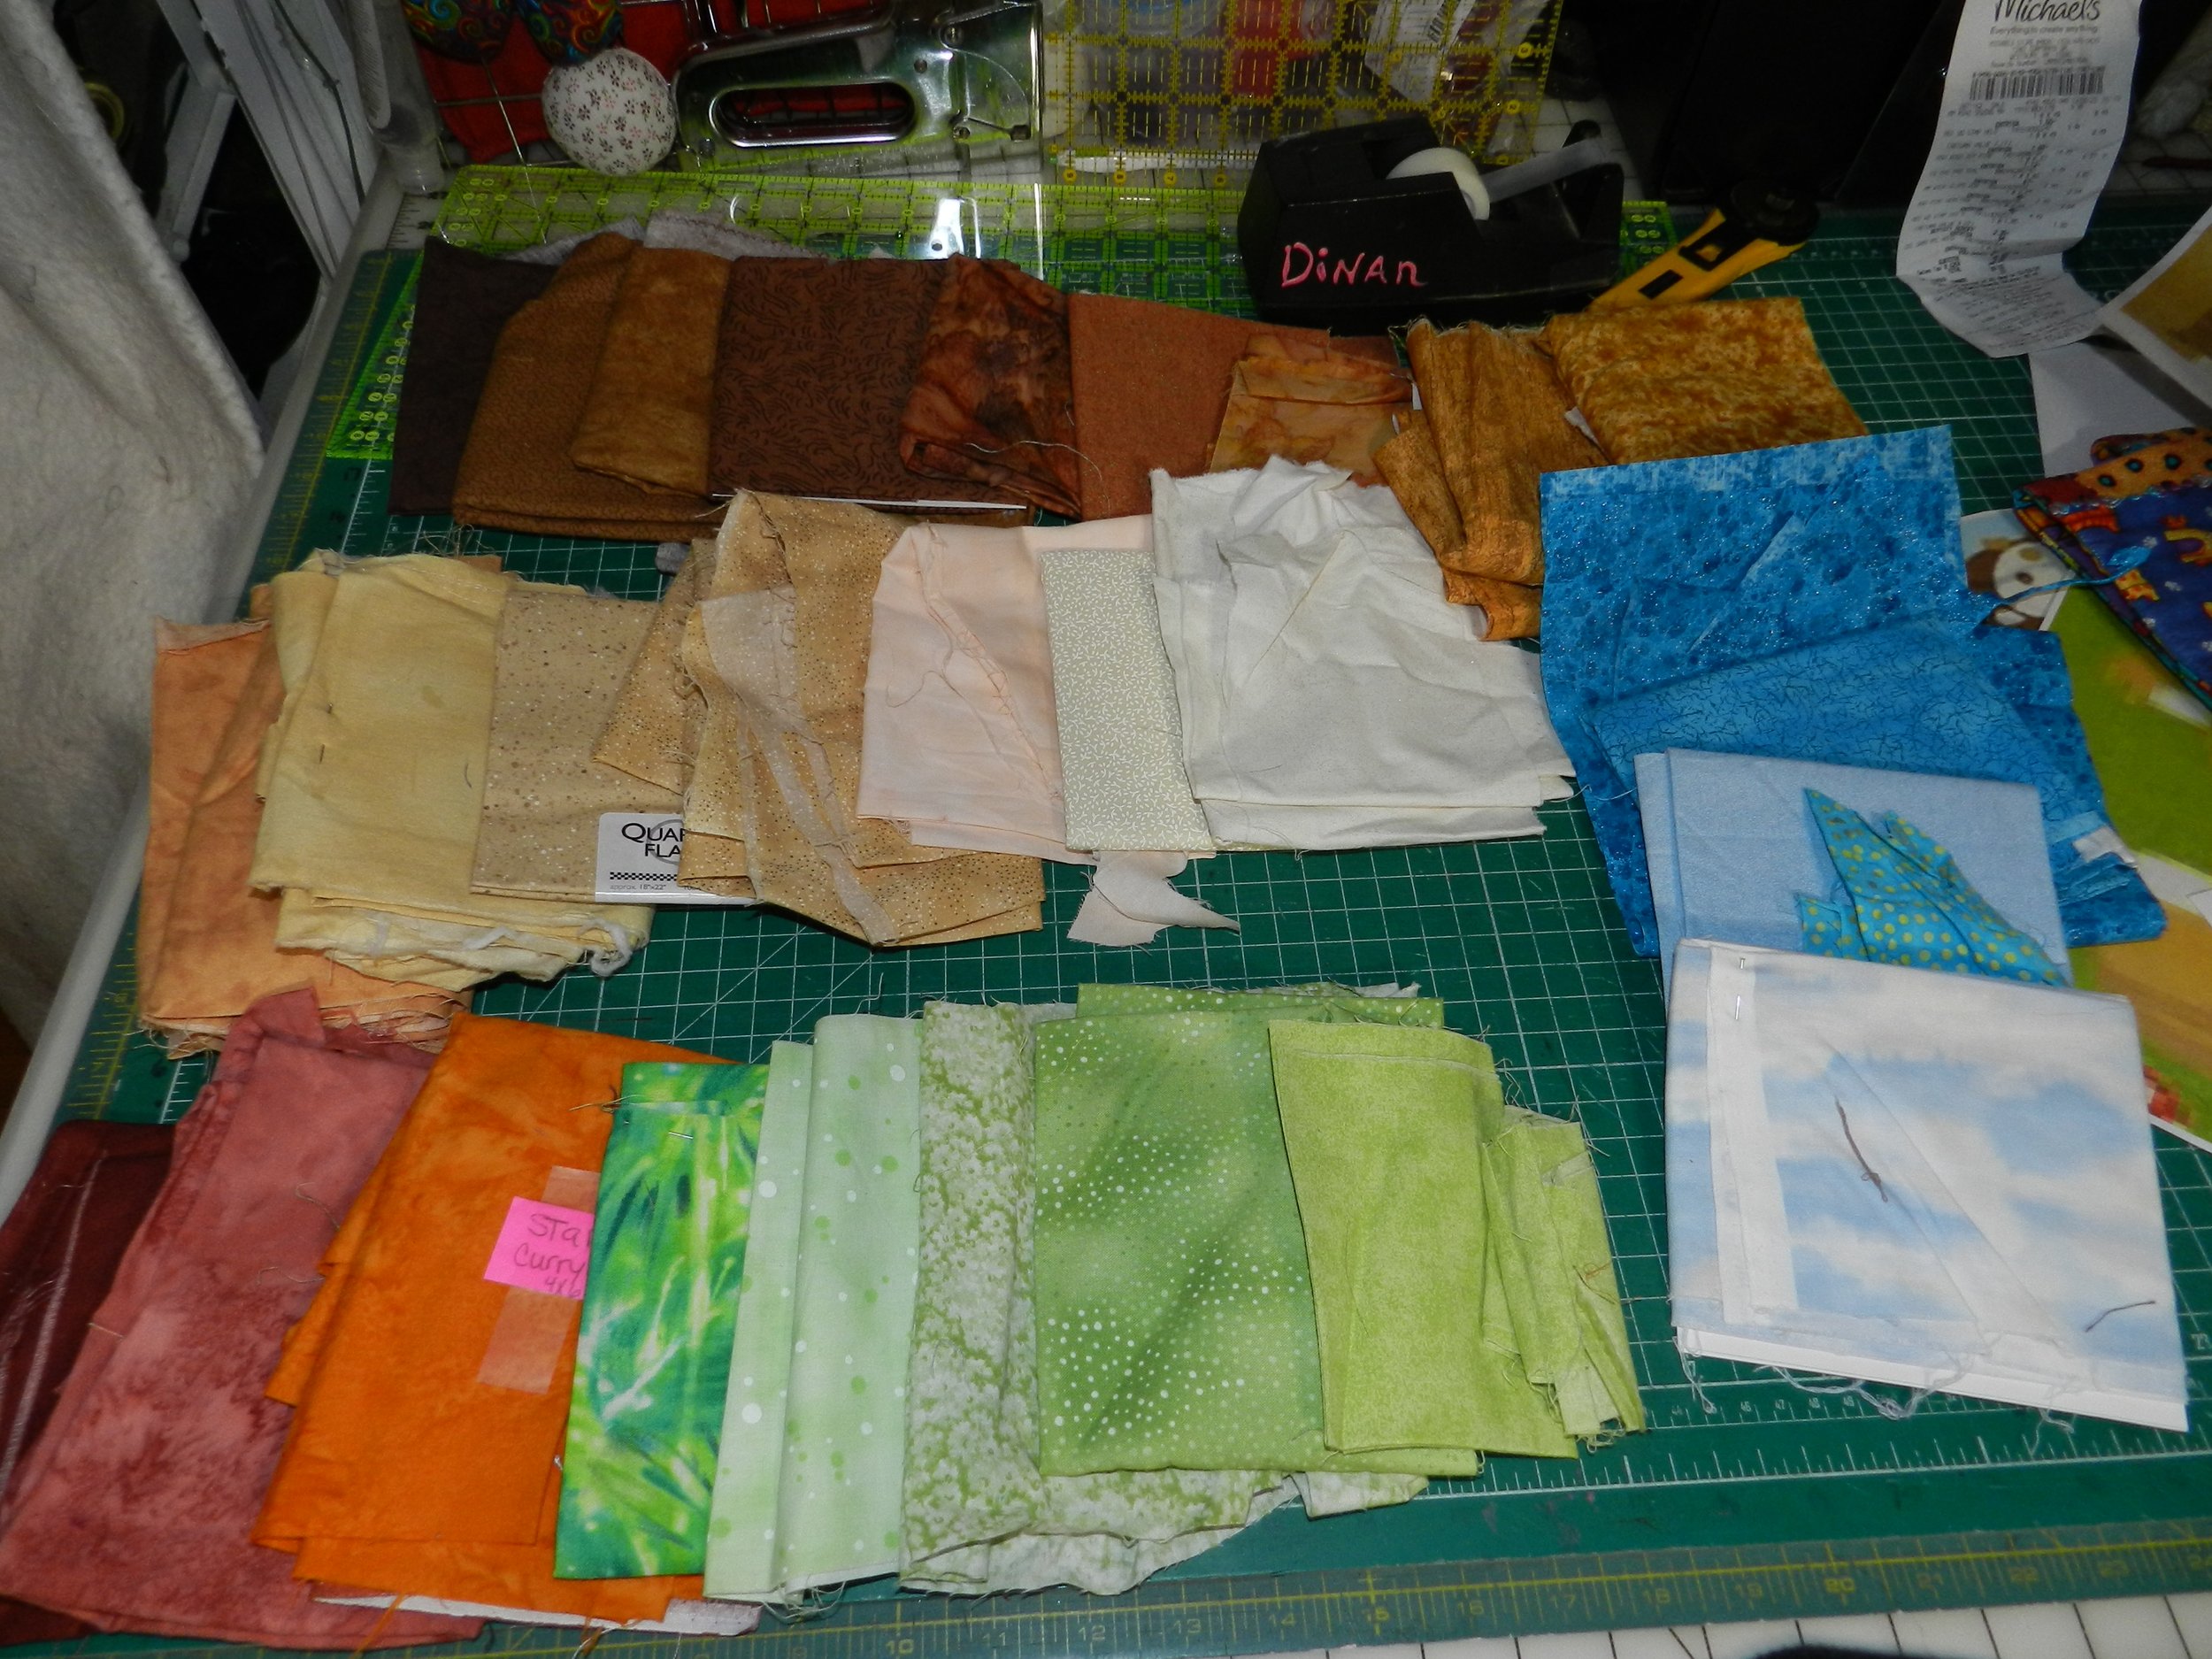
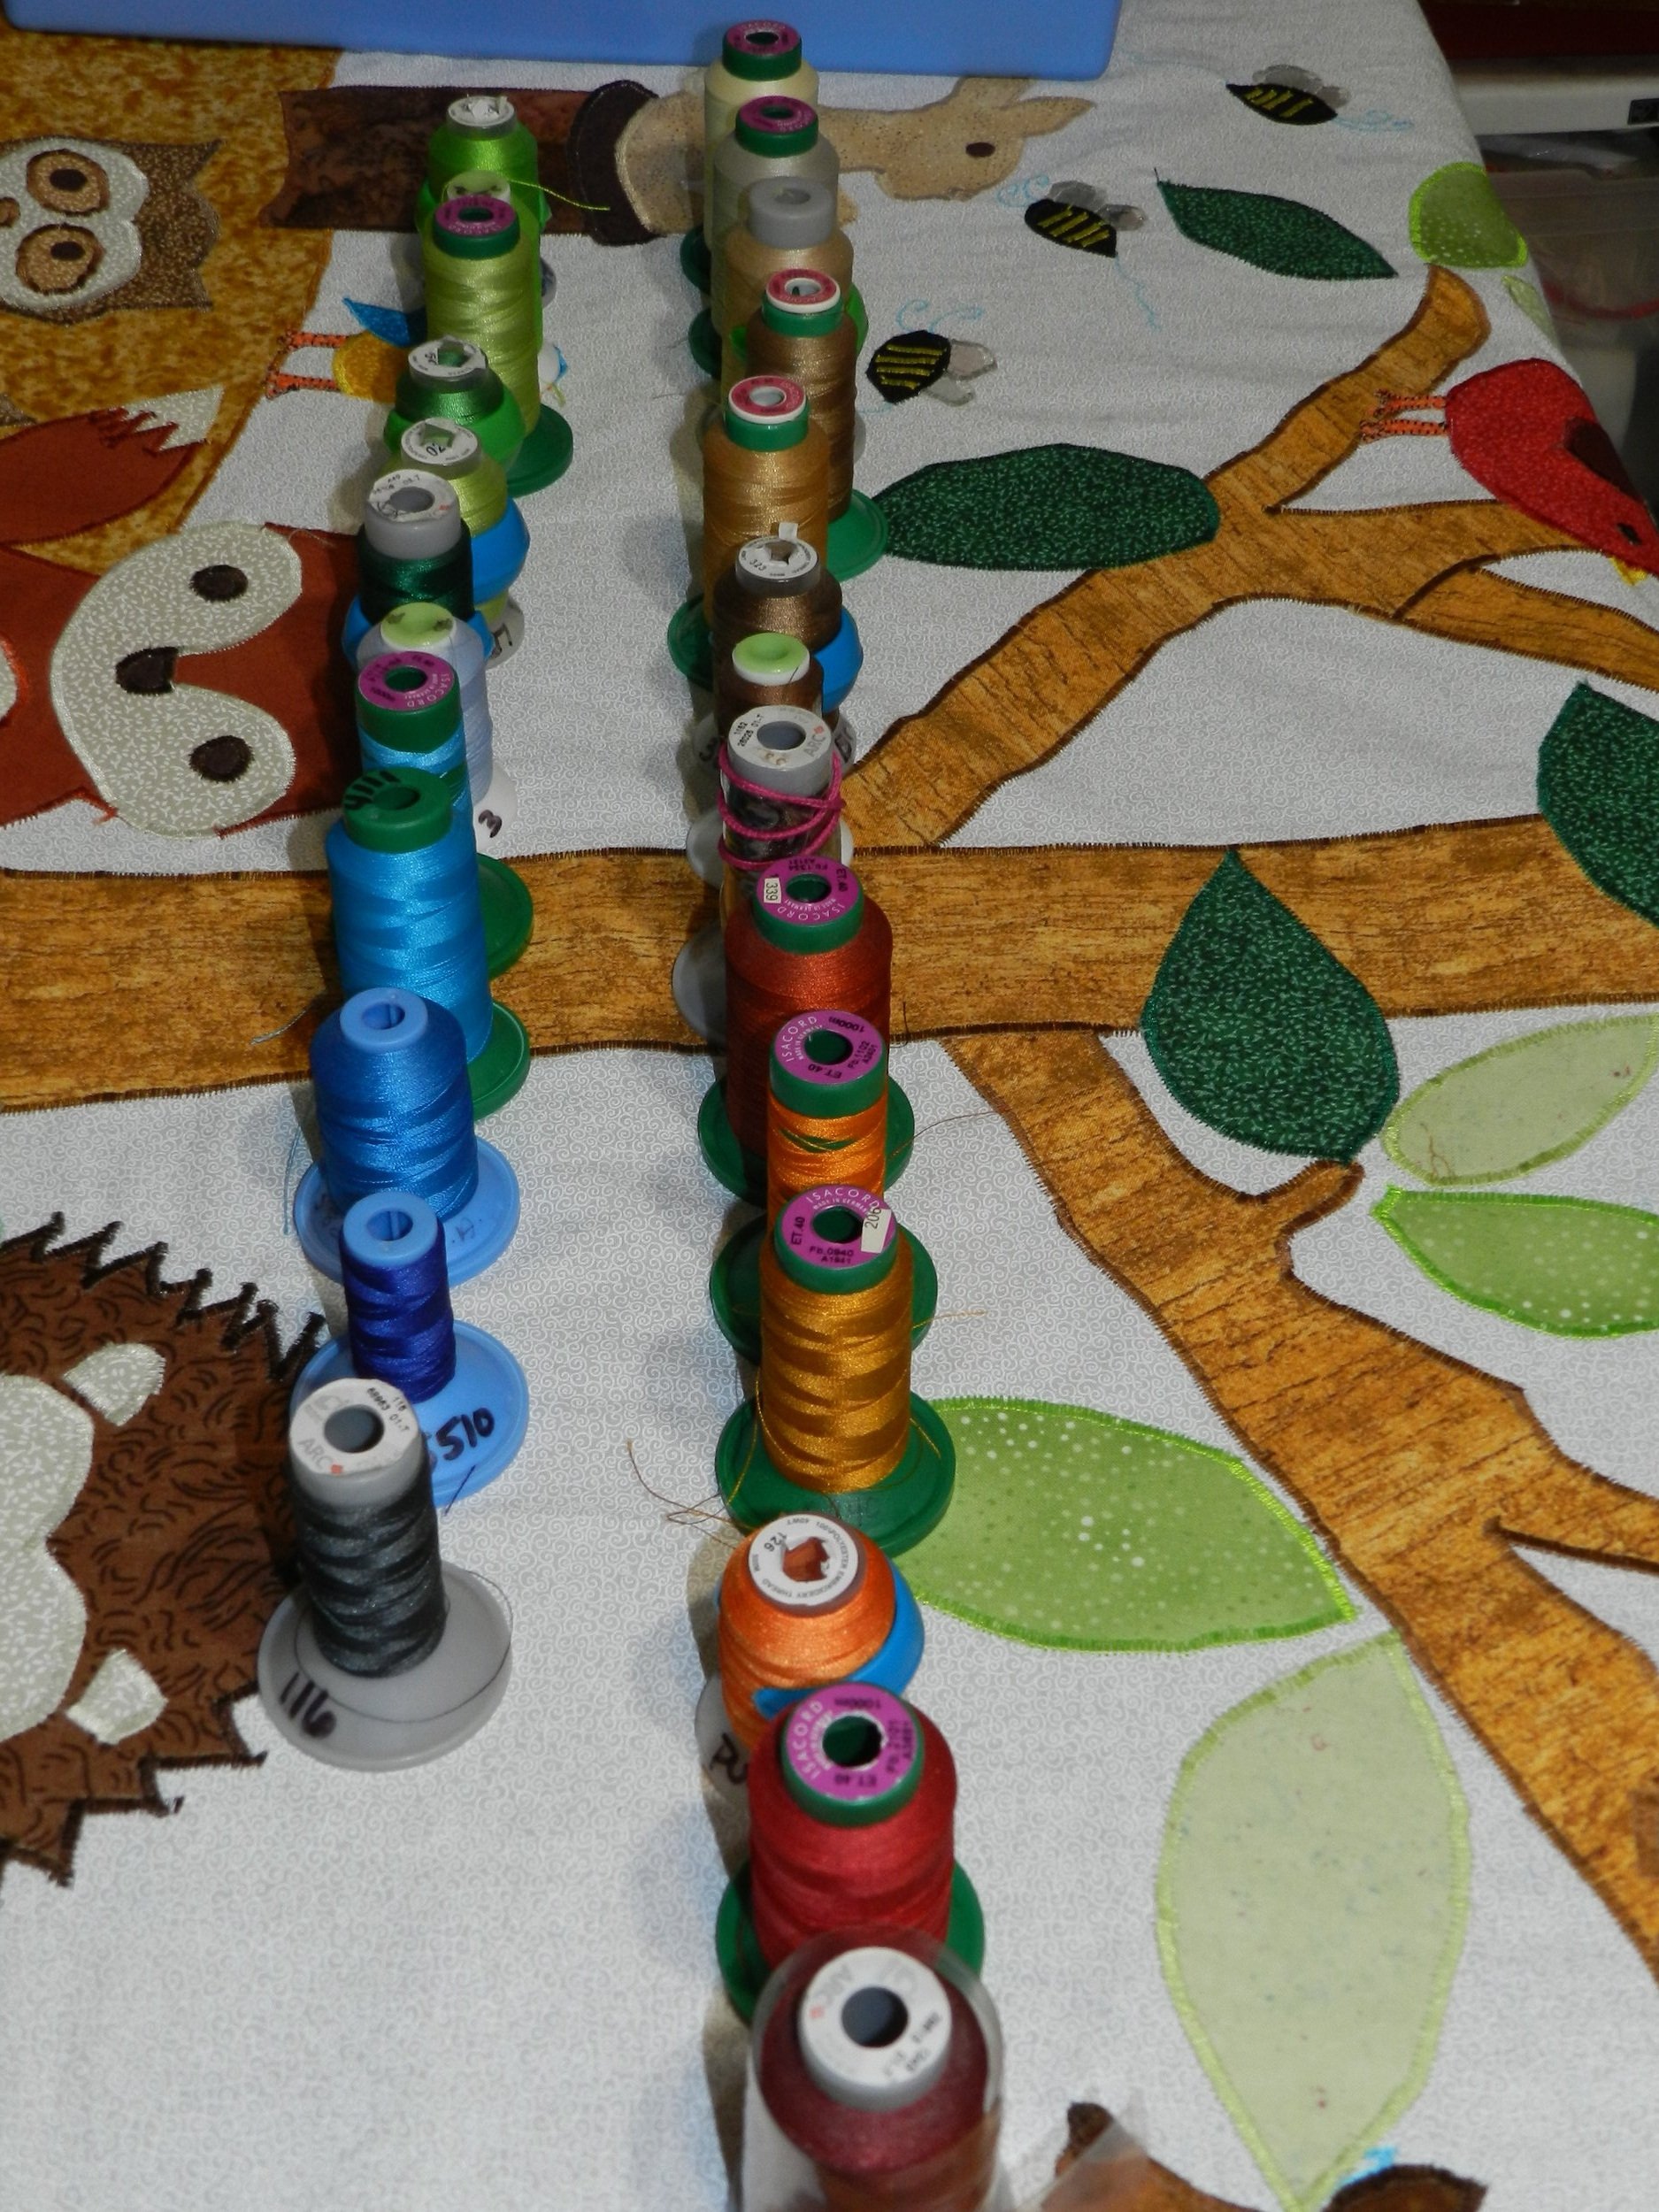
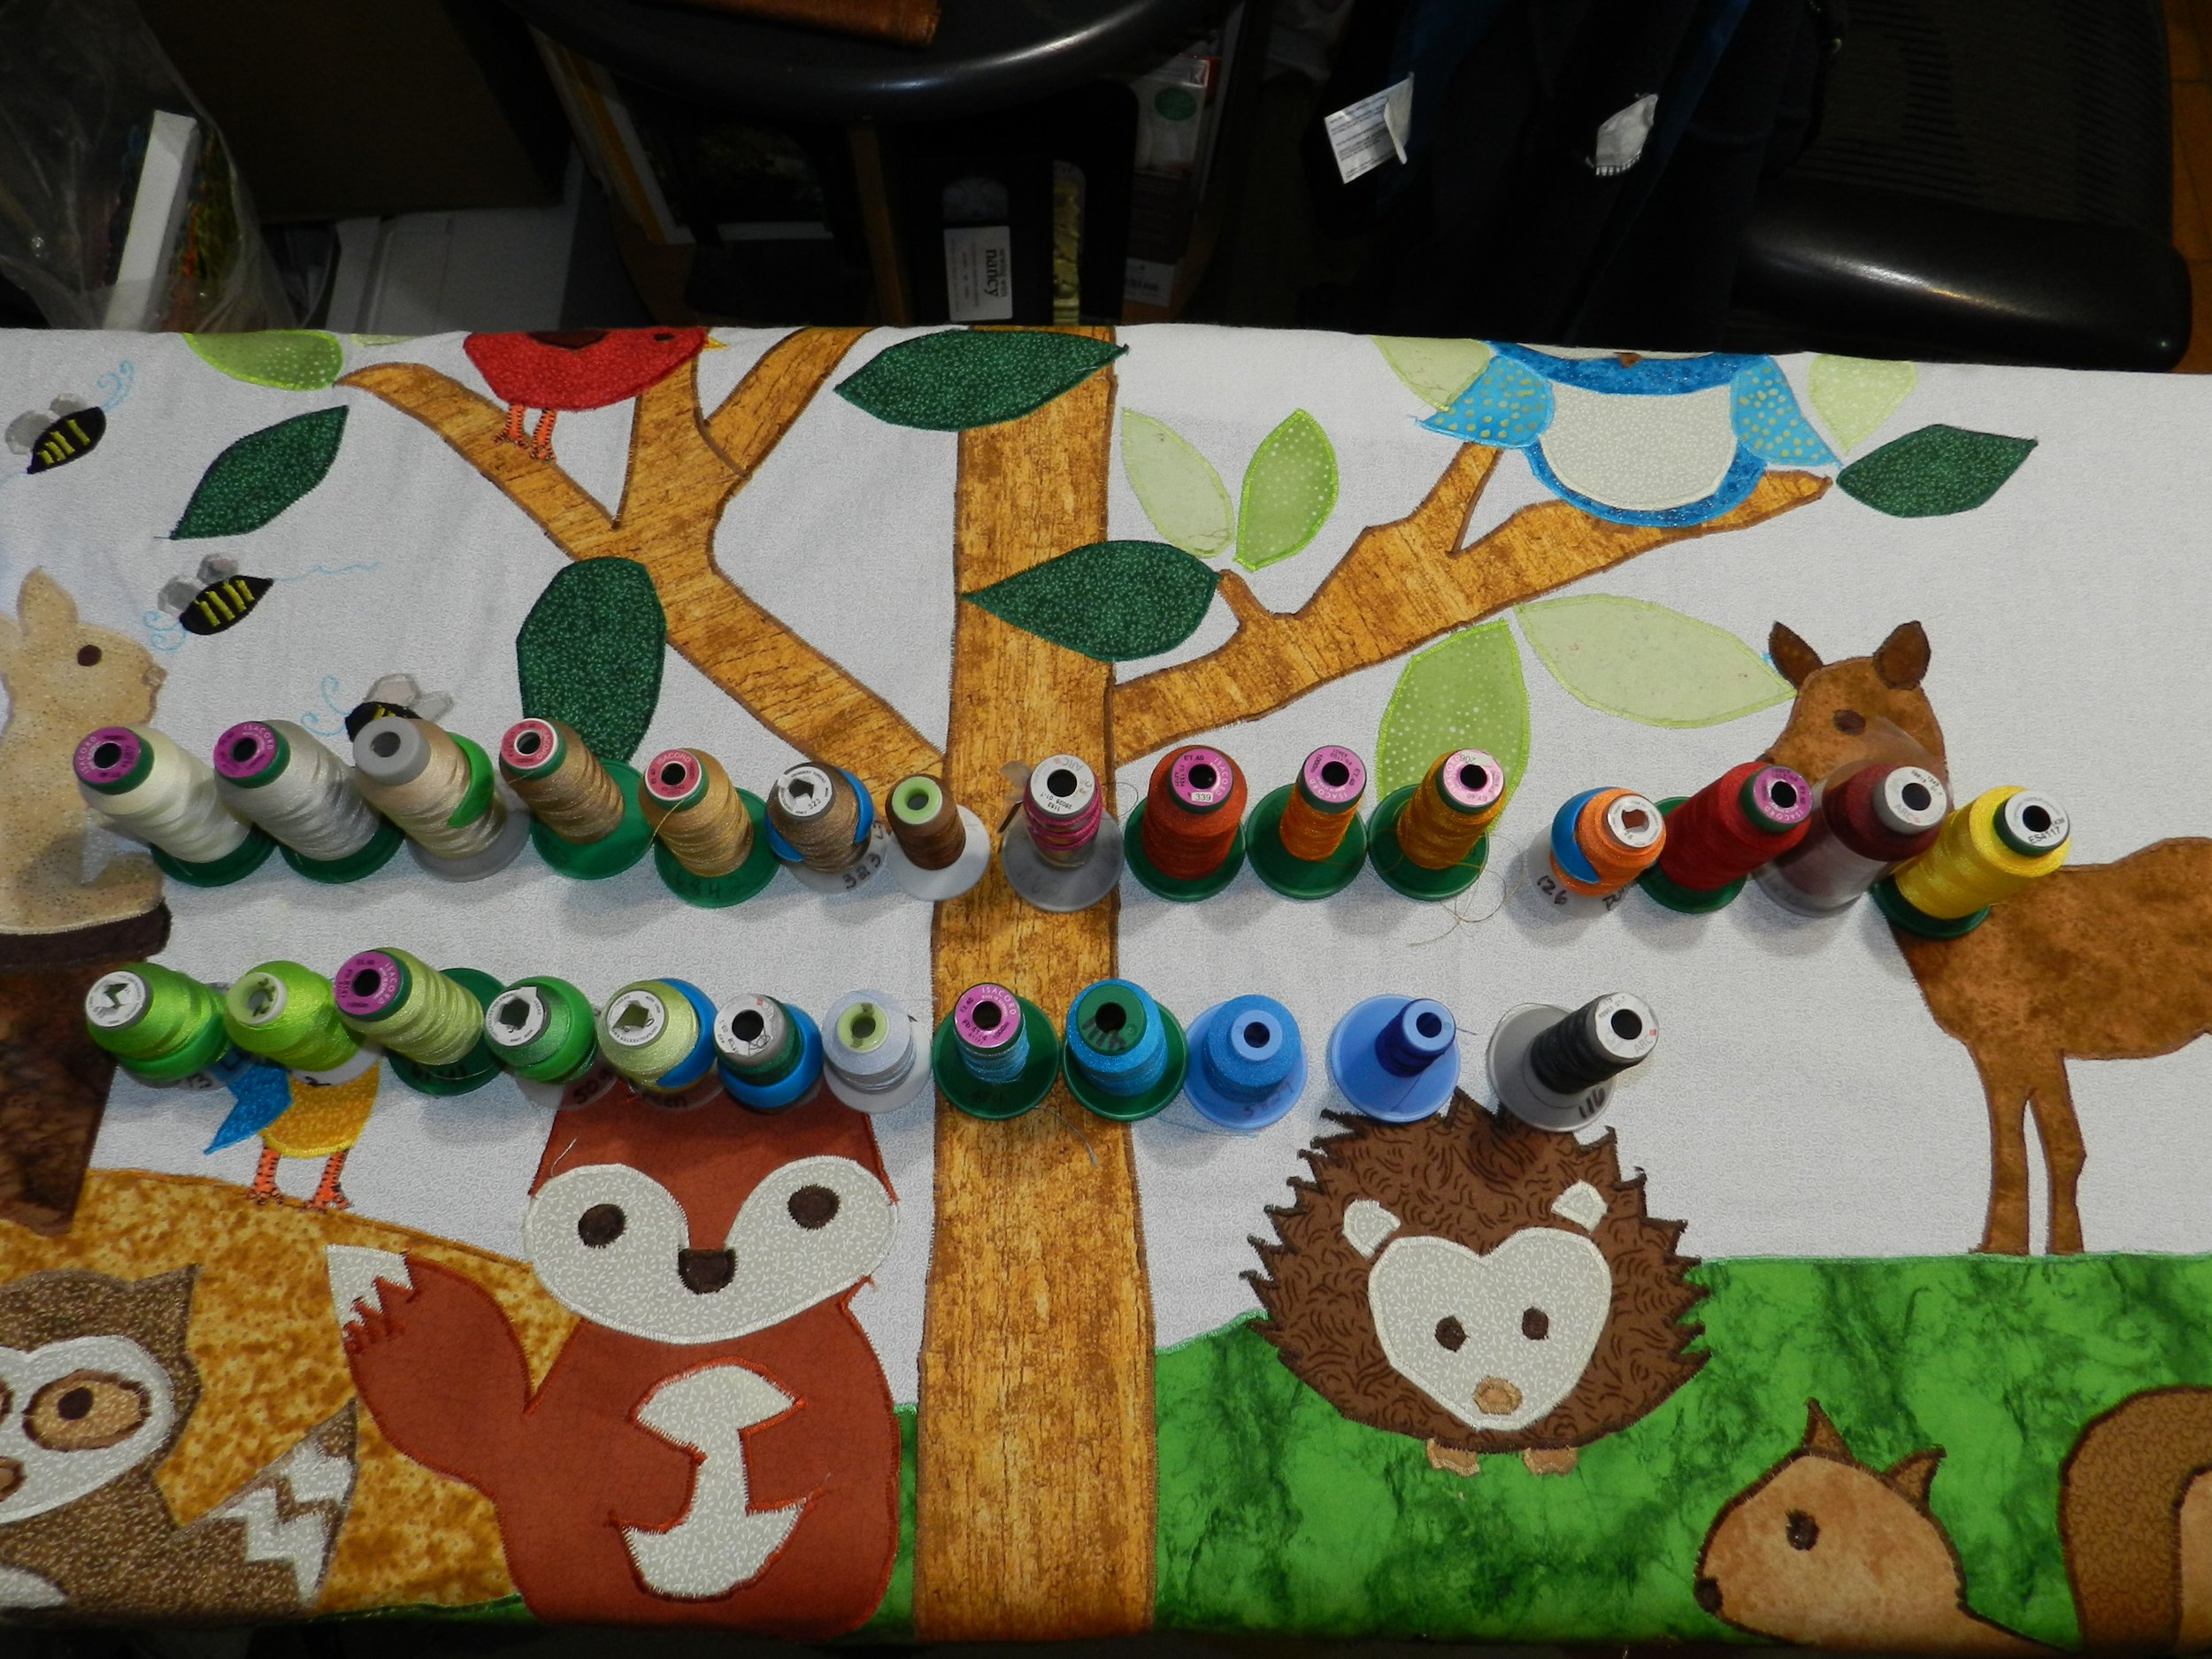
I was contacted by a friend to make a custom quilt from a photograph that she presented to me. It turned out that it was a baby wilderness animal panel by Northcott fabrics. It's been discontinued and I could not find the fabric anywhere. So, I tried to recreate it in the best way that I could. I used 27 different embroidery threads, 33 different fabrics, and over 150 applicated pieces in this project. The final measurement of the quilt was 47 inches in width by 56 inches in length. It was a really fun project. I loved all the different use of colors in the fabrics as well as the threads.
You can watch the video here: Fur Teddy Bear and Bunny
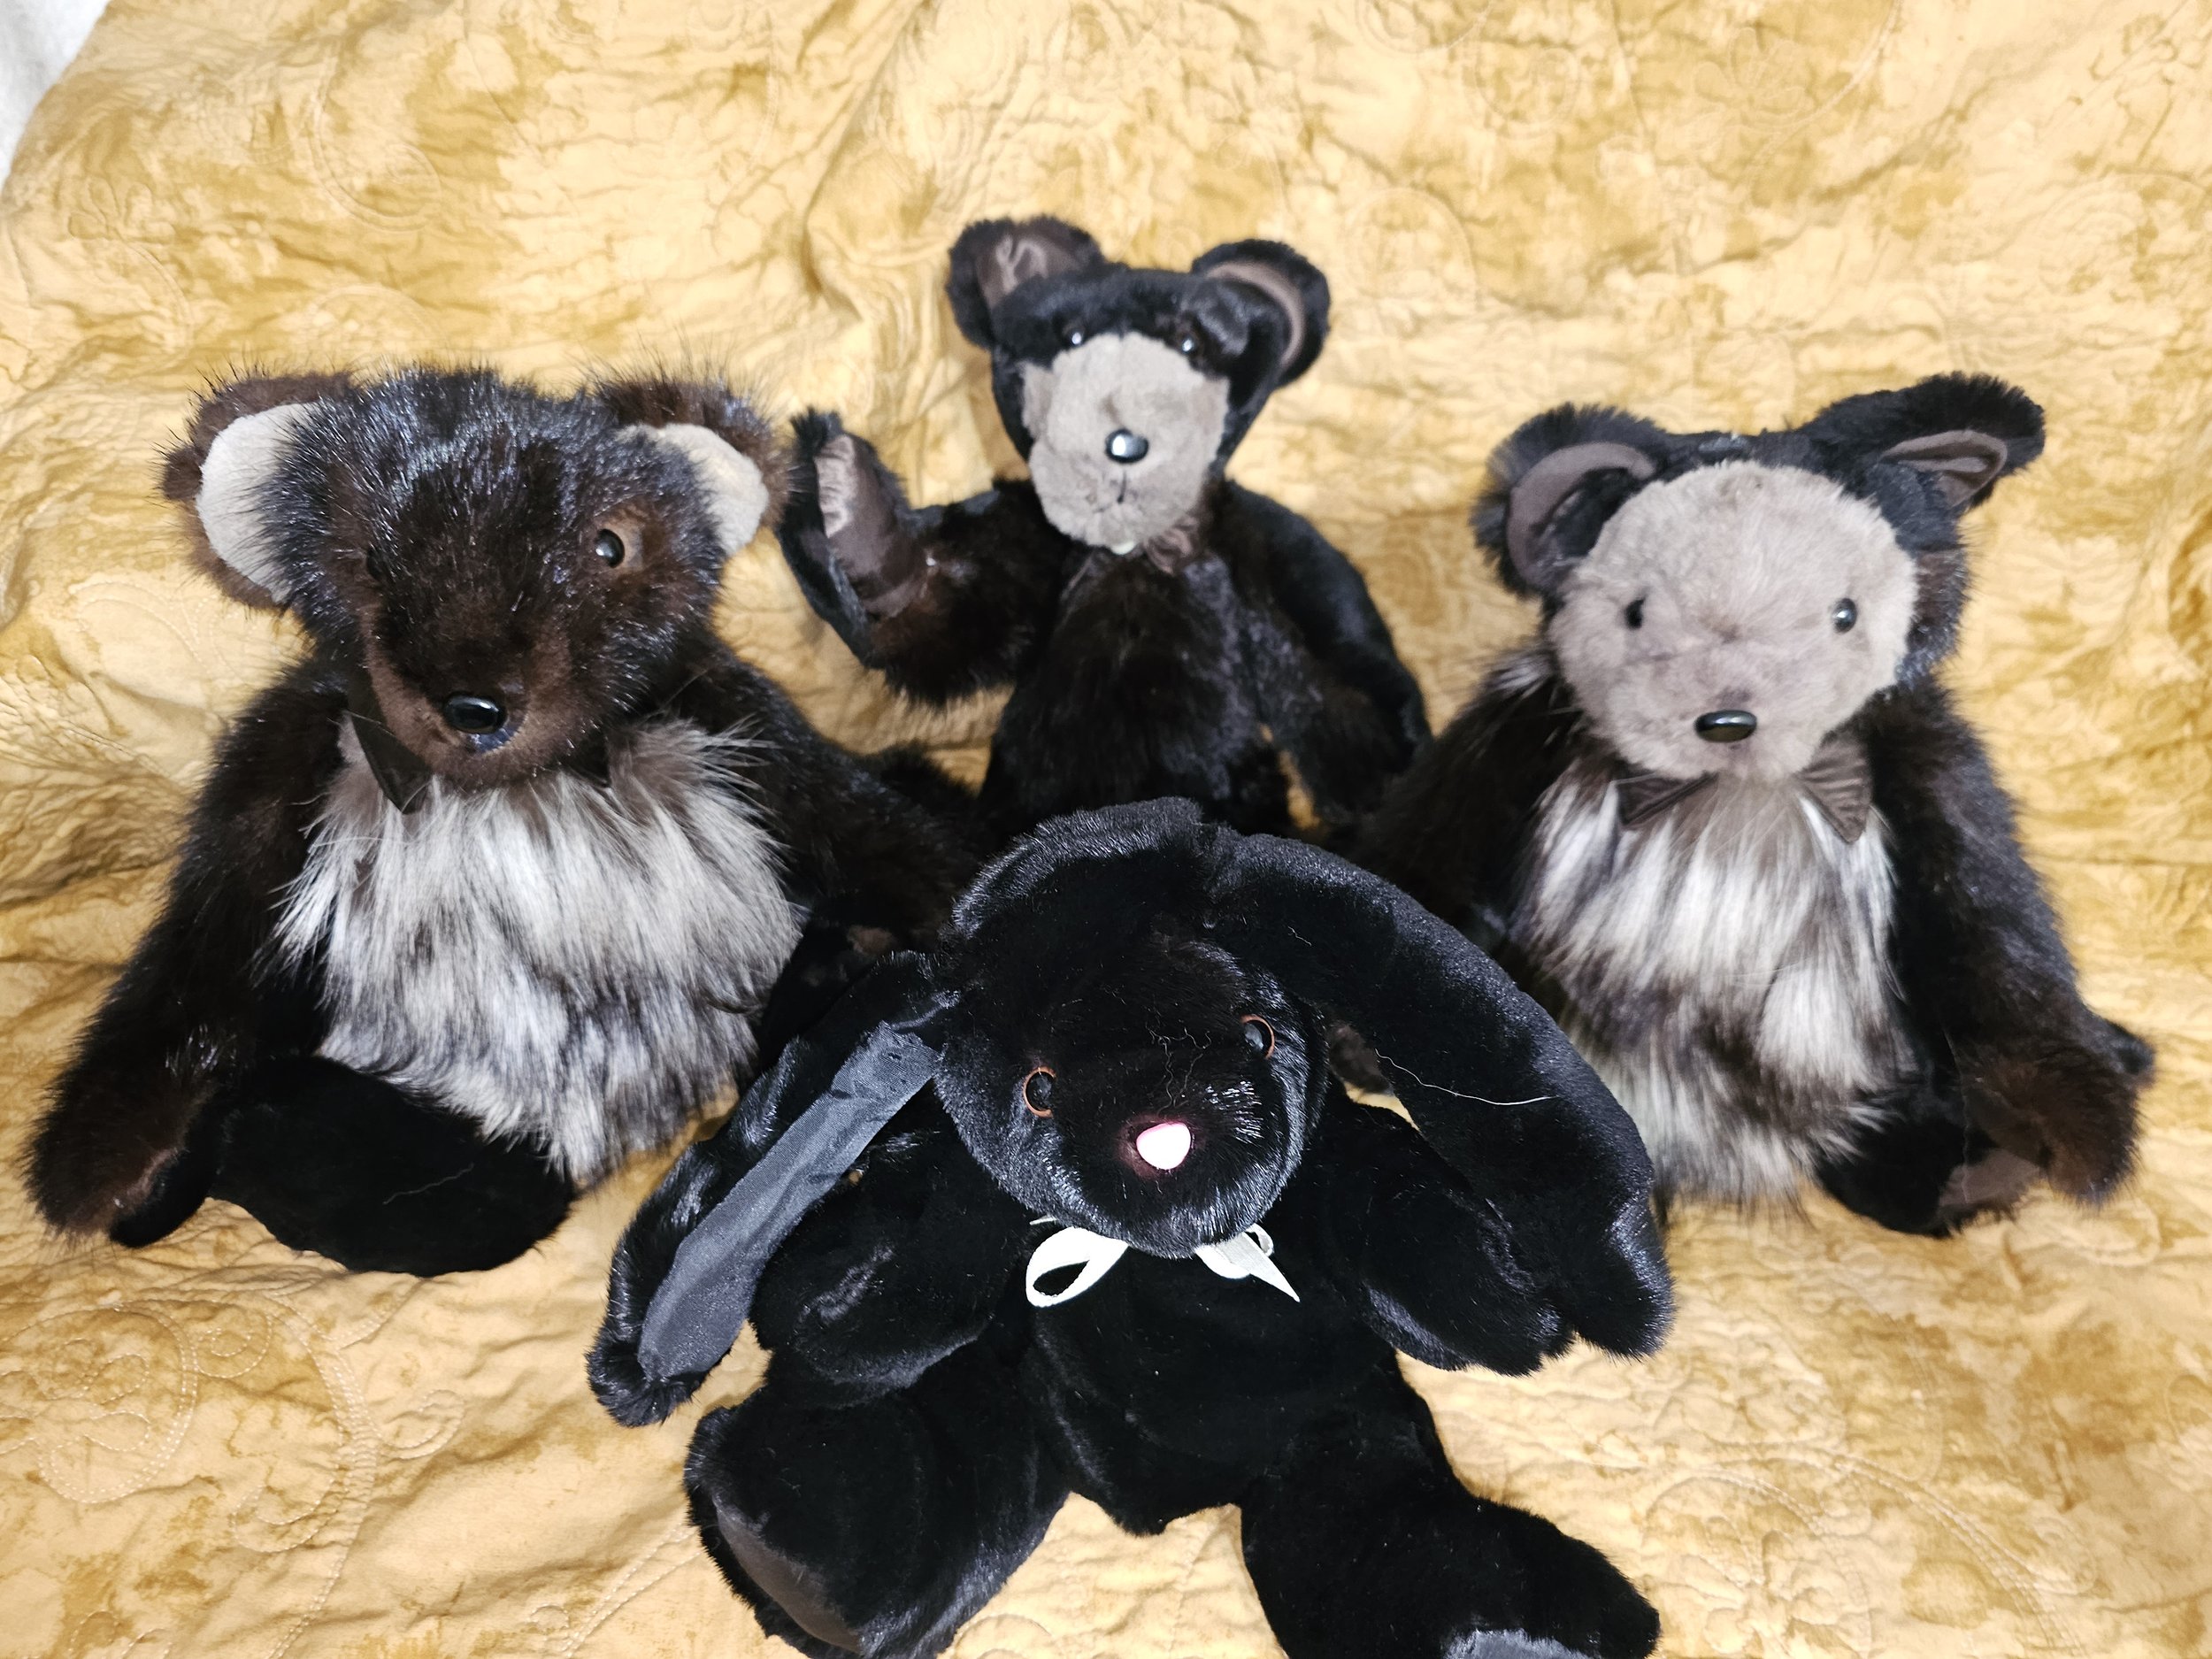
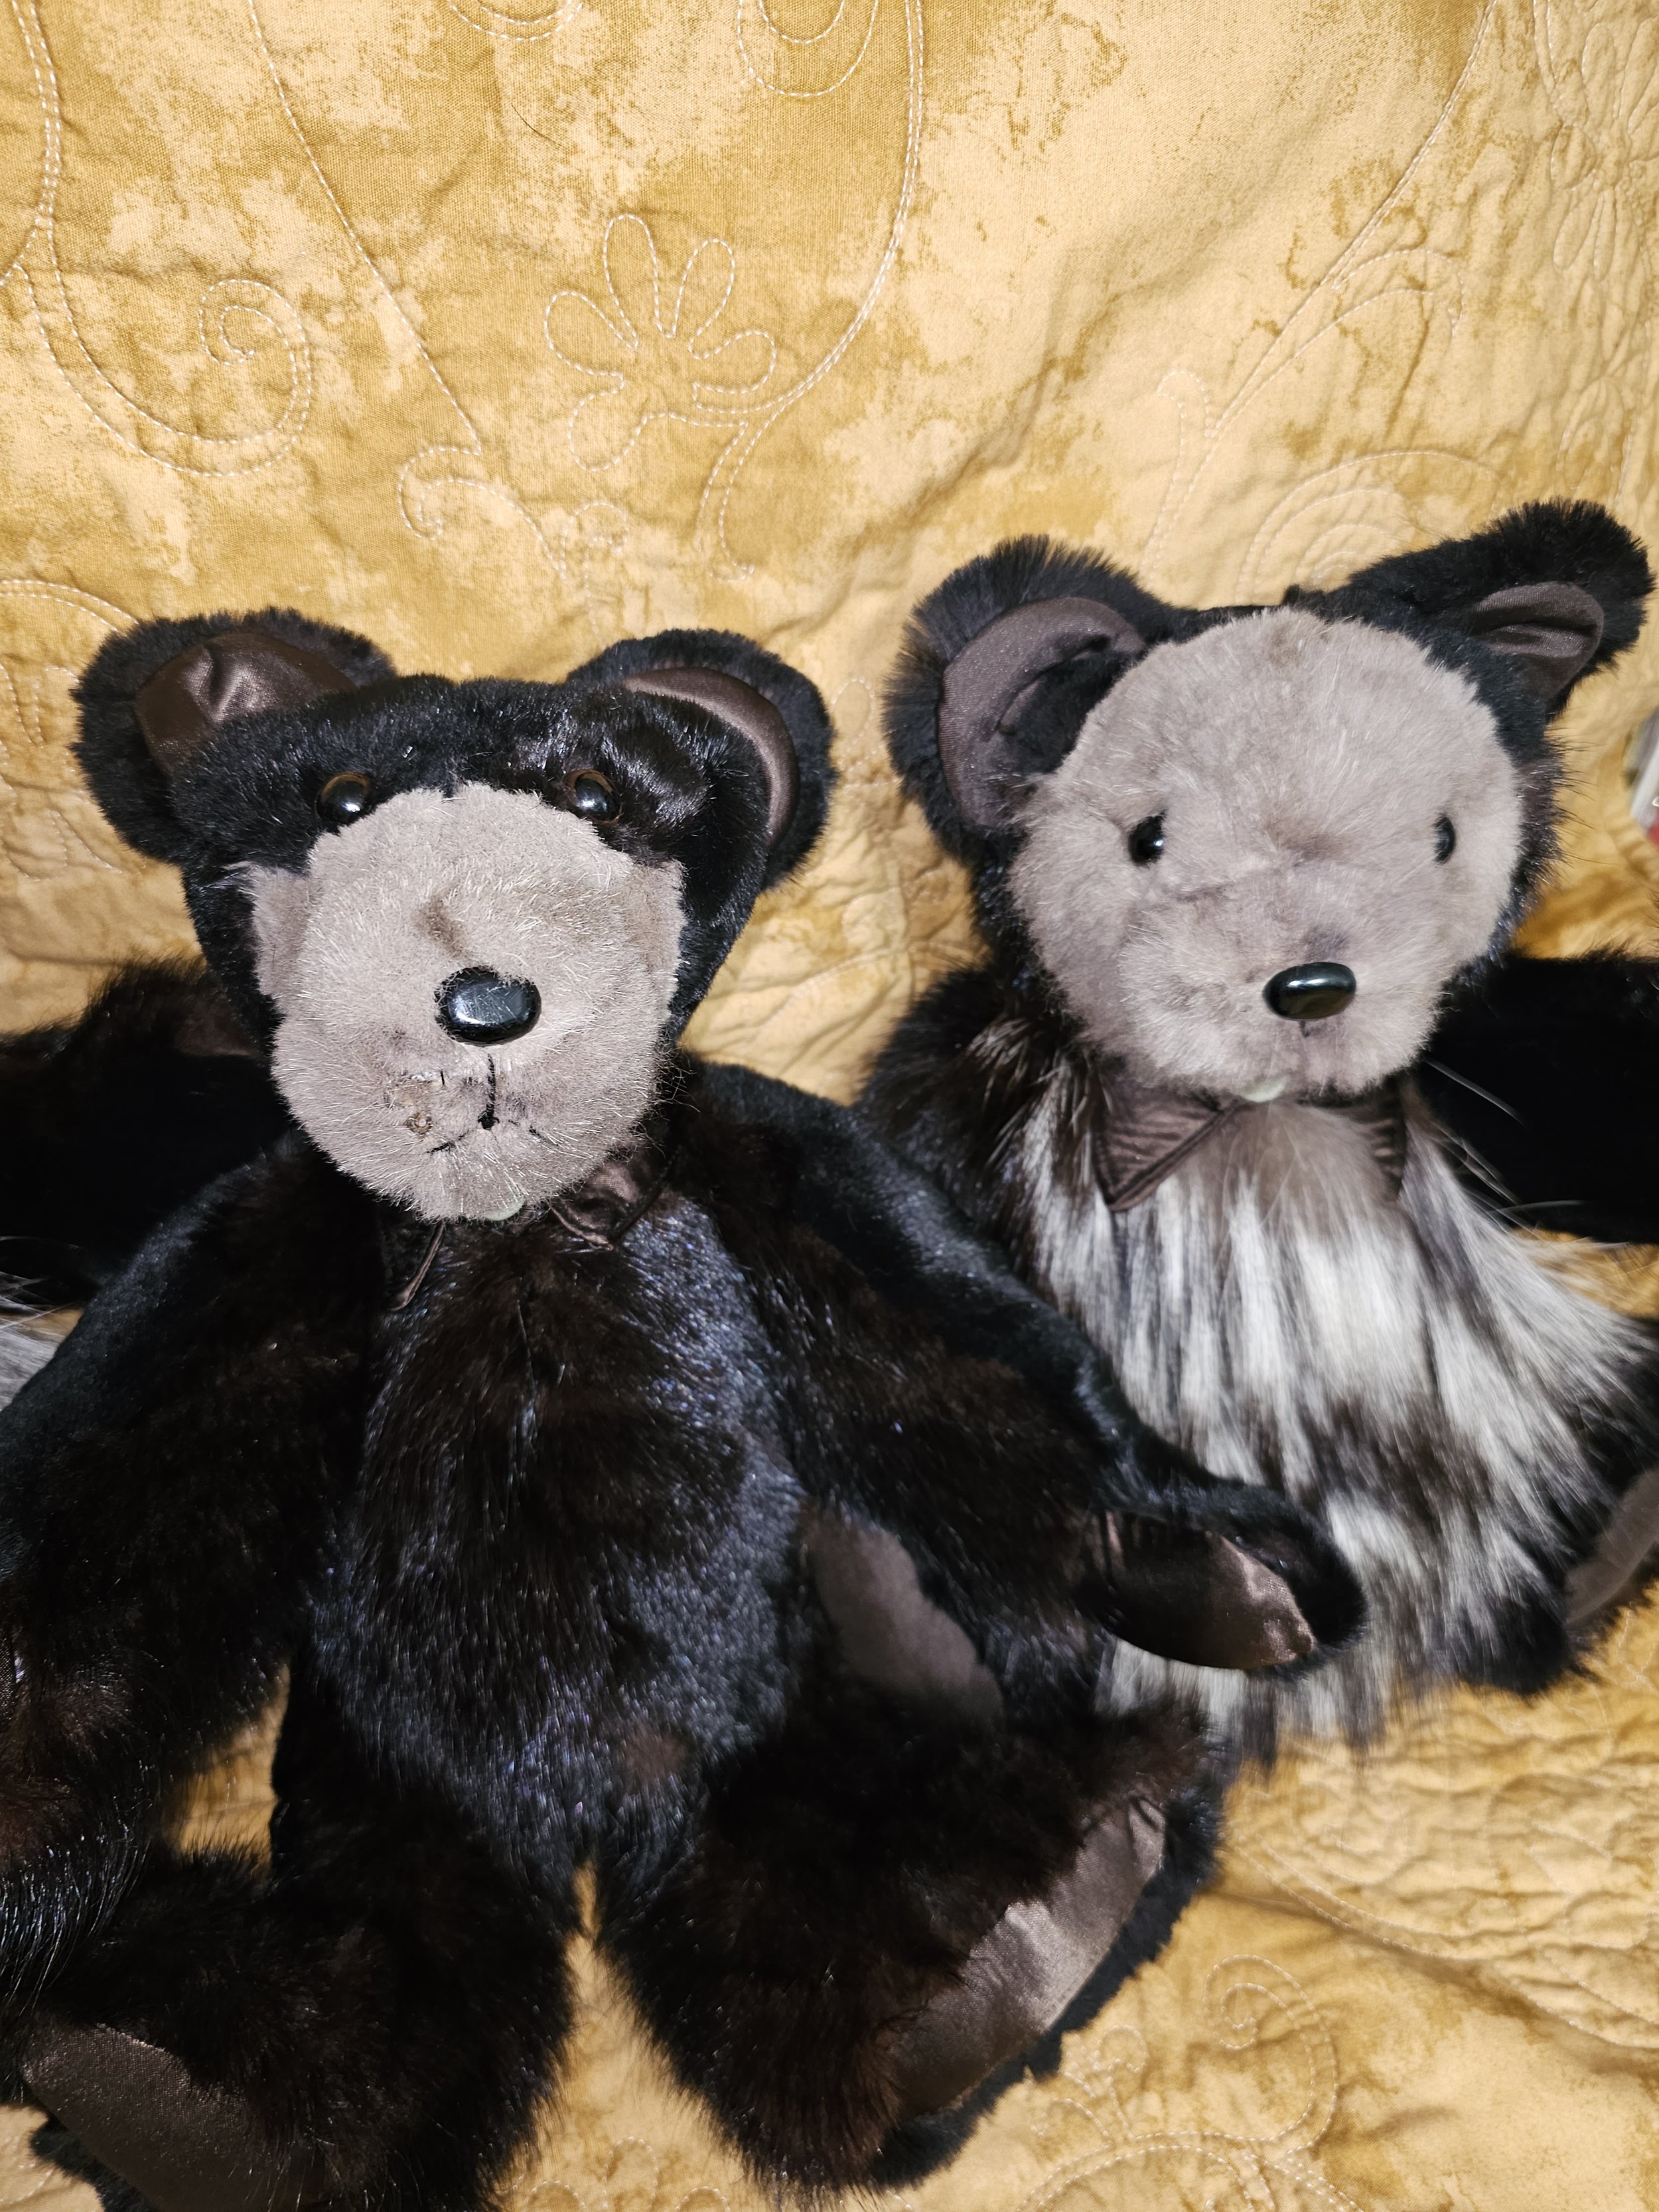
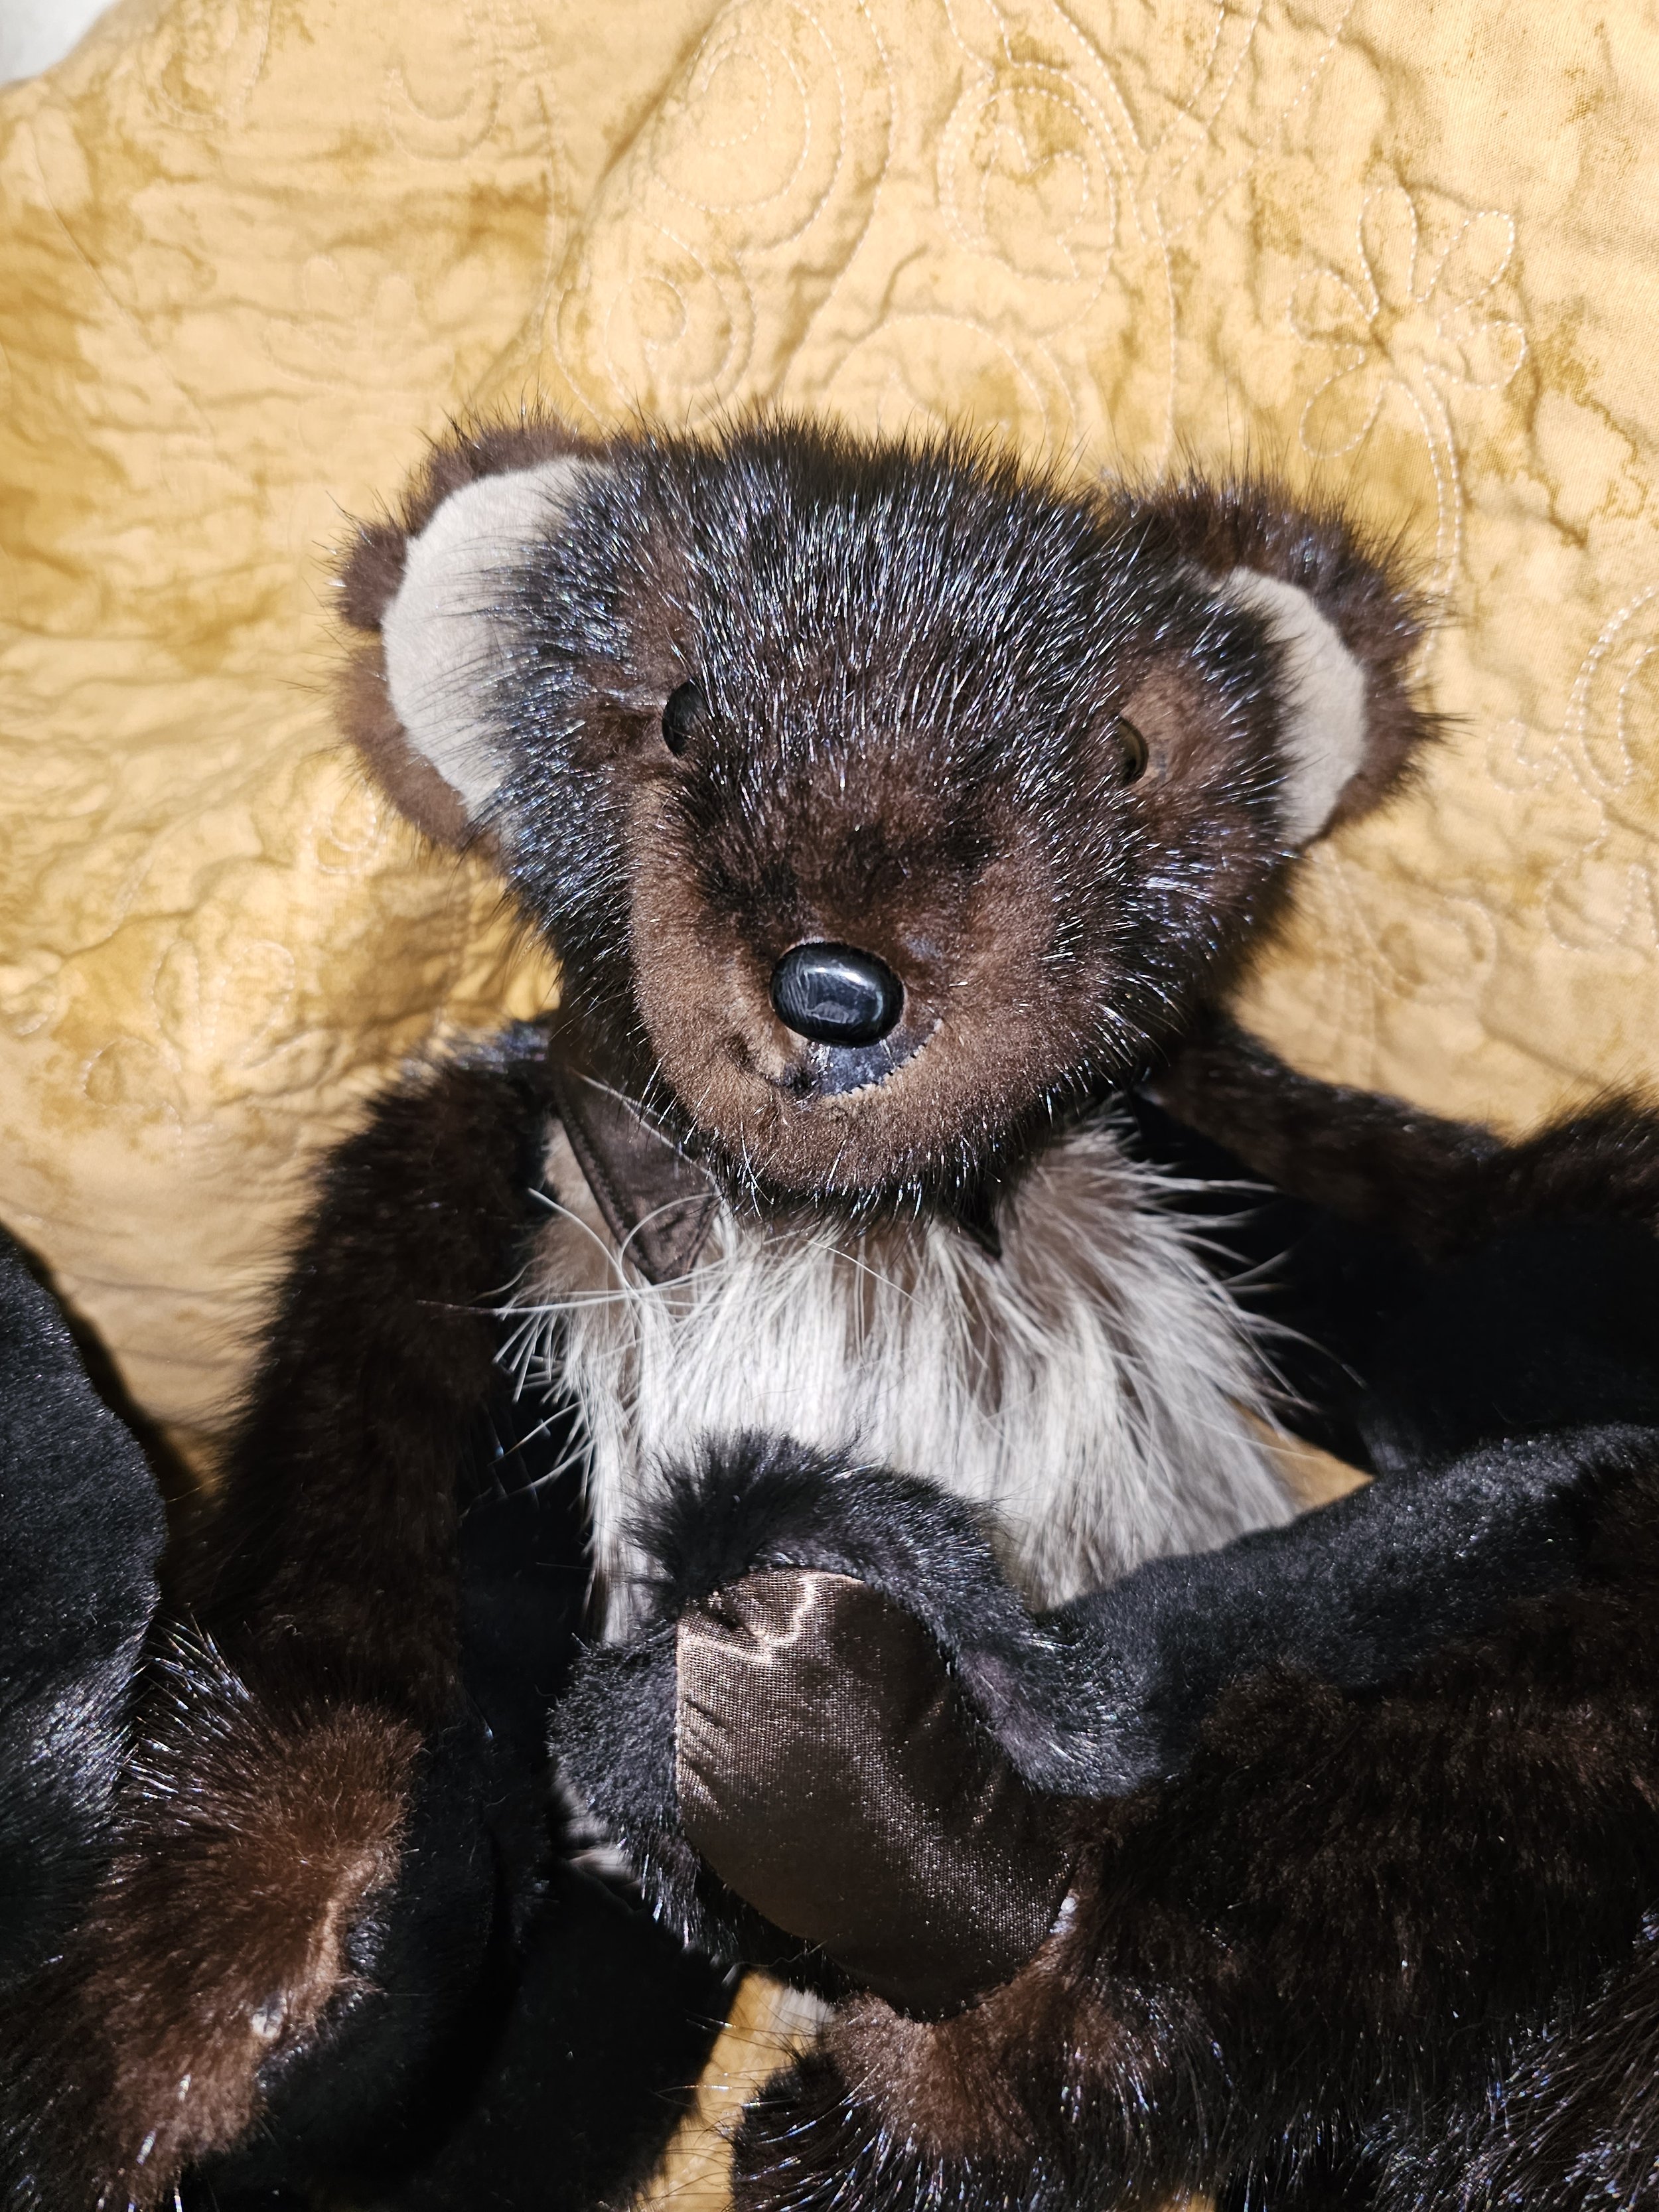
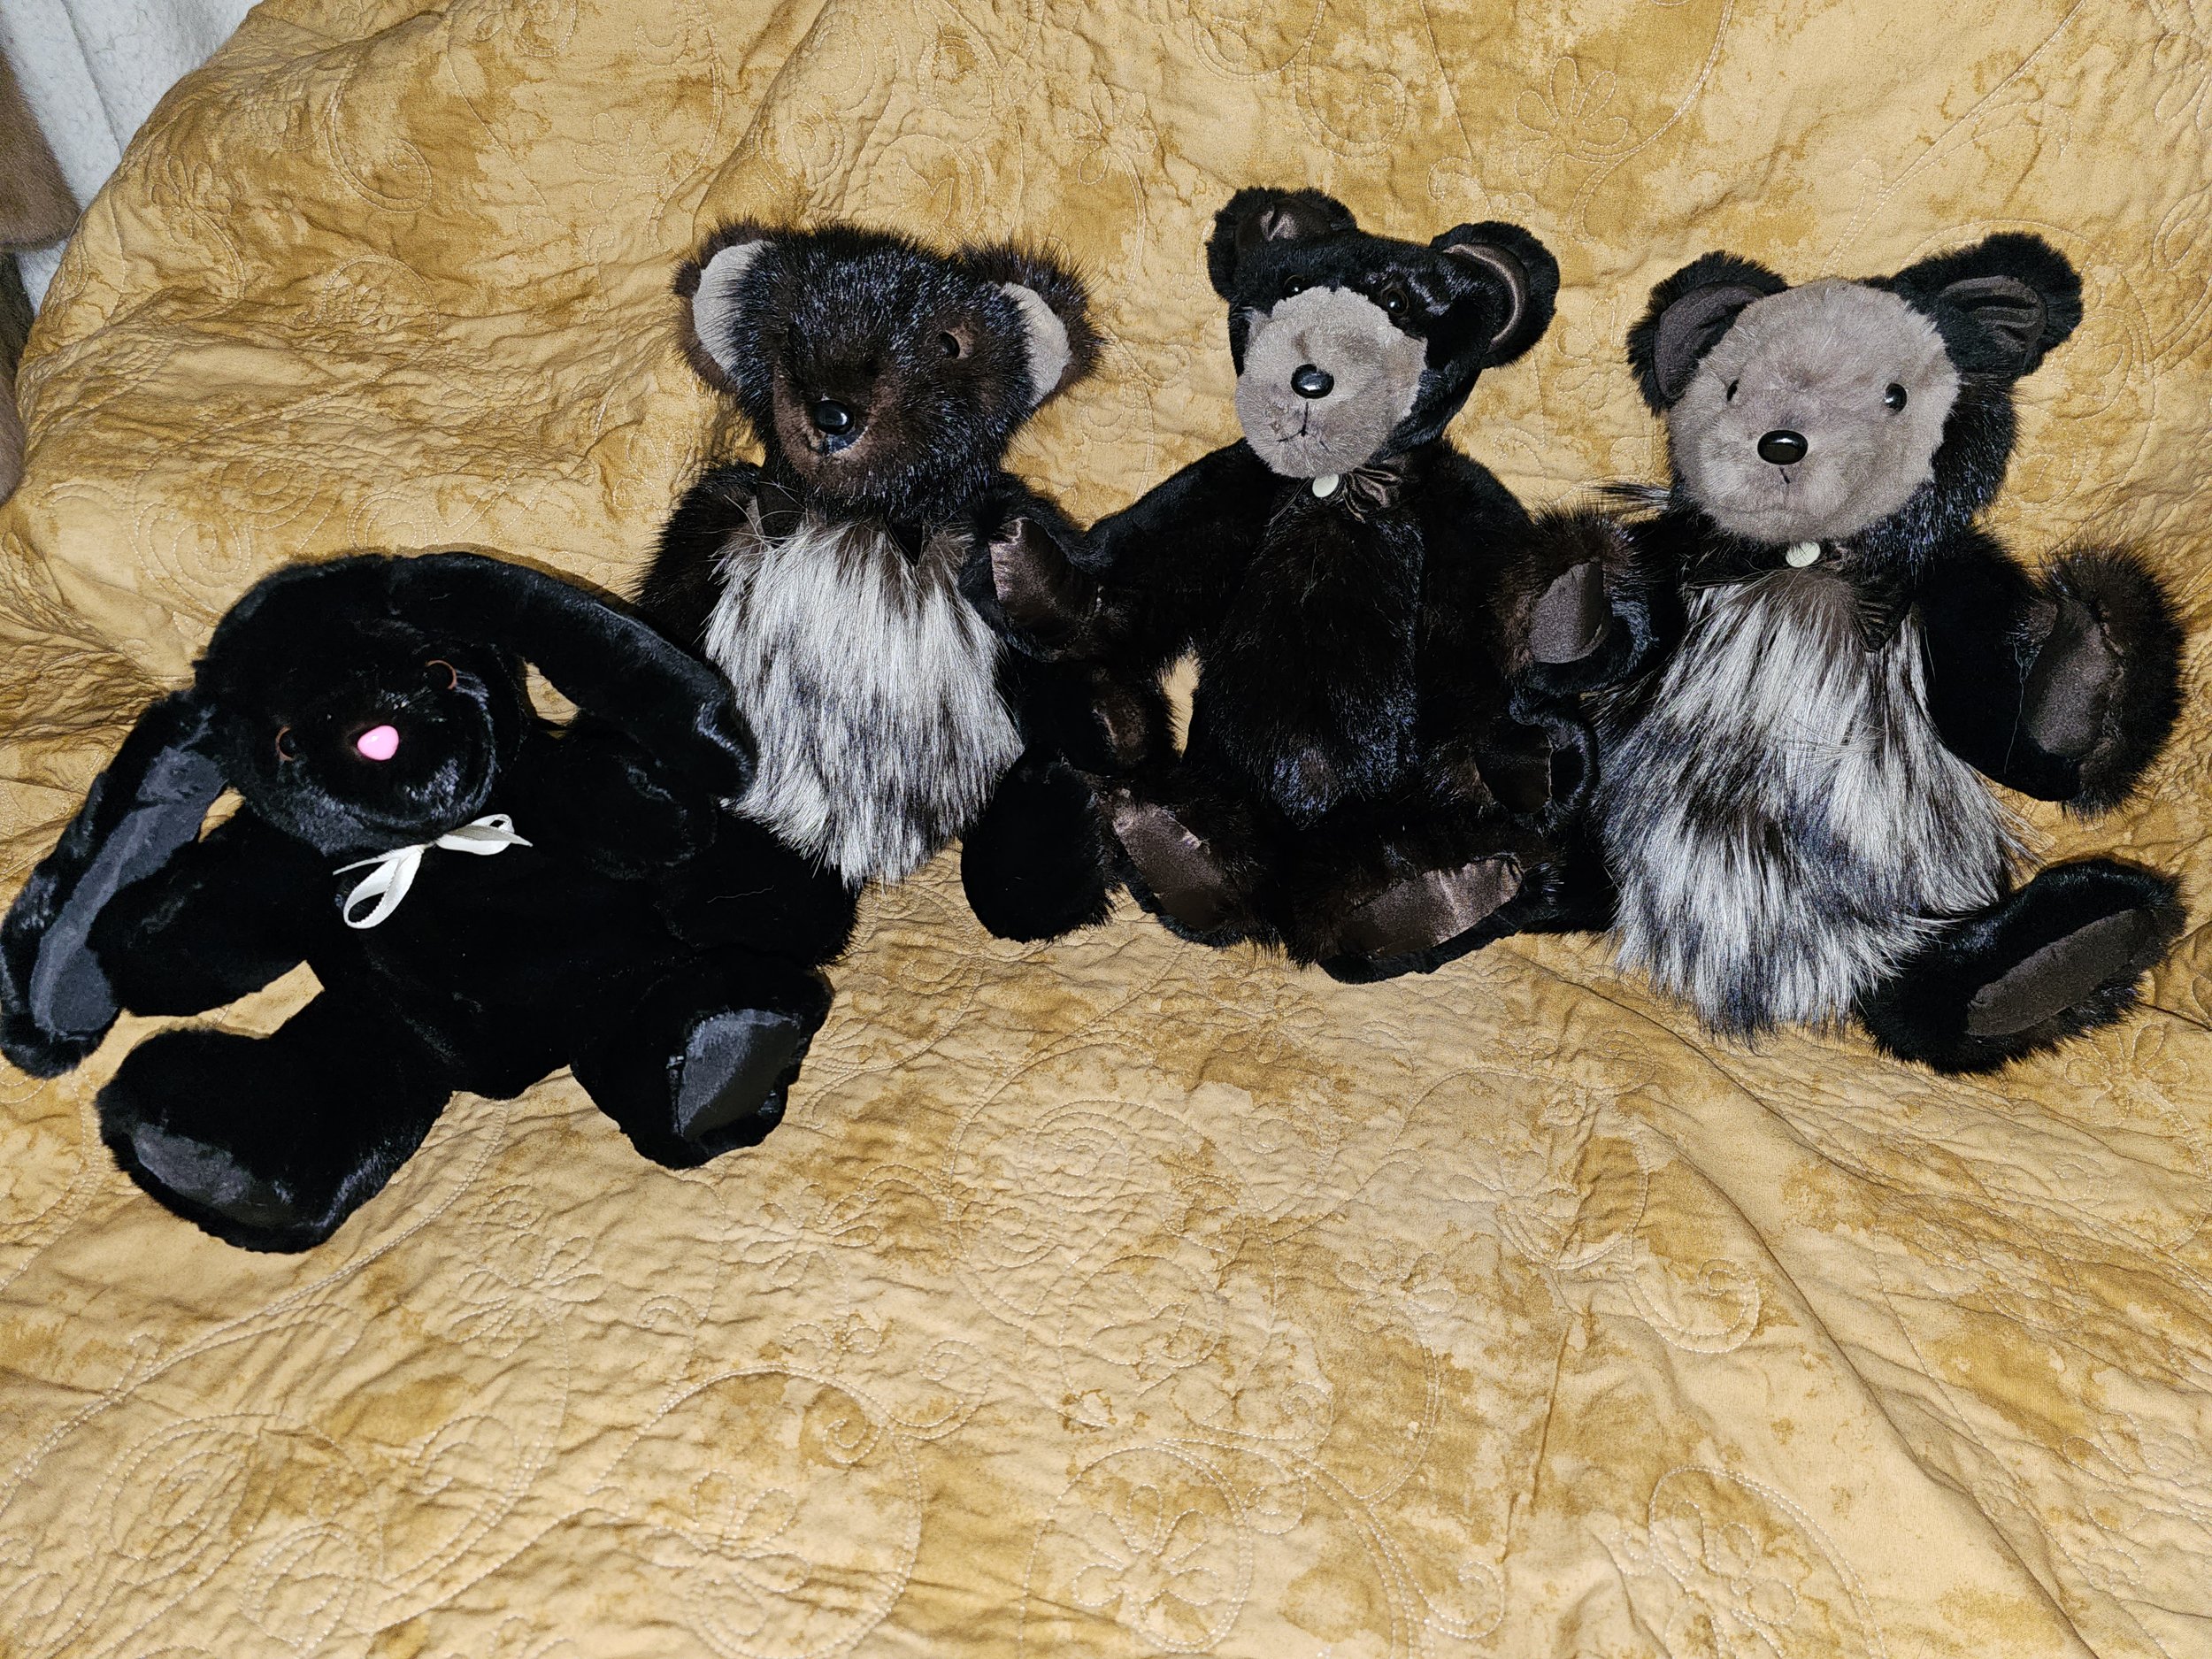
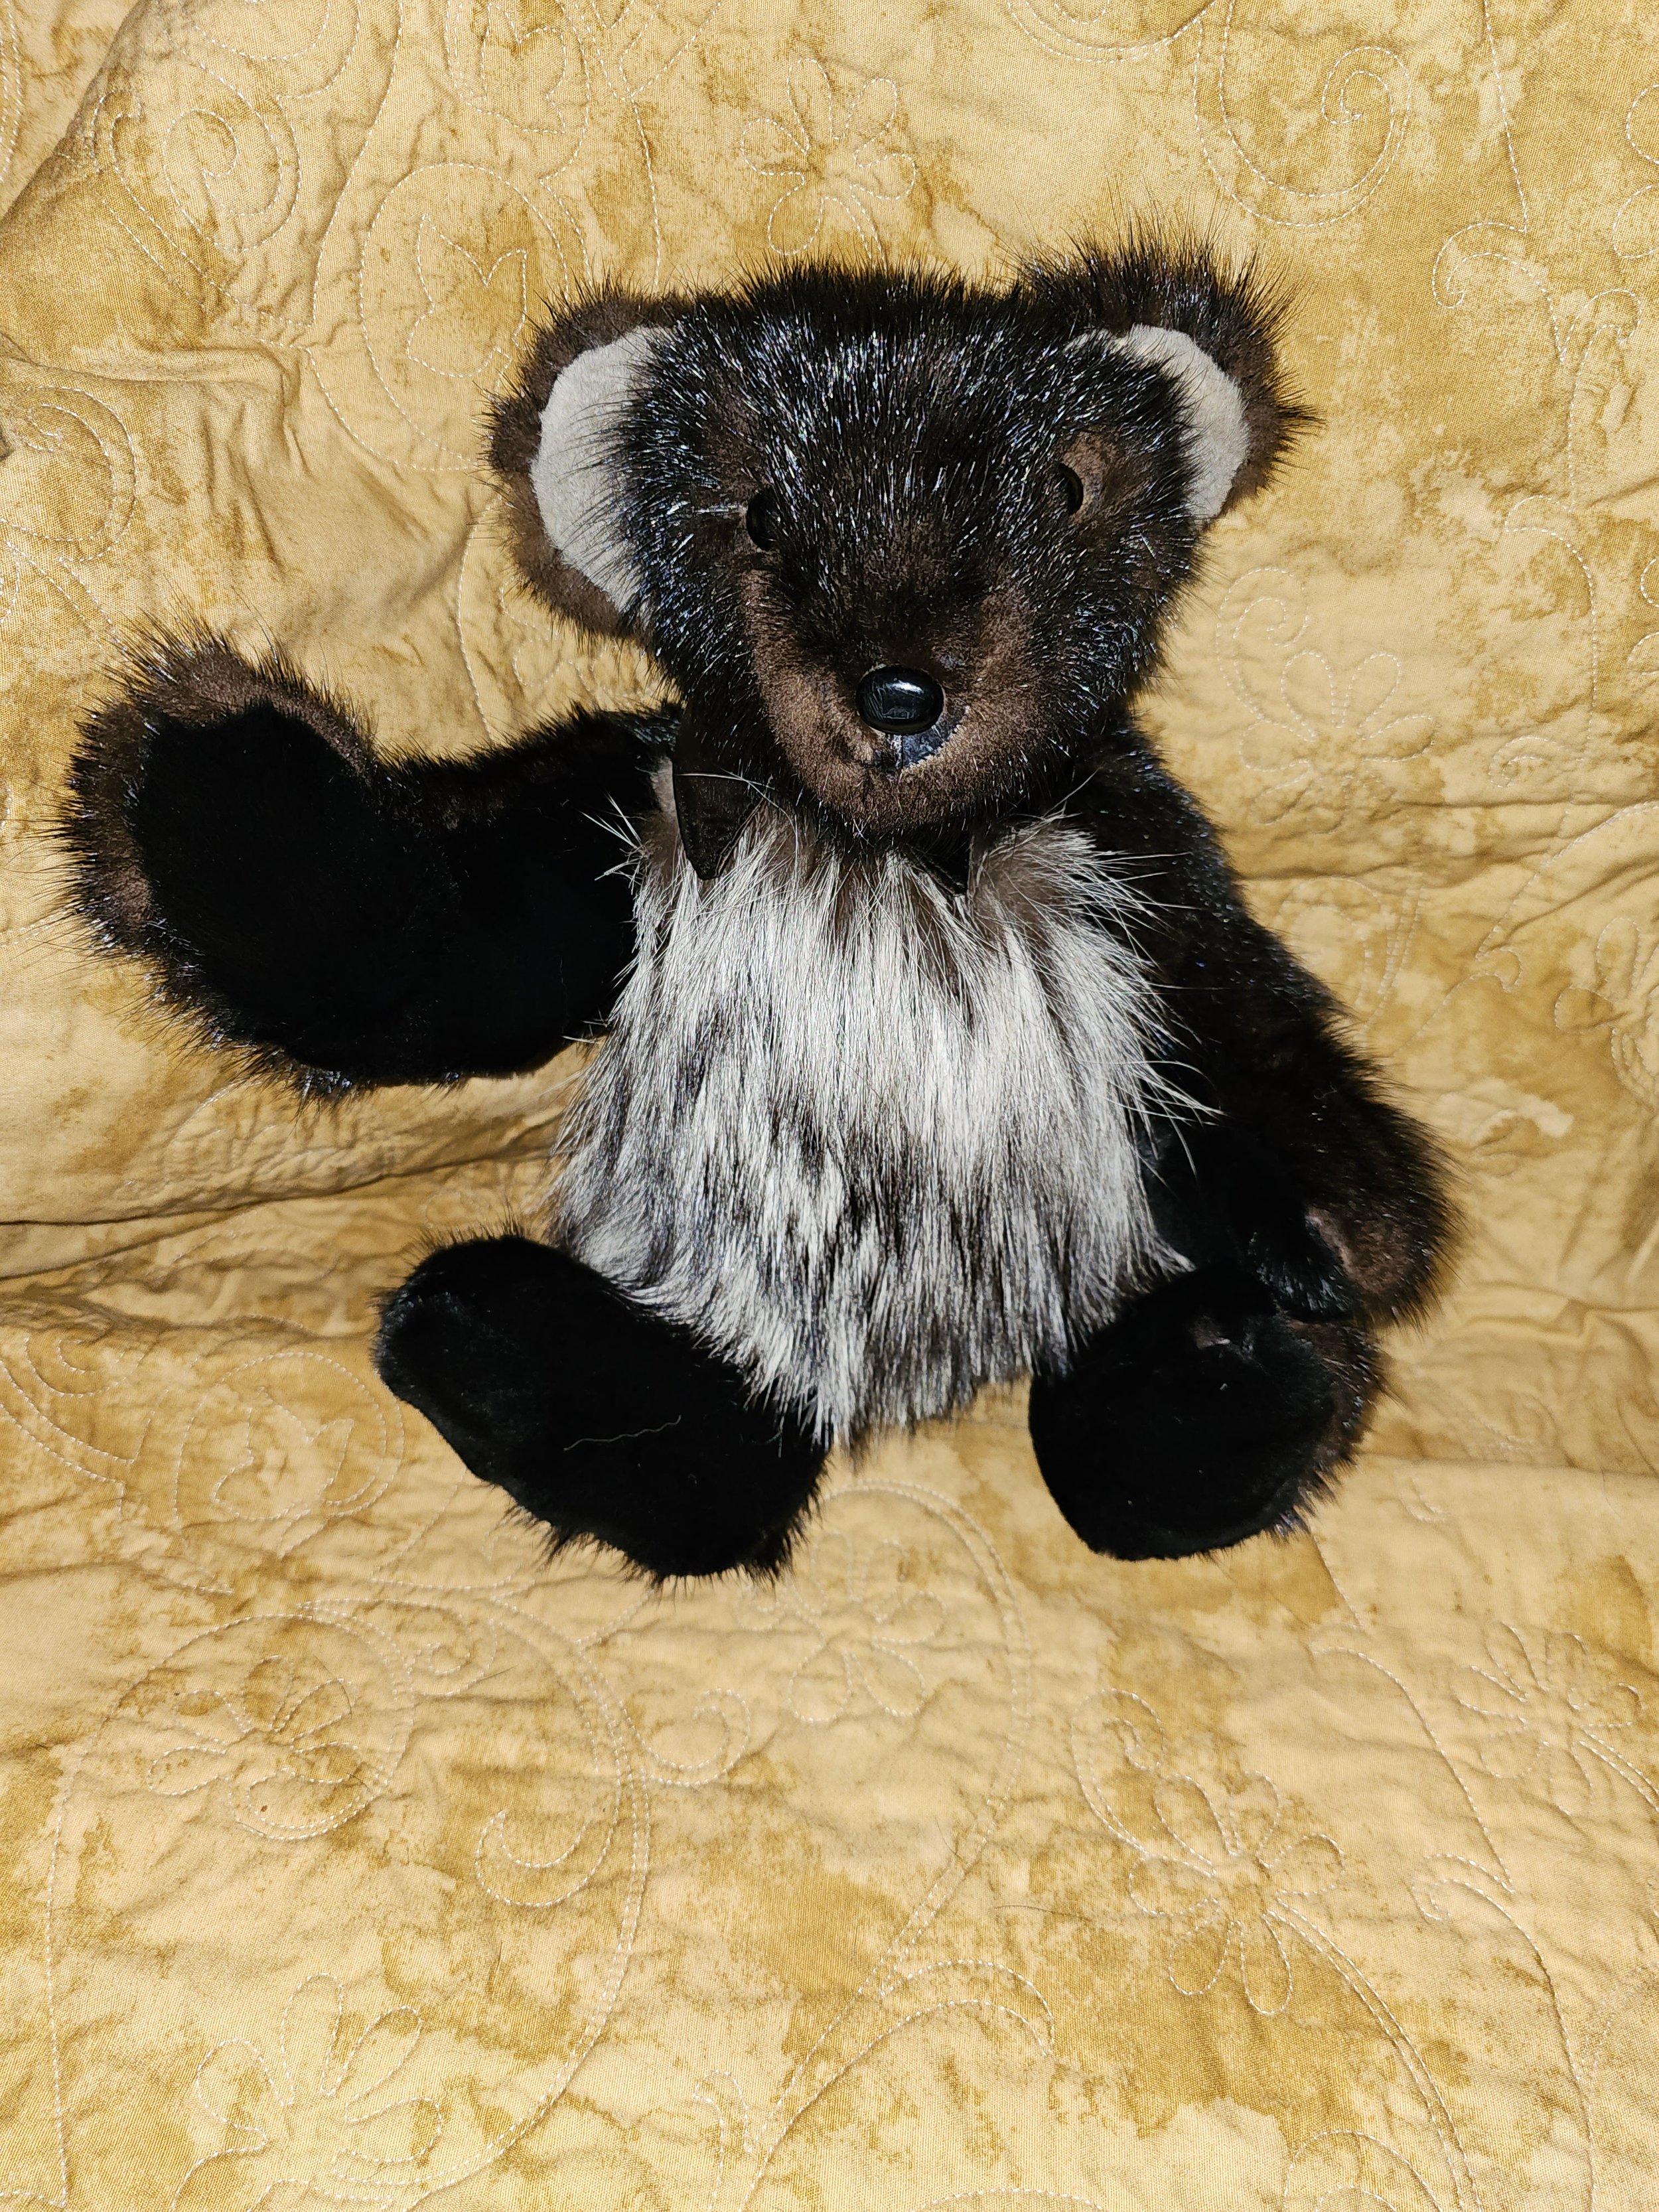
I was contacted by a customer who wanted to turn their deceased wife's mink coats into teddy bears for his grandchildren. He had a particular style of bear in mind, but he wanted them all to look a bit different. The pattern that was used was the same for each of the bears, but their look is completely different. The pattern that I used was named Sebastian, and will make a 15 inches fully jointed traditional teddy bear. They even have a small pattern for a shirt collar. Although the pattern is designed for mohair I was able to use it for real fur. My final project measured approximately 14 inches due to the bulk of the real fur seams. You can purchase this pattern here: https://www.etsy.com/se-en/listing/164872932/pdf-teddy-bear-pattern-sebastian-15
The fox trim was used in the belly area as well as the shaved down brown parts of the face and ears.
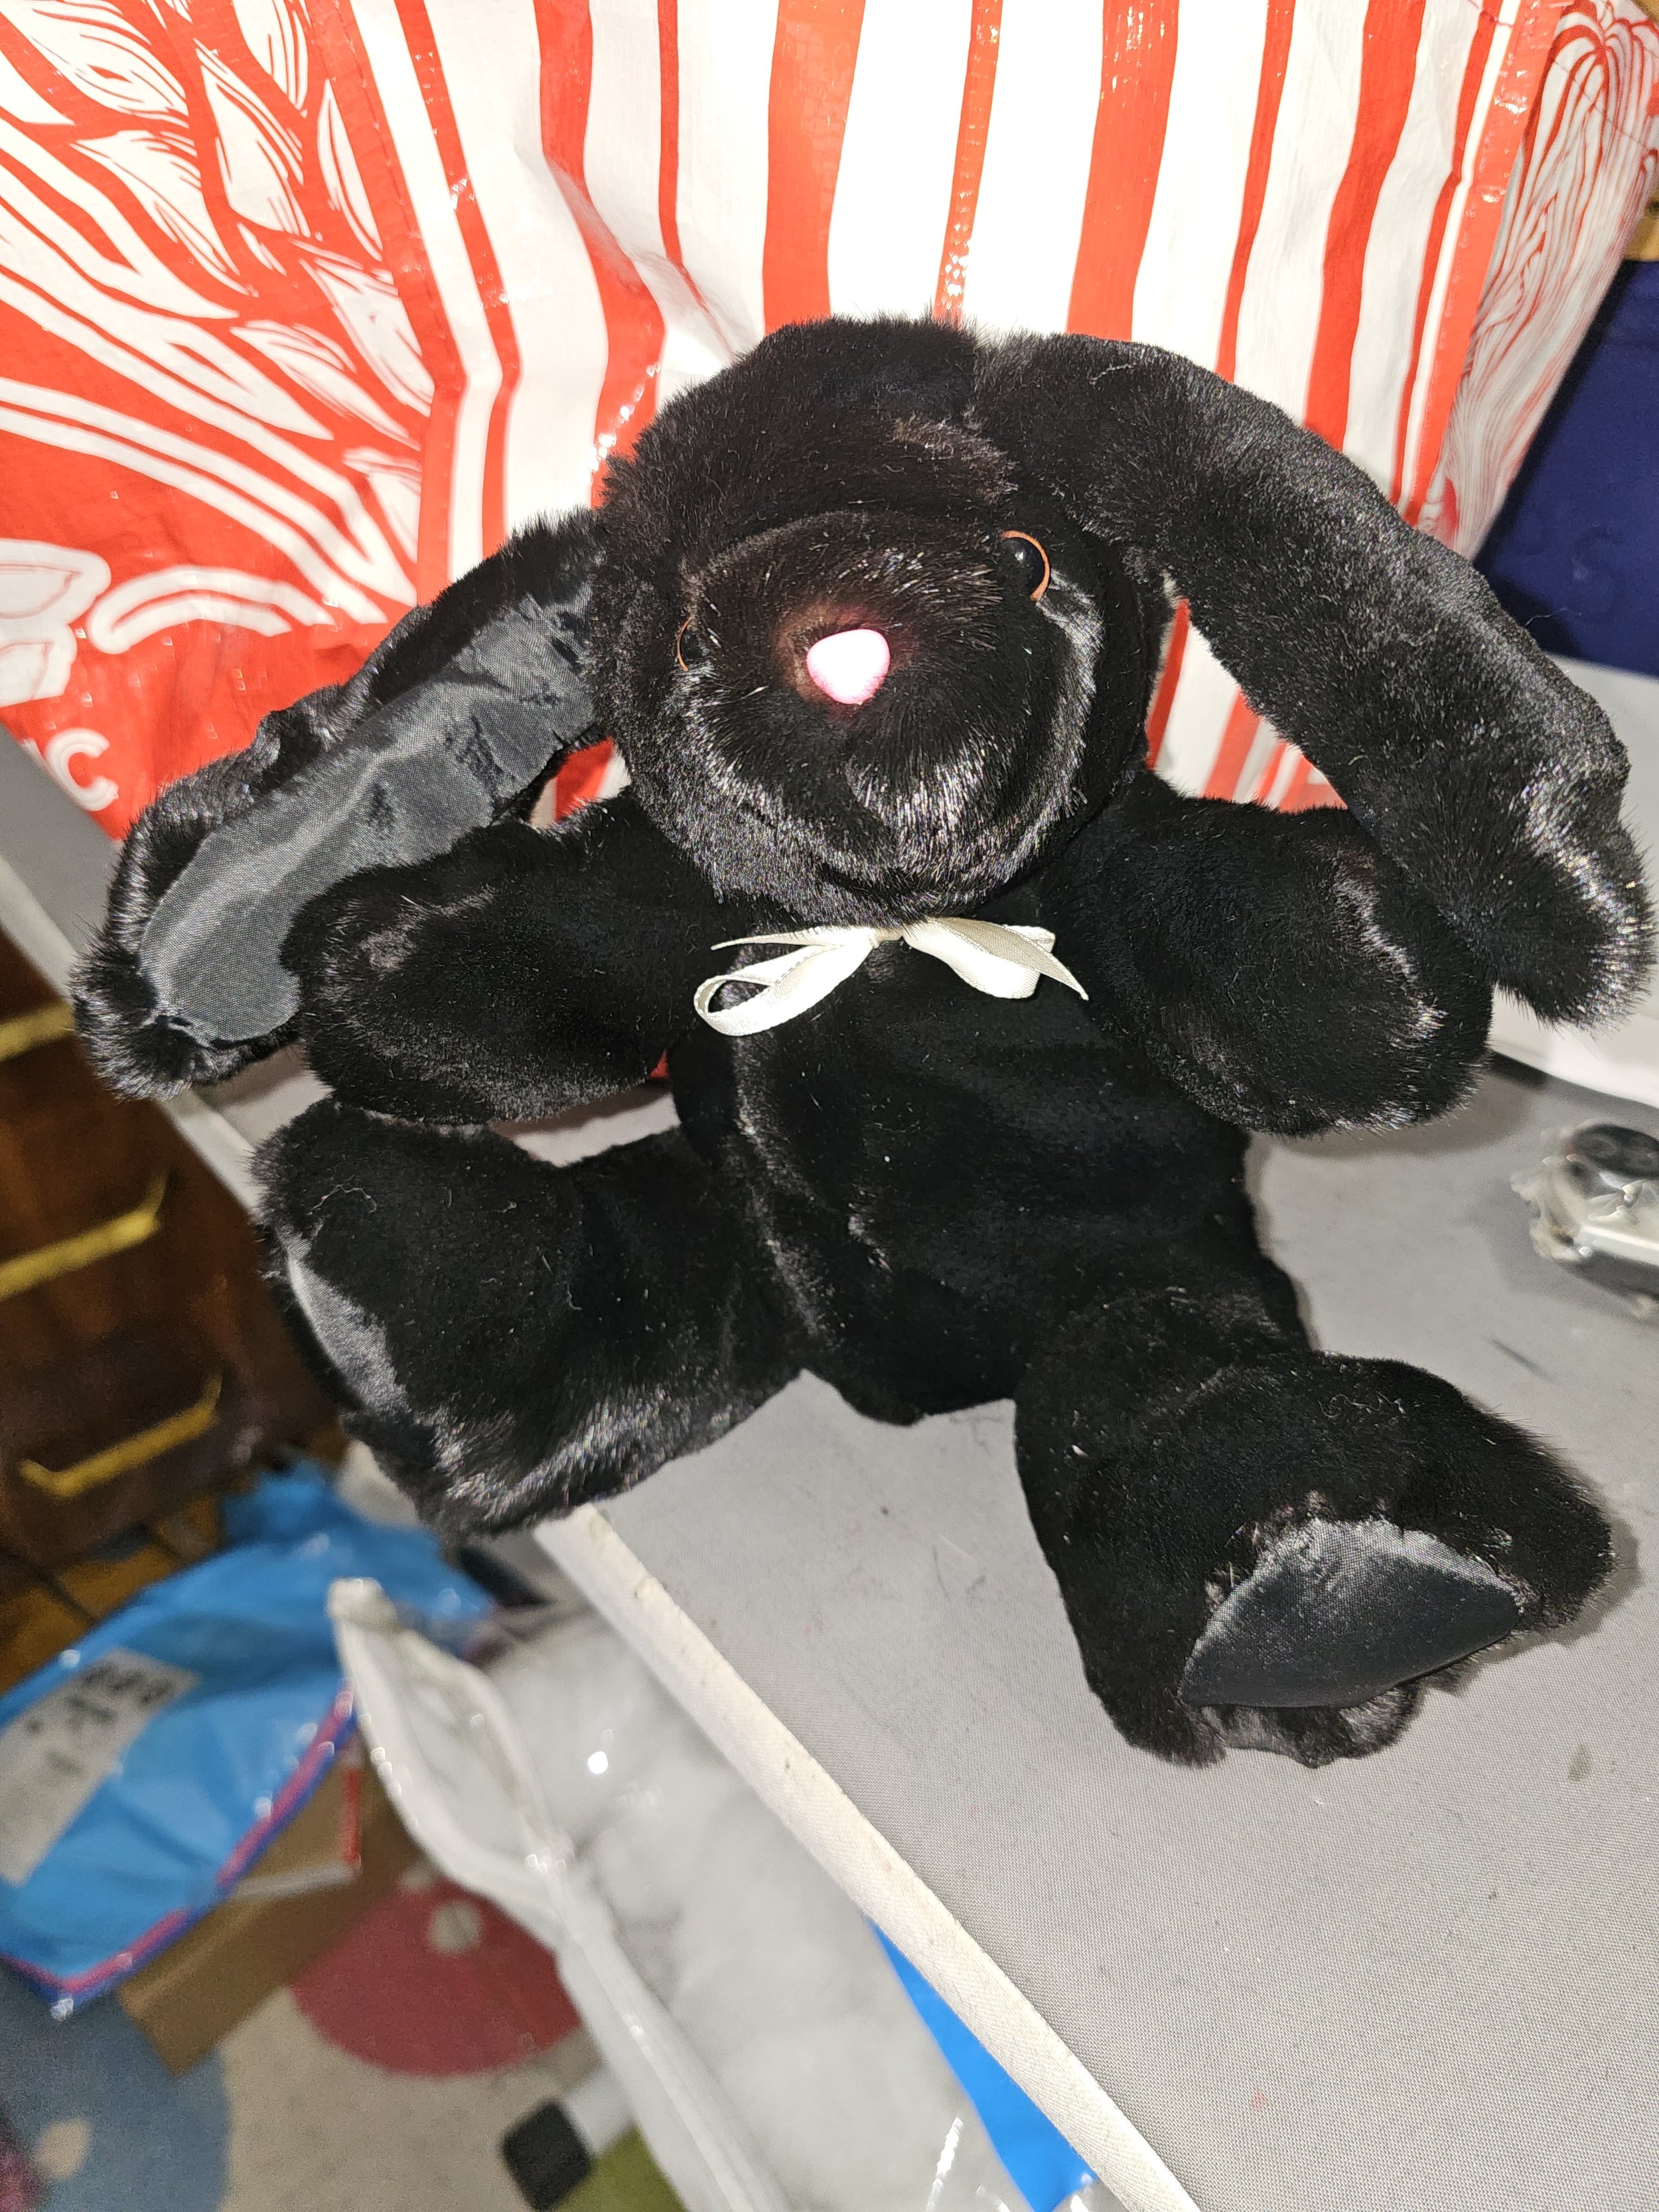
The Bunny pattern is quite cute. It is a traditional plush animal with non movable joints. Measures about 9 nines high.. The pattern can be purchased here: https://www.etsy.com/listing/1384893435/adorable-bunny-rabbit-plush-diy-pattern?ref=yr_purchases.
View the video here: Karen's Mink Coat Transformation
It was such an honor to make this beautiful Mink Throw & Cowl!! This coat belonged to the customer’s mother. We were hoping that the project could have been completed before her mom passed, but unfortunately that didn't happen. I did my absolute best to honor Karen’s mother's memory. The completed throw measures 45 inches wide by 52 inches long. The throw is lined with wool batting. The customer chose to keep her mother's lining, as well as her monogram. With the remaining mink scraps Karen opted to make a Cowl to keep her nice and warm in the winter. We were able to line both sides with fur, which I was kind of doubtful in the beginning. I can’t believe that we had enough. The Cowell measures 36 inches long and has a keyhole opening so the one end of the scarf can be tucked into the center of scarf.
Watch the video here: Beautiful Beaver Coat Transformed into a Throw
Beaver Coat transformed into a throw. The fur was in amazing condition! So nice to work with. I loved the lining in this fur. The color variation was very unique.
Final measurements: 42 by 57
Watch the video here: Pam's Mink Coat Transformation
Pam’s fur coat was wonderful to work with! Well maintained and so soft too. She wanted to use her own lining from her fur coat. Watch how I make the lining here: How I Make My Custom Linings
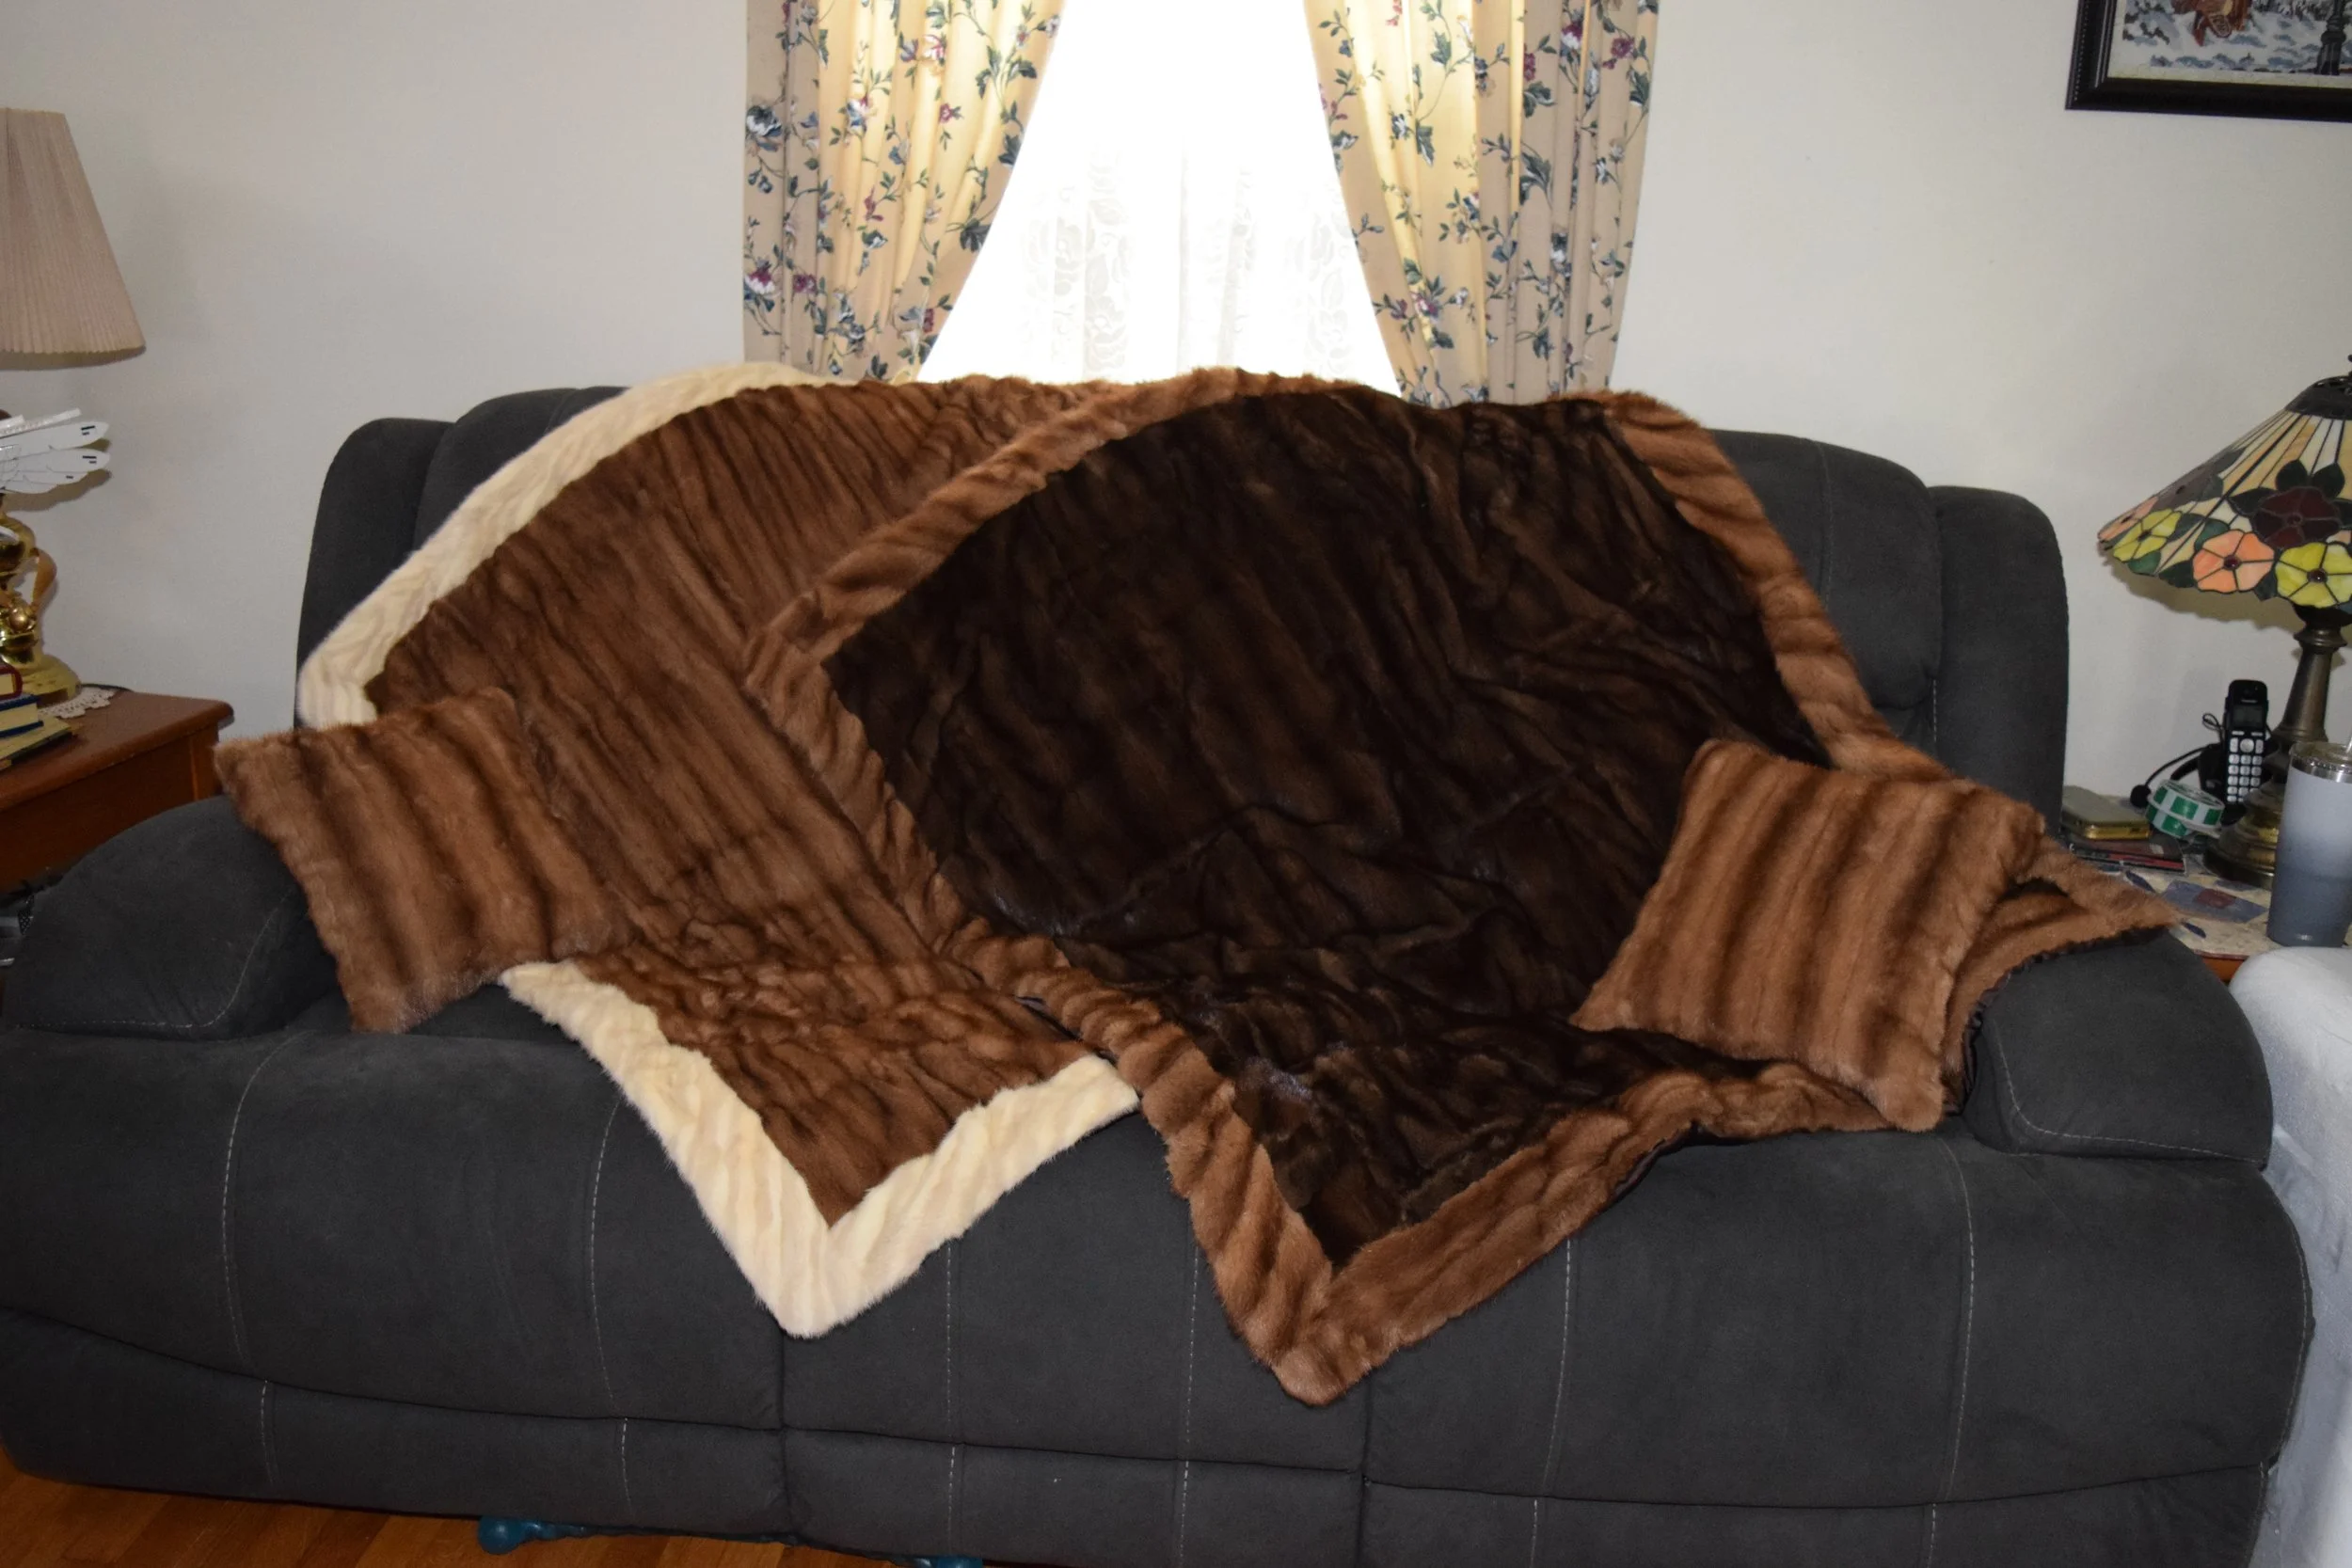
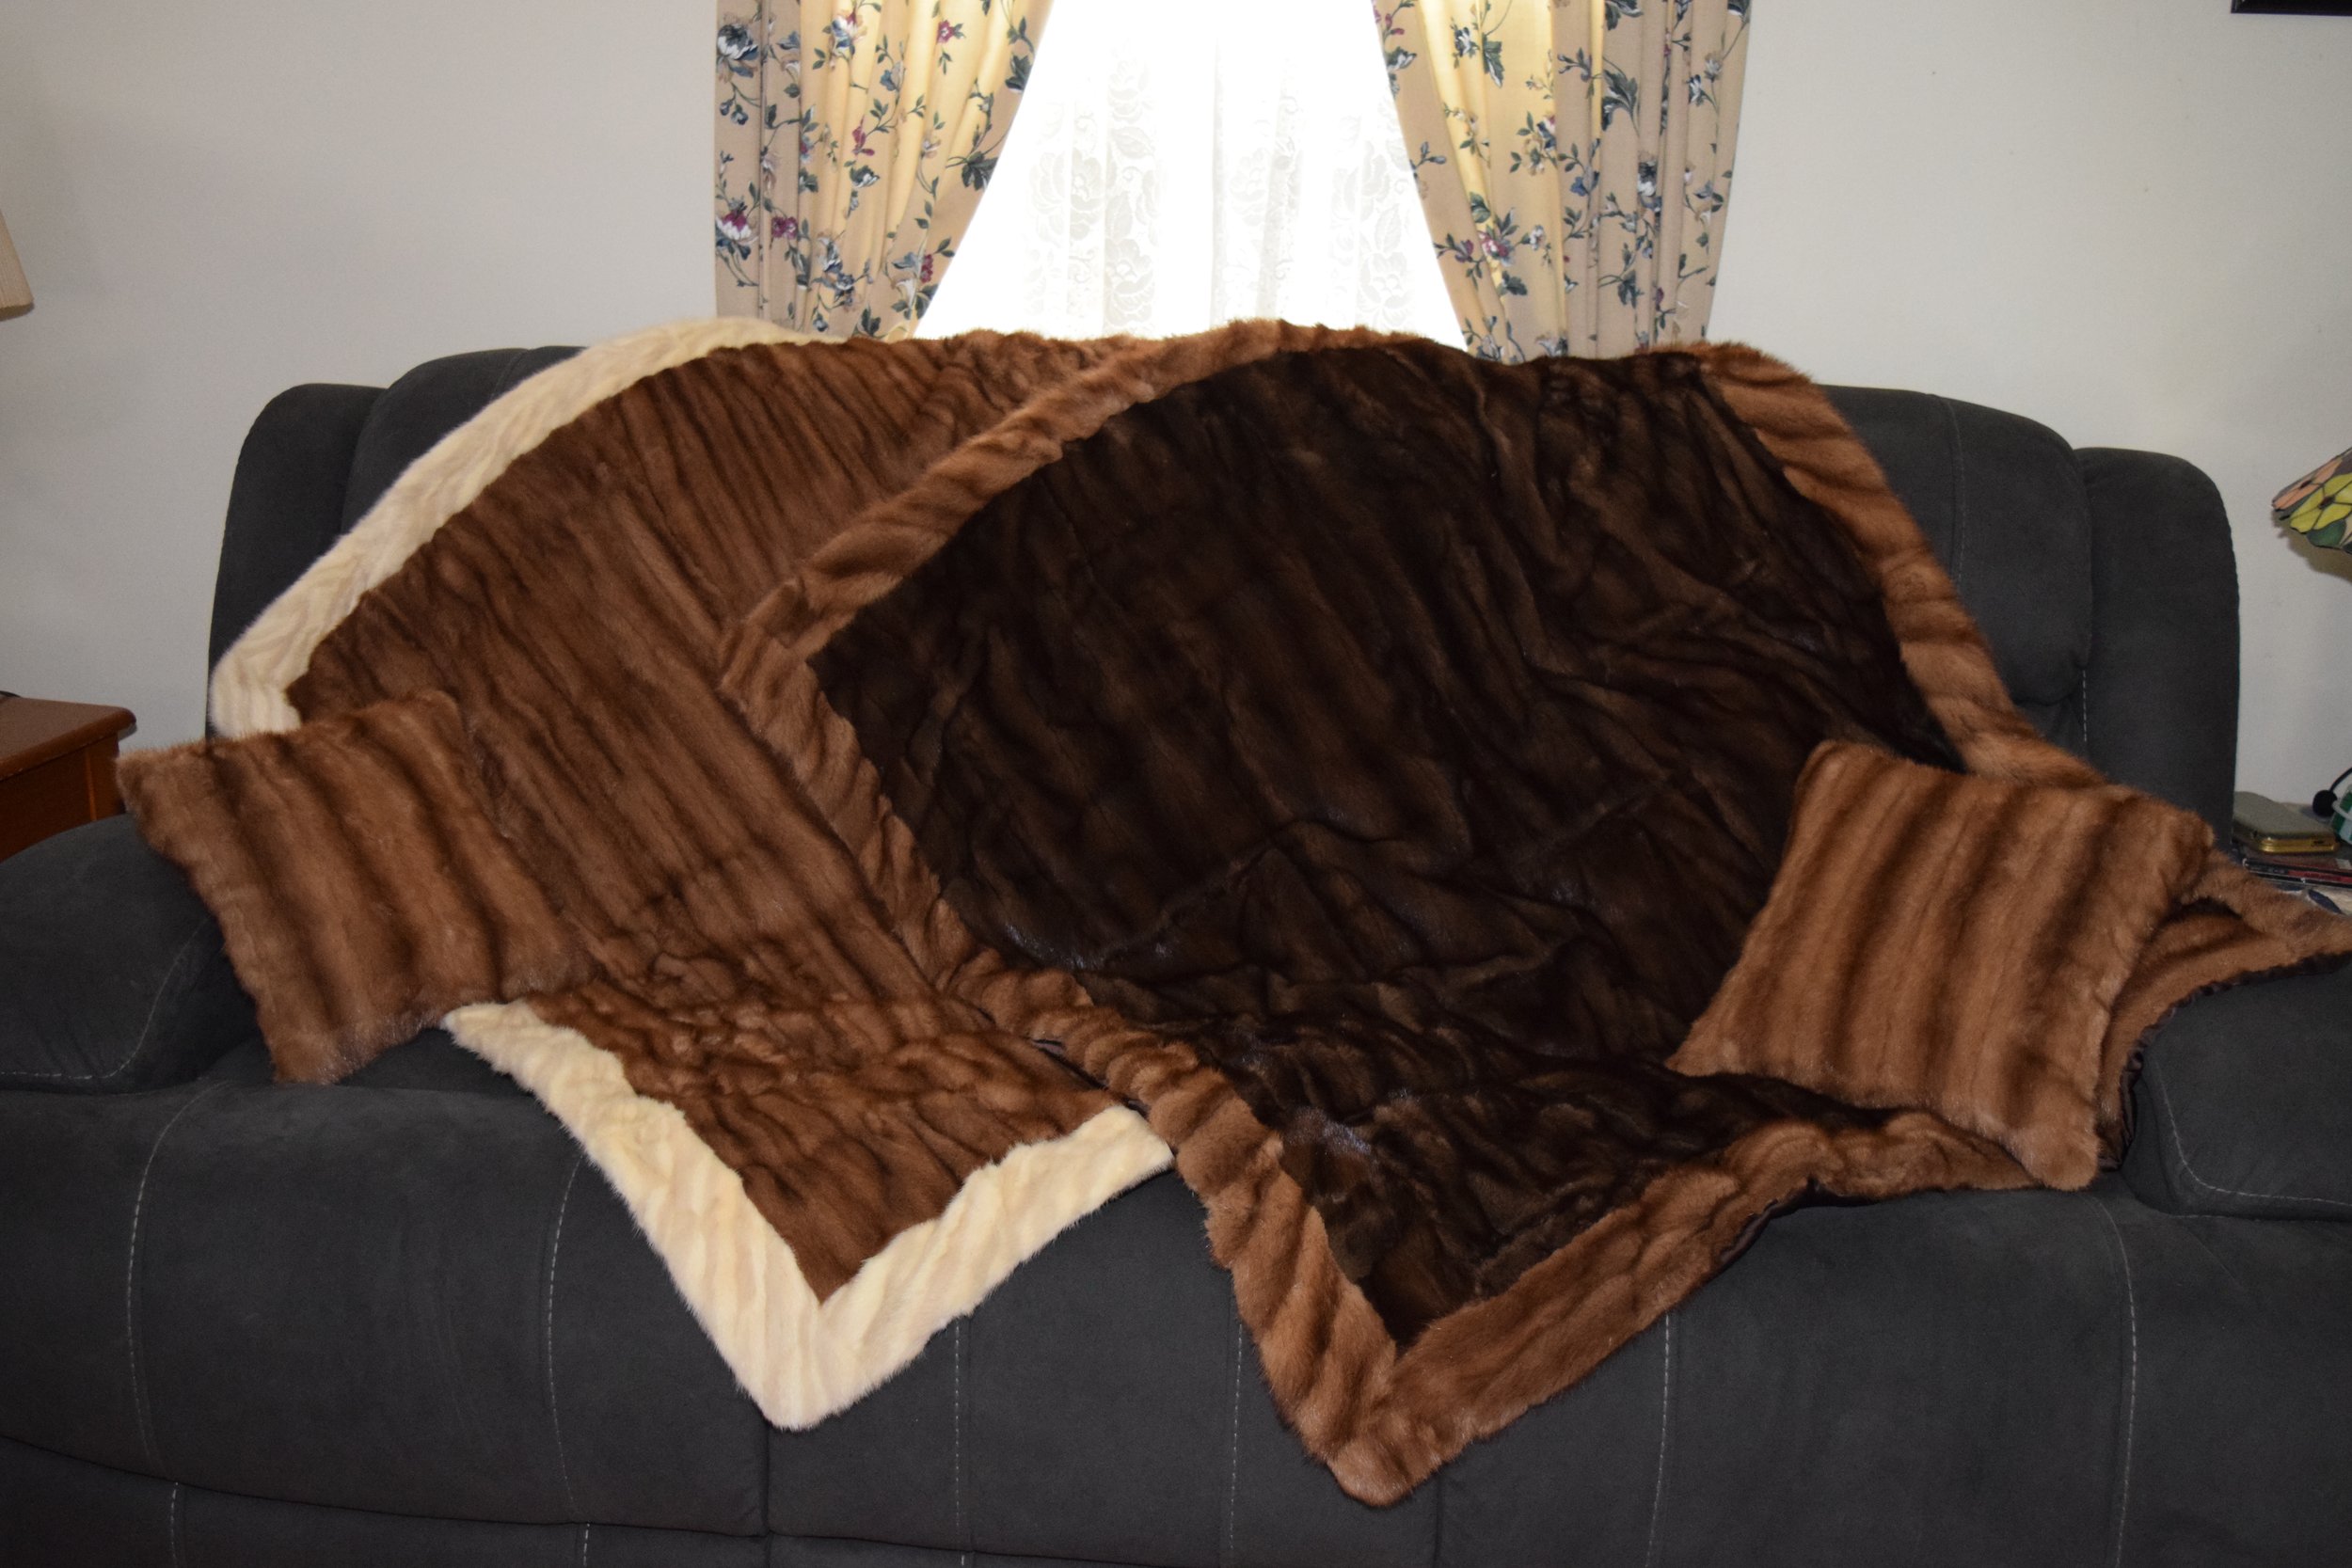
This project consisted of a light tan mink coat, a dark brown knee length mink jacket, a striped tan mink vest with a leather backing, and one white mink sweater. The customer originally wanted two throws exactly the same. The throws would be given to family members. We tried a variation with all the furs together, and we opted to keep the dark brown mink with the light striped mink Together and the tan/light brown mink with the white mink border. There was enough leftover fur that we were able to make one 16 by 16 pillow and one14 by 14 pillow. I was able to use the leather from the striped mink vest to form the back of the larger pillow. I was also able to use the lining to form the back of the smaller pillow. Each pillow incorporated a monogram from the original jackets. The white mink was very delicate. It was obvious from when I removed the lining, it was repaired before. There were quite a number of patch work areas on the inside of the sweater. I used cold cloth to help support the white mink.
Watch the video here: Five Beautiful Repurposed Furs Coats
The customer sent me 5 fur coats that belonged to her grandmother. Each one of the coats will be transformed into a throw and given to different family members. There were four minks and one rabbit coat. The biggest challenge was trying to remove a very bad musty odor from the furs. I am so happy that I could create these wonderful family heirlooms.
See the video here: Mink Coat Transformed Into A Throw With A Lovely Chevron Pattern.
This mink coat was unique, due to the Chevron pattern on the bottom of coat. The customer was given two choices on how the chevrons could be placed in her throw. She chose the triangular pieces to go in the corners of the throw. Her coat was in excellent shape and the mink was just lovely to work with. Overall size was 42 by 54.
See the video here: Making a Queen/ King Fur Blanket
This had to be the most challenging fur project that I have done so far. It consisted of:
· 2 Full Length Fox Coats
· 1 Full Length White Mink Coat
· 3 Mink Shawls ~ 2 Tan Mink and 1 Silver Mink
· 1 Patchwork Fox Short Waisted Jacket
I gave the customer a few different types of patterns to choose from. The first one was a patchwork blanket made of 12. 5 inch squares. The squares we're mixed in random order. The second blanket was also a patchwork blanket, but instead of random squares they were placed in a repeating order. The next pattern was a pattern made of 7 vertical strips with a patchwork like border. The strips were 84 inches long. Ultimately this was the pattern that the customer chose.
The repeat pattern is Brown Fox-White Mink- Silver Fox-Silver Mink- Silver Fox – White Mink – Brown Fox. All Strips were 12.5 by 84, except for the center panel, which was 8.5 by 84. Just not enough Silver Mink to make the 12.5 strip.
The side borders were 3 inches each side. The sides had to be narrower because there wasn't enough leftover fur to have a wider side border. The top and bottom border were 5.5 inches wide. One of the mink shawls was a little damaged and dried out. It wouldn't be able to hold the stitches very well. The patchwork fox jacket also had some damage to it. One particular fur that was in that coat was dried out. So, I had to work around those sections. The blanket would measure 90 by 95. Just a little shy of a king size blanket that the customer wanted. It is very heavy and will be extremely warm!
Fur Teddy Bear made from left over Beaver Fur. See video here: Fur Teddy Bear
See Video here: Mini Memory Bear
Memory Bear made from three T-Shirts
Customer wanted all the words that were printed on the gray shirt to be part of the bear. The other two shirts where black and dark blue. I forgot to take the before photos (ugh).
It was a challenge as bear is Tiny.
The shirt read:
“World’s Greatest Farter Father”
The How: I used Pellon 911FF to stabilize the T-Shirt material. I used Wonder Under on the gray shirt.
I carefully cut out the all the letters except World’s. I wanted to keep that whole. I ironed the letters to the pattern pieces. Used monofilament to tack the letters onto the bear as well. The customer wanted the FARTER as the focal point. Due to the size of the bear, that was almost impossible. I had to separate the word.
Here is how I divided it up.
World’s- Tie
Greatest – Two letter on each arm and leg to spell out greatest.
Farter FART on the back & ER on the front
Father - Belly/Butt area
It was a fun project.


